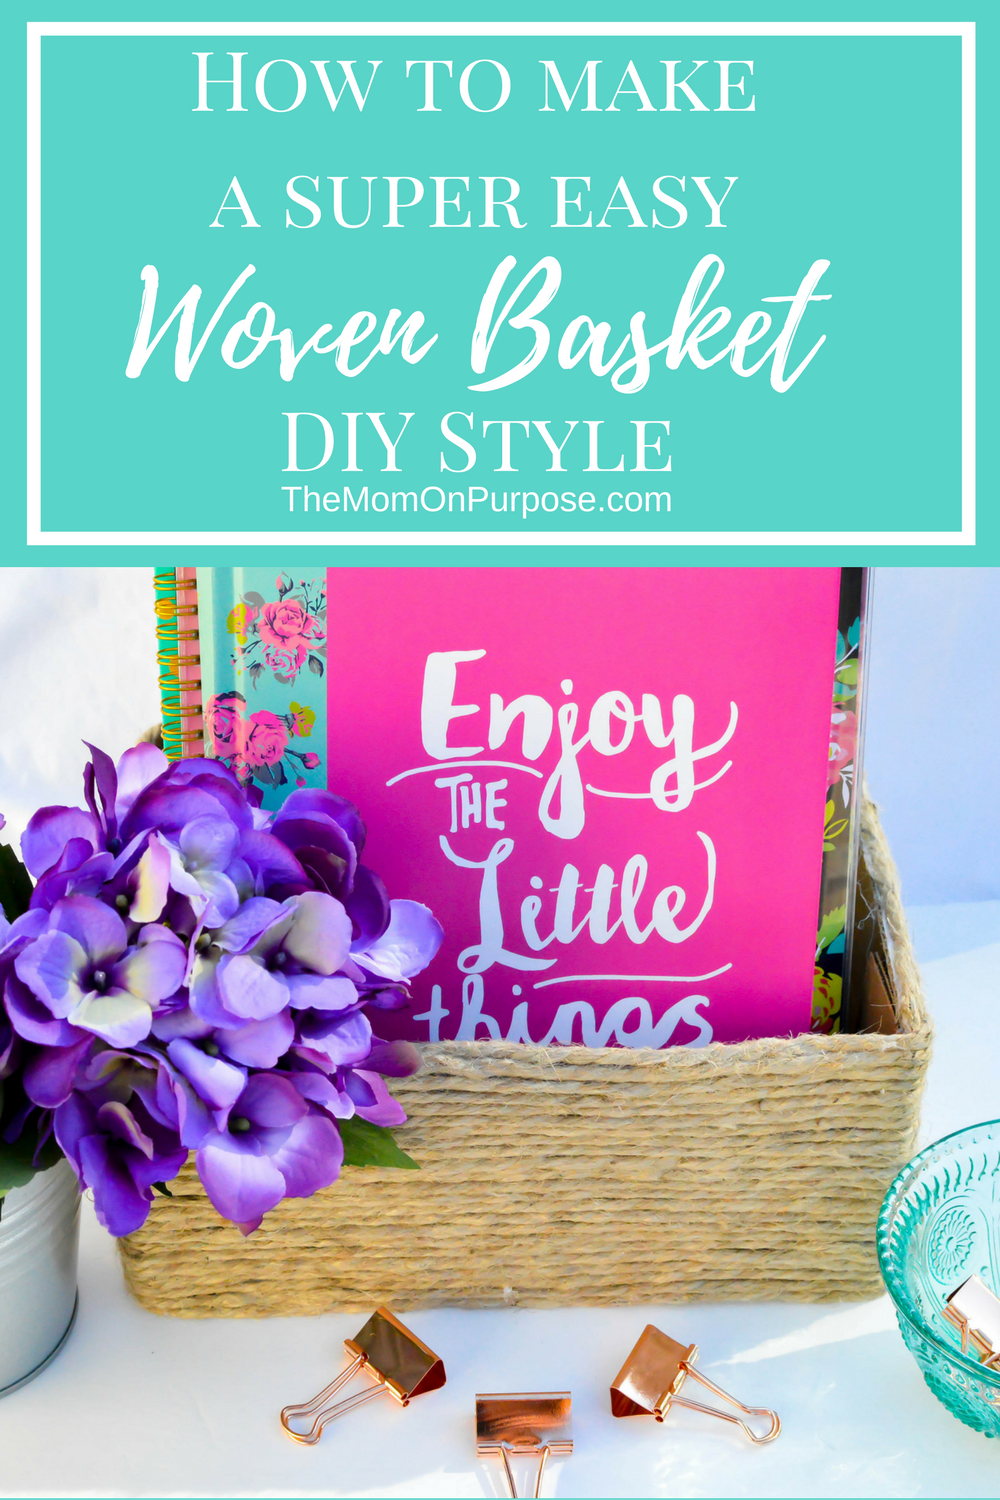
Woven baskets are seriously expensive! I love them and use them all over my house. But, you guys, they hurt my pocket book big time. As much as I love them, I can’t always justify their cost. That’s why I decided to make a DIY woven basket and I’m sharing all of the details today!
Last week, I was in desperate need of a woven basket for organization my pantry. While I’m not one to splurge on organization supplies for inside of a closet, I did really want to make it somewhat pretty. So I grabbed a few supplies I had on hand and got to work!
If you love woven baskets as much as I do, just grab the following supplies and let’s get to work!
How to Make a DIY Woven Basket
What You Need:
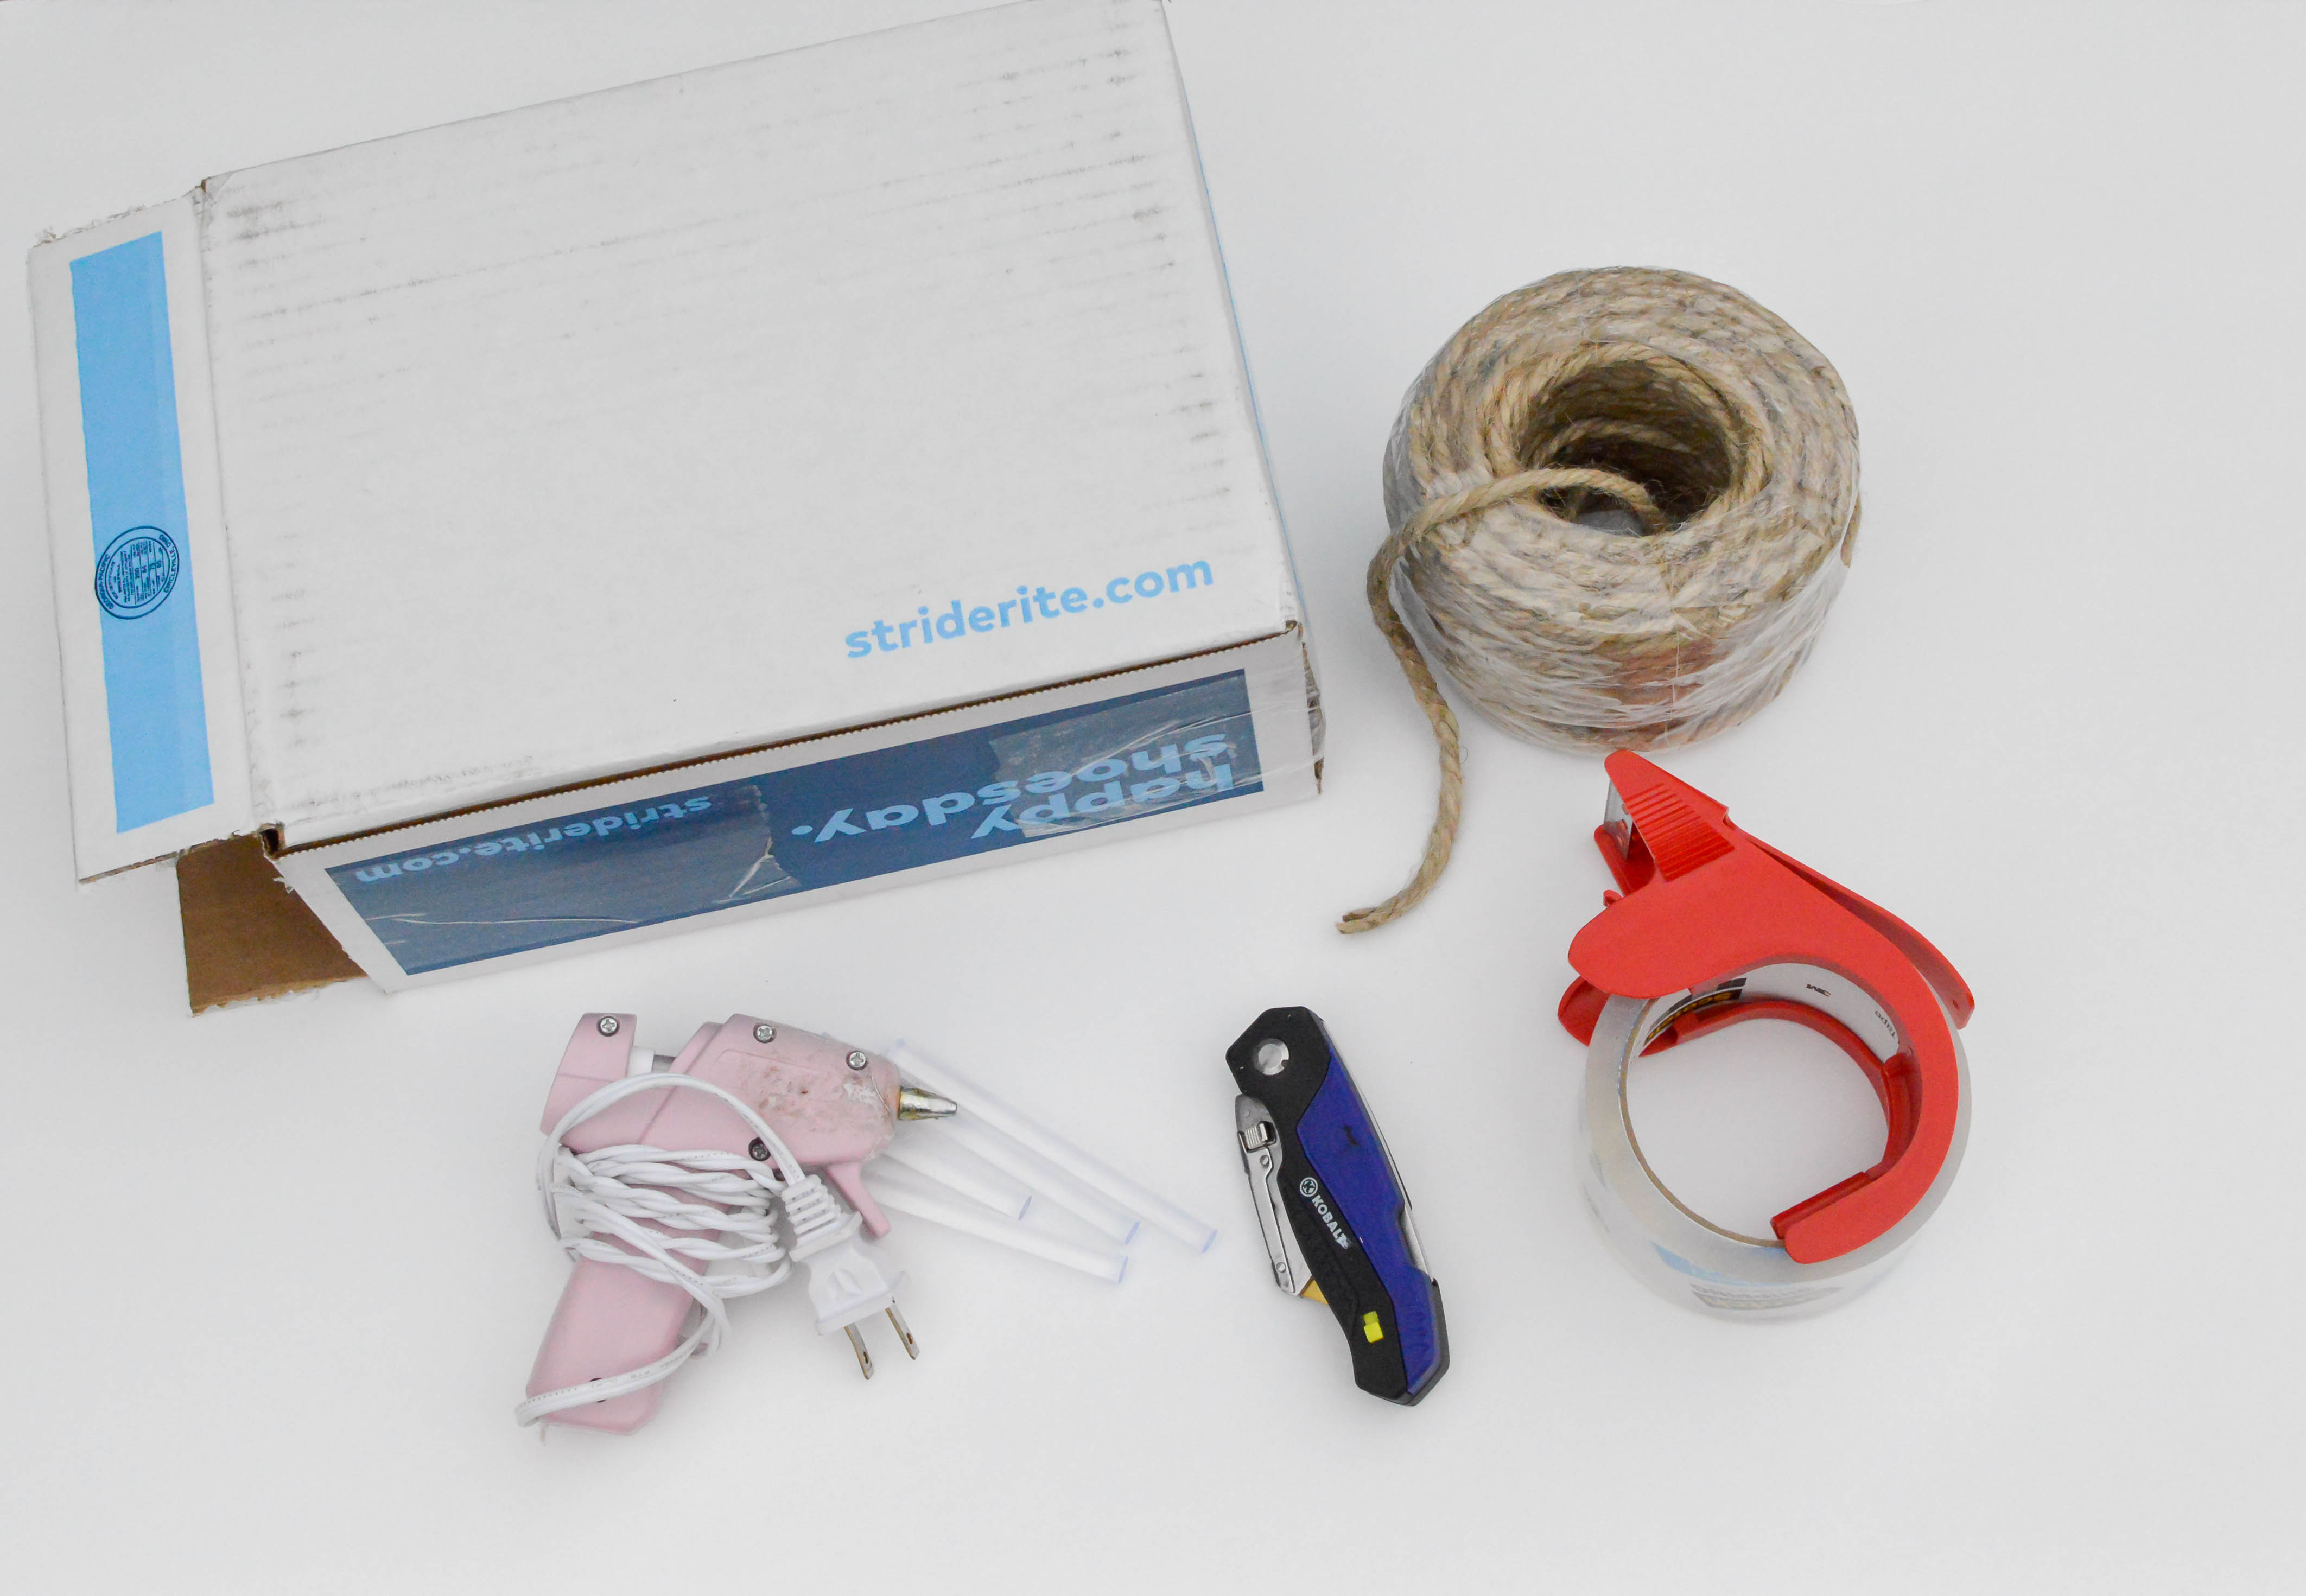
- 4-ply Jute
- Hot glue gun
- Hot glue sticks
- Sturdy Cardboard box {I used an Stride Rite shipping box!}
- Packing tape
- Box cutter
Directions:
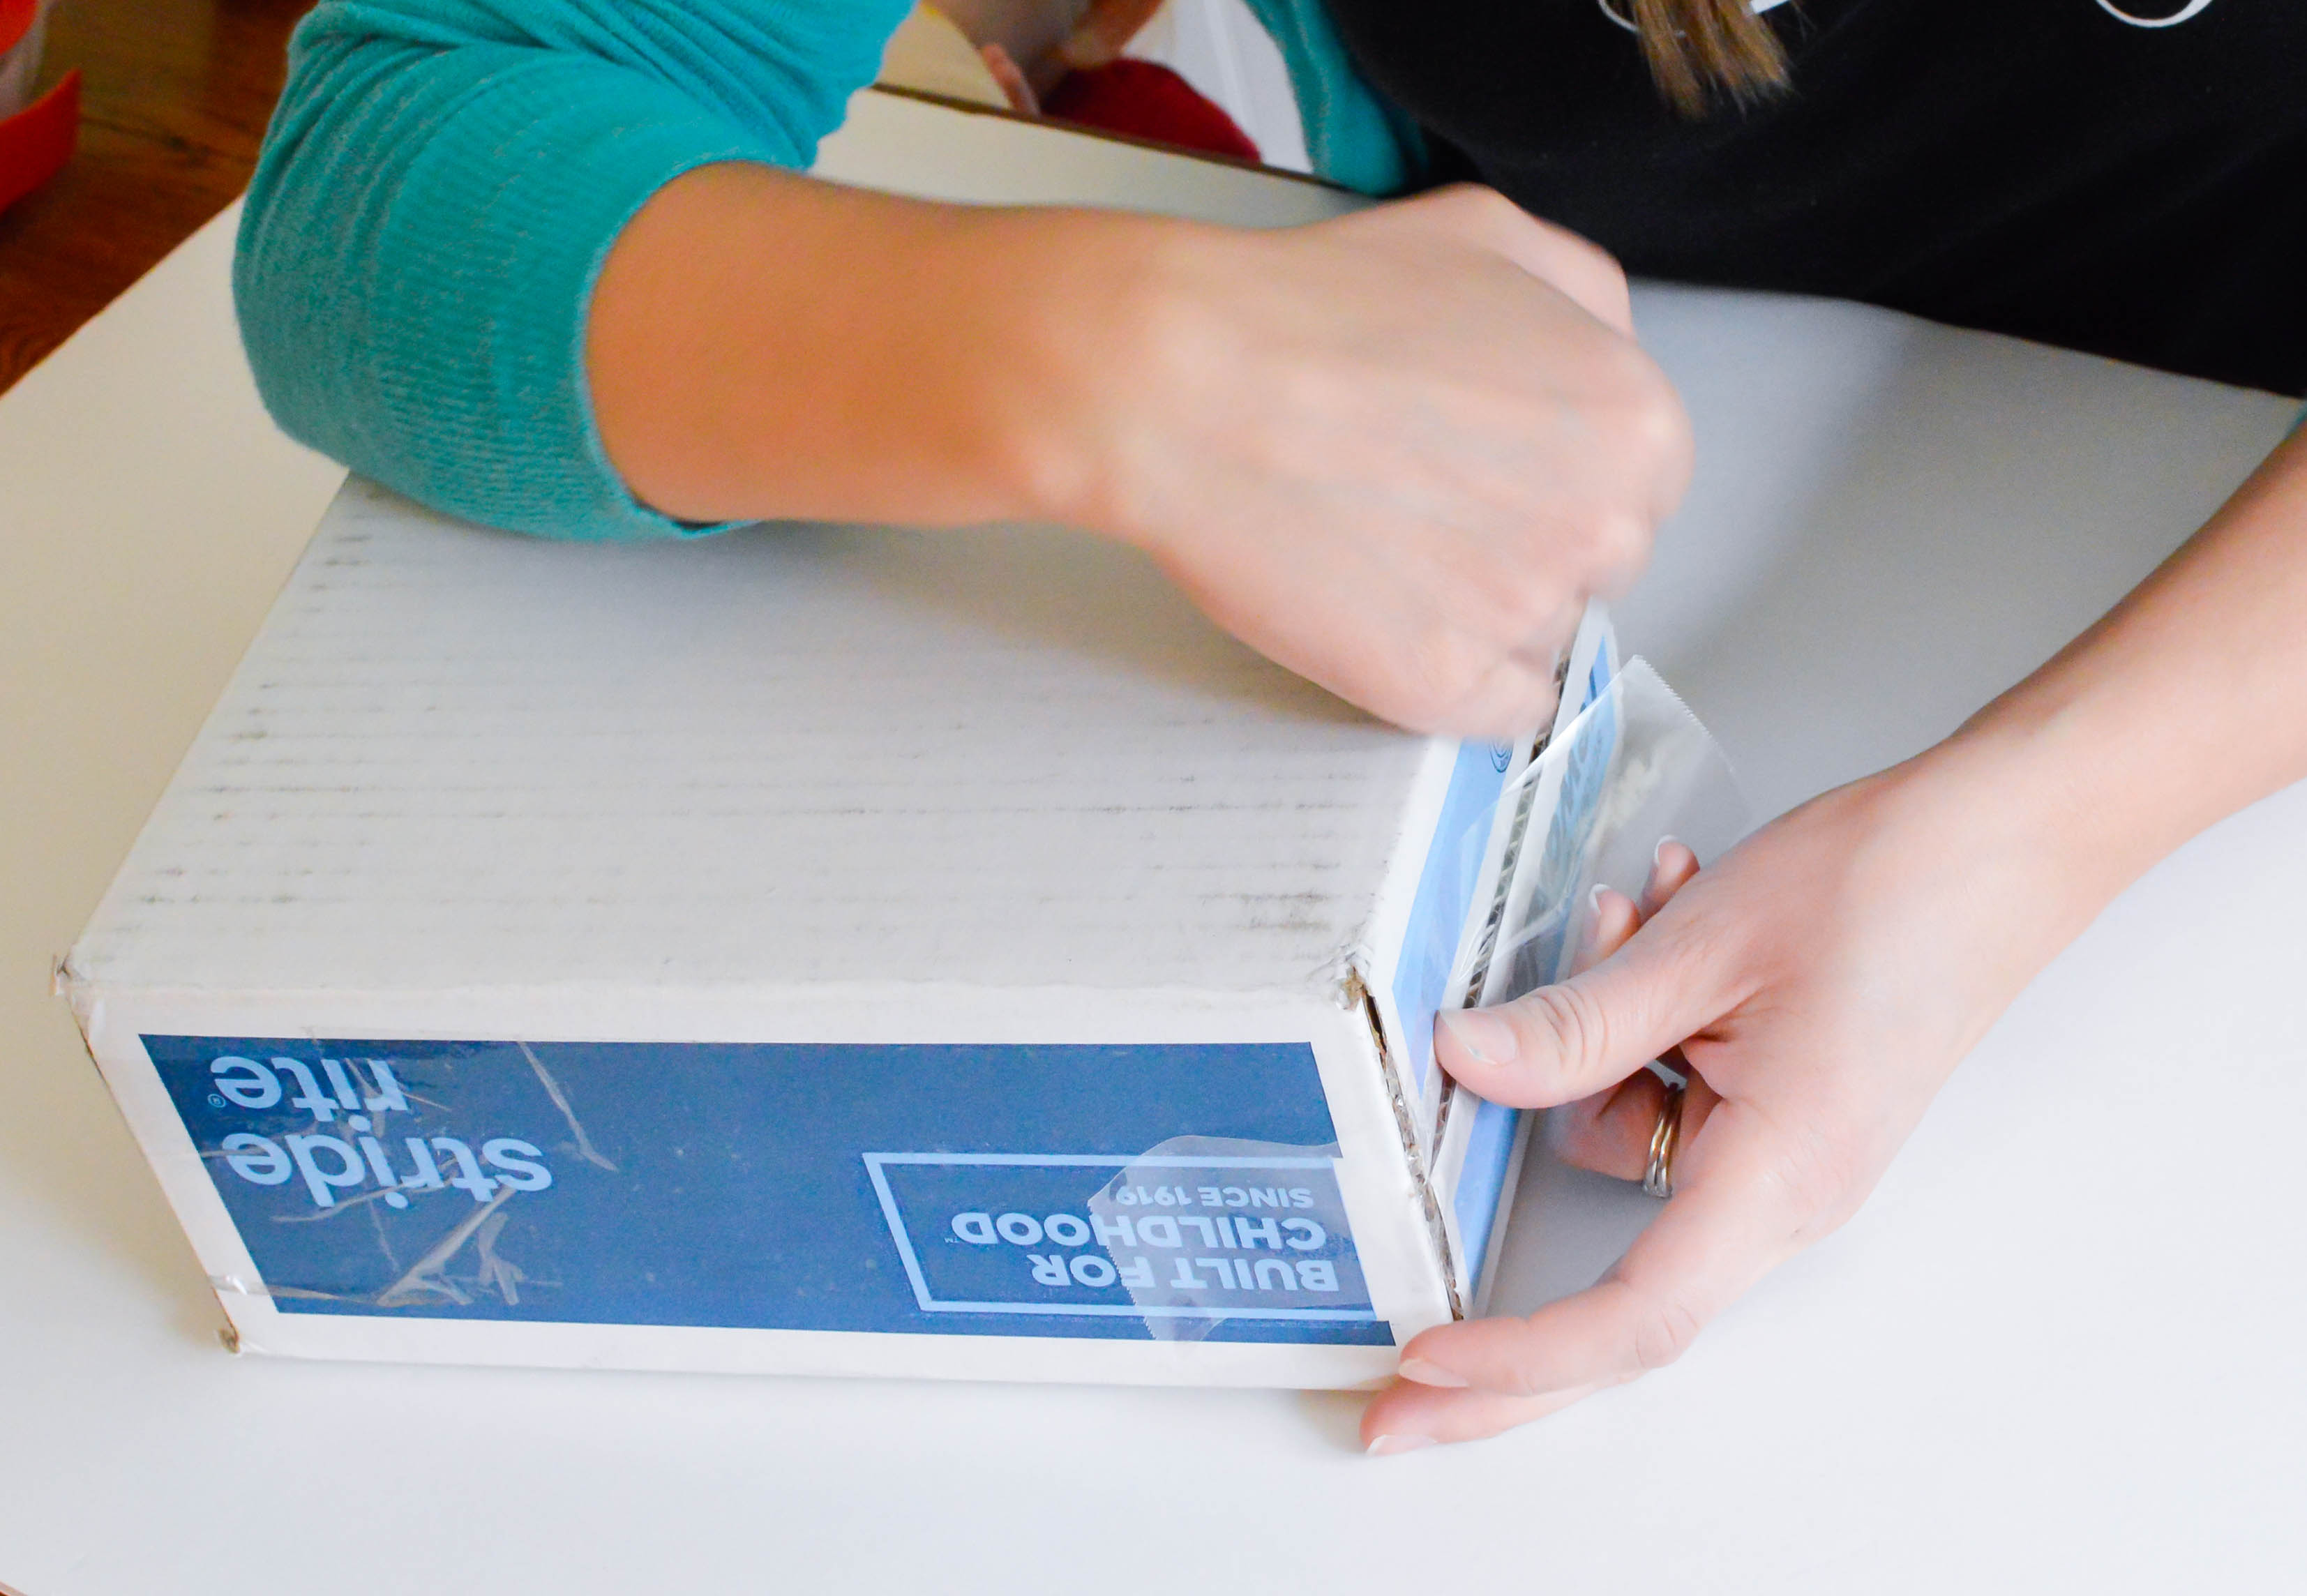
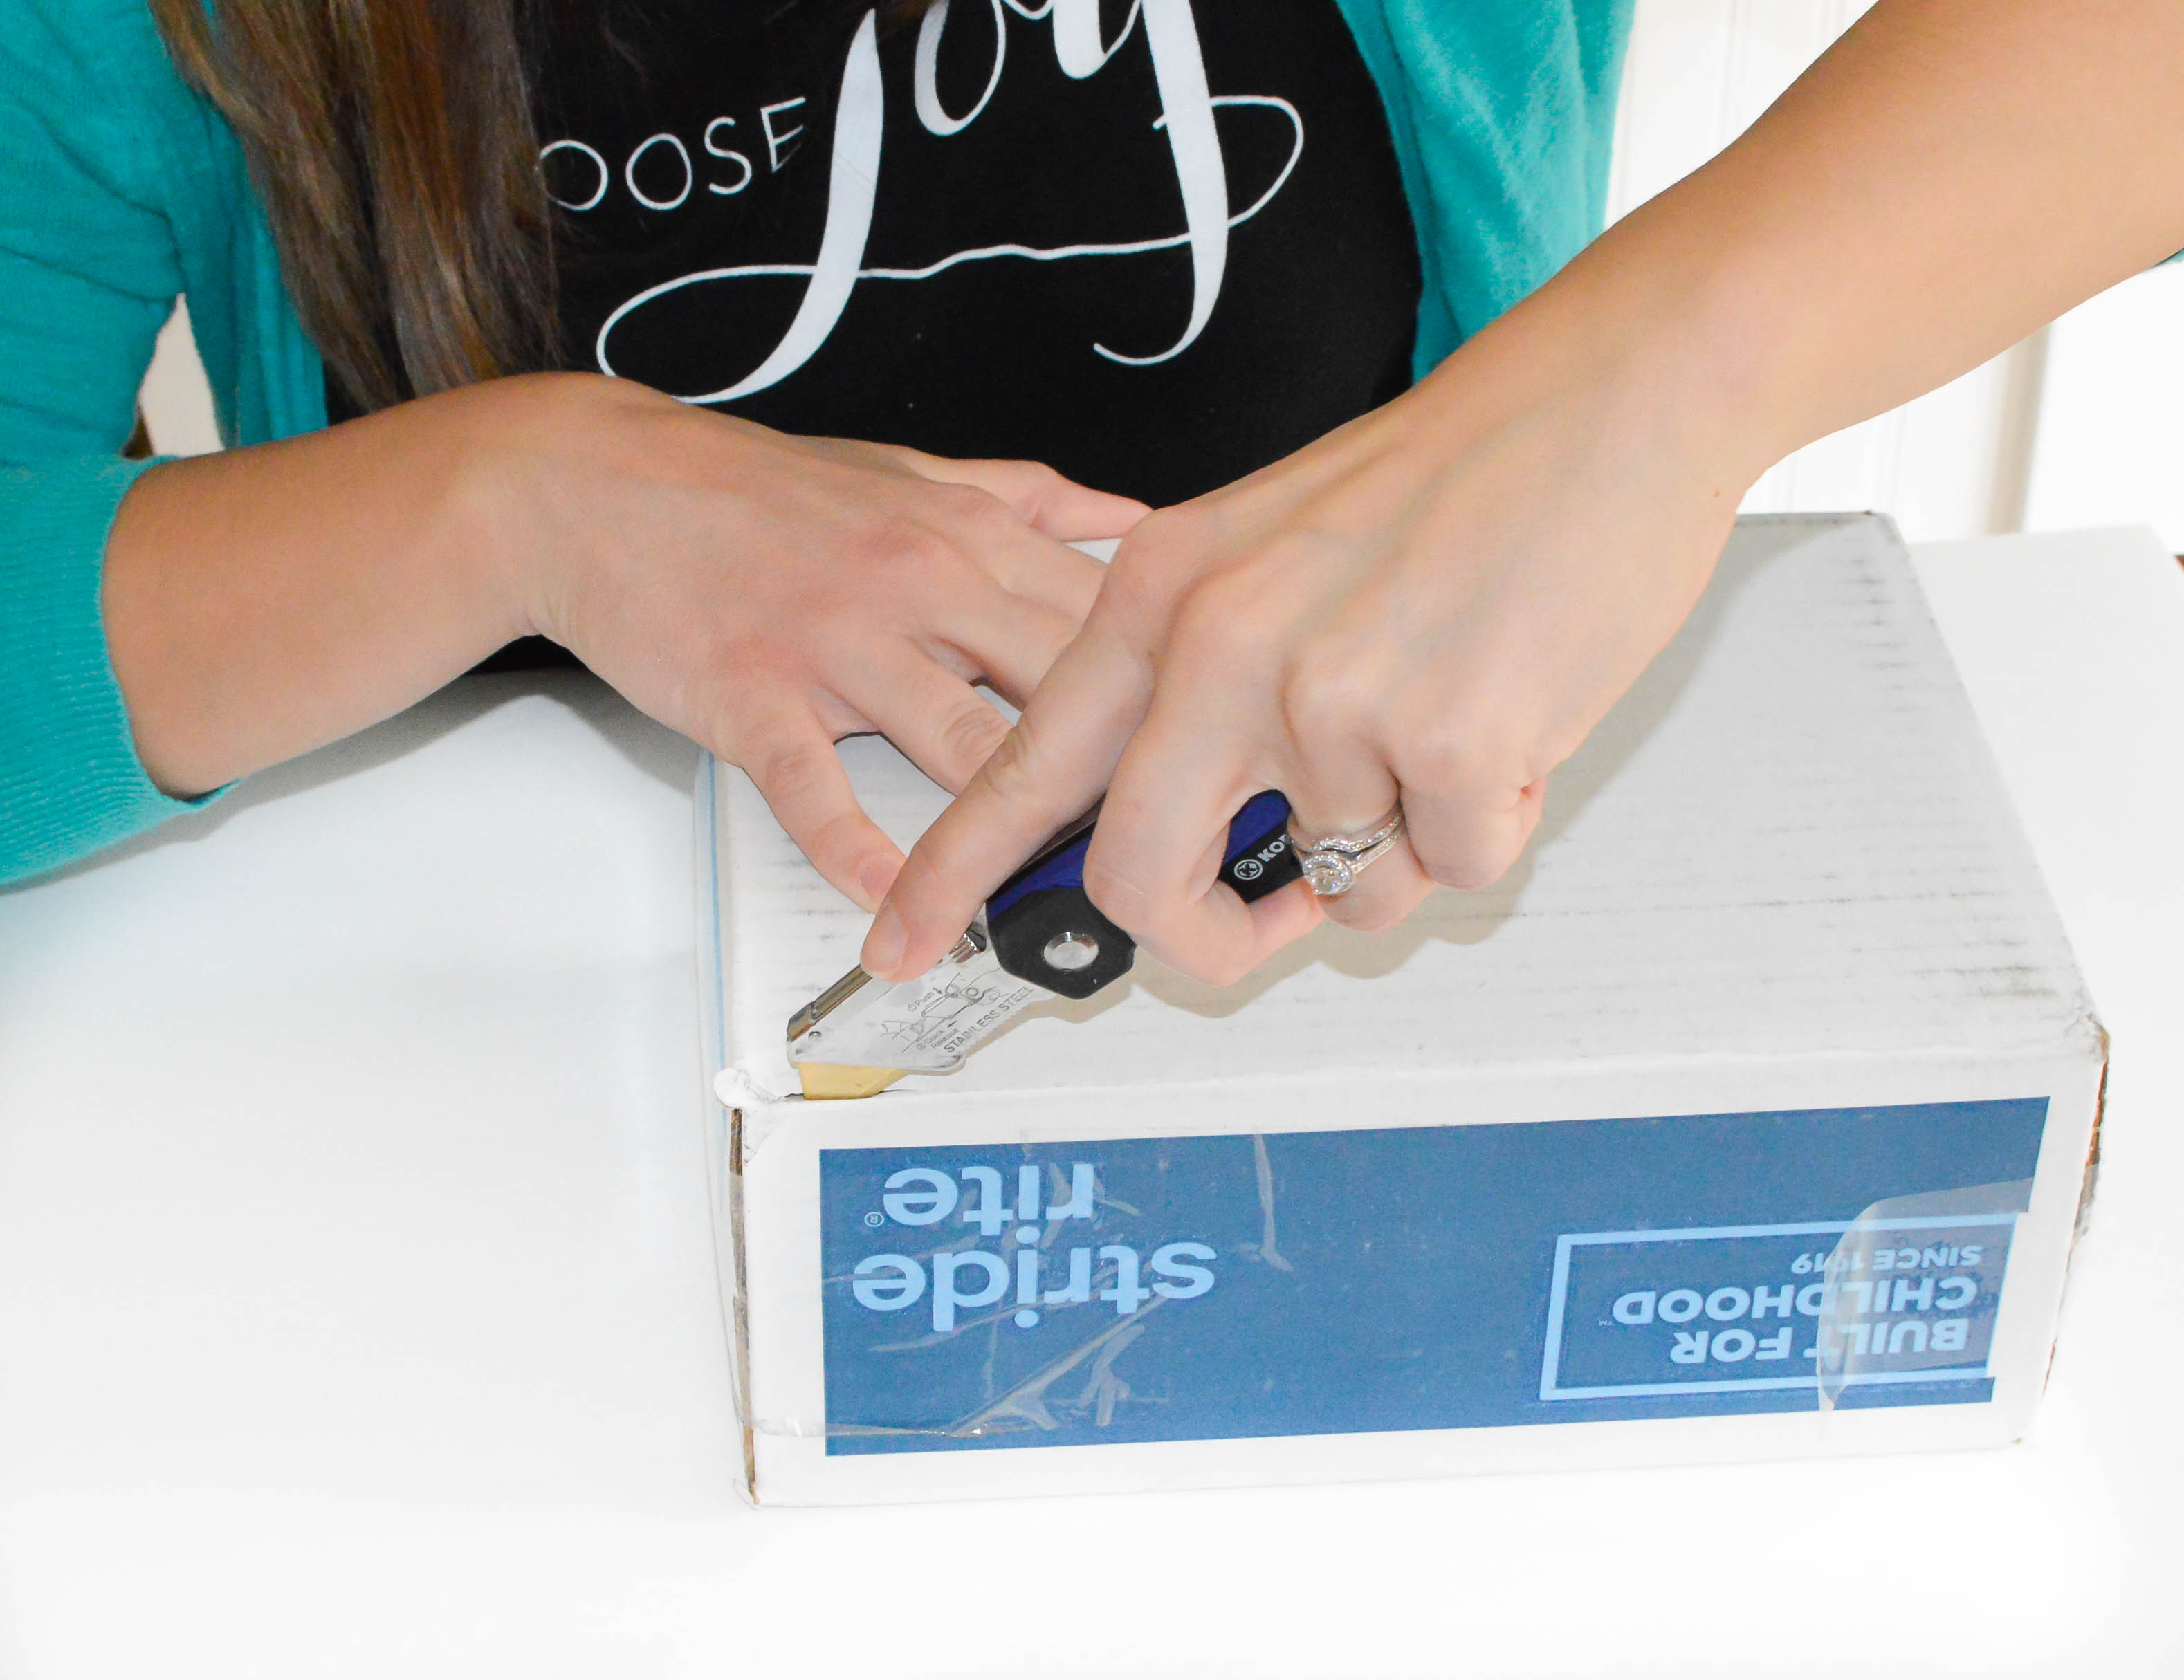
1. You will need to select a box that fits the space you want to fill. Make sure it’s a sturdy cardboard box. Shipping boxes and diaper/wipe goes both work really well.
You may want to reinforce some of the sides with clear packing tape like I’m doing below.
2. Then cut a hole in the top or cut off any flaps. Make sure to use a sharp box cutter so that you don’t fray the edges too much.
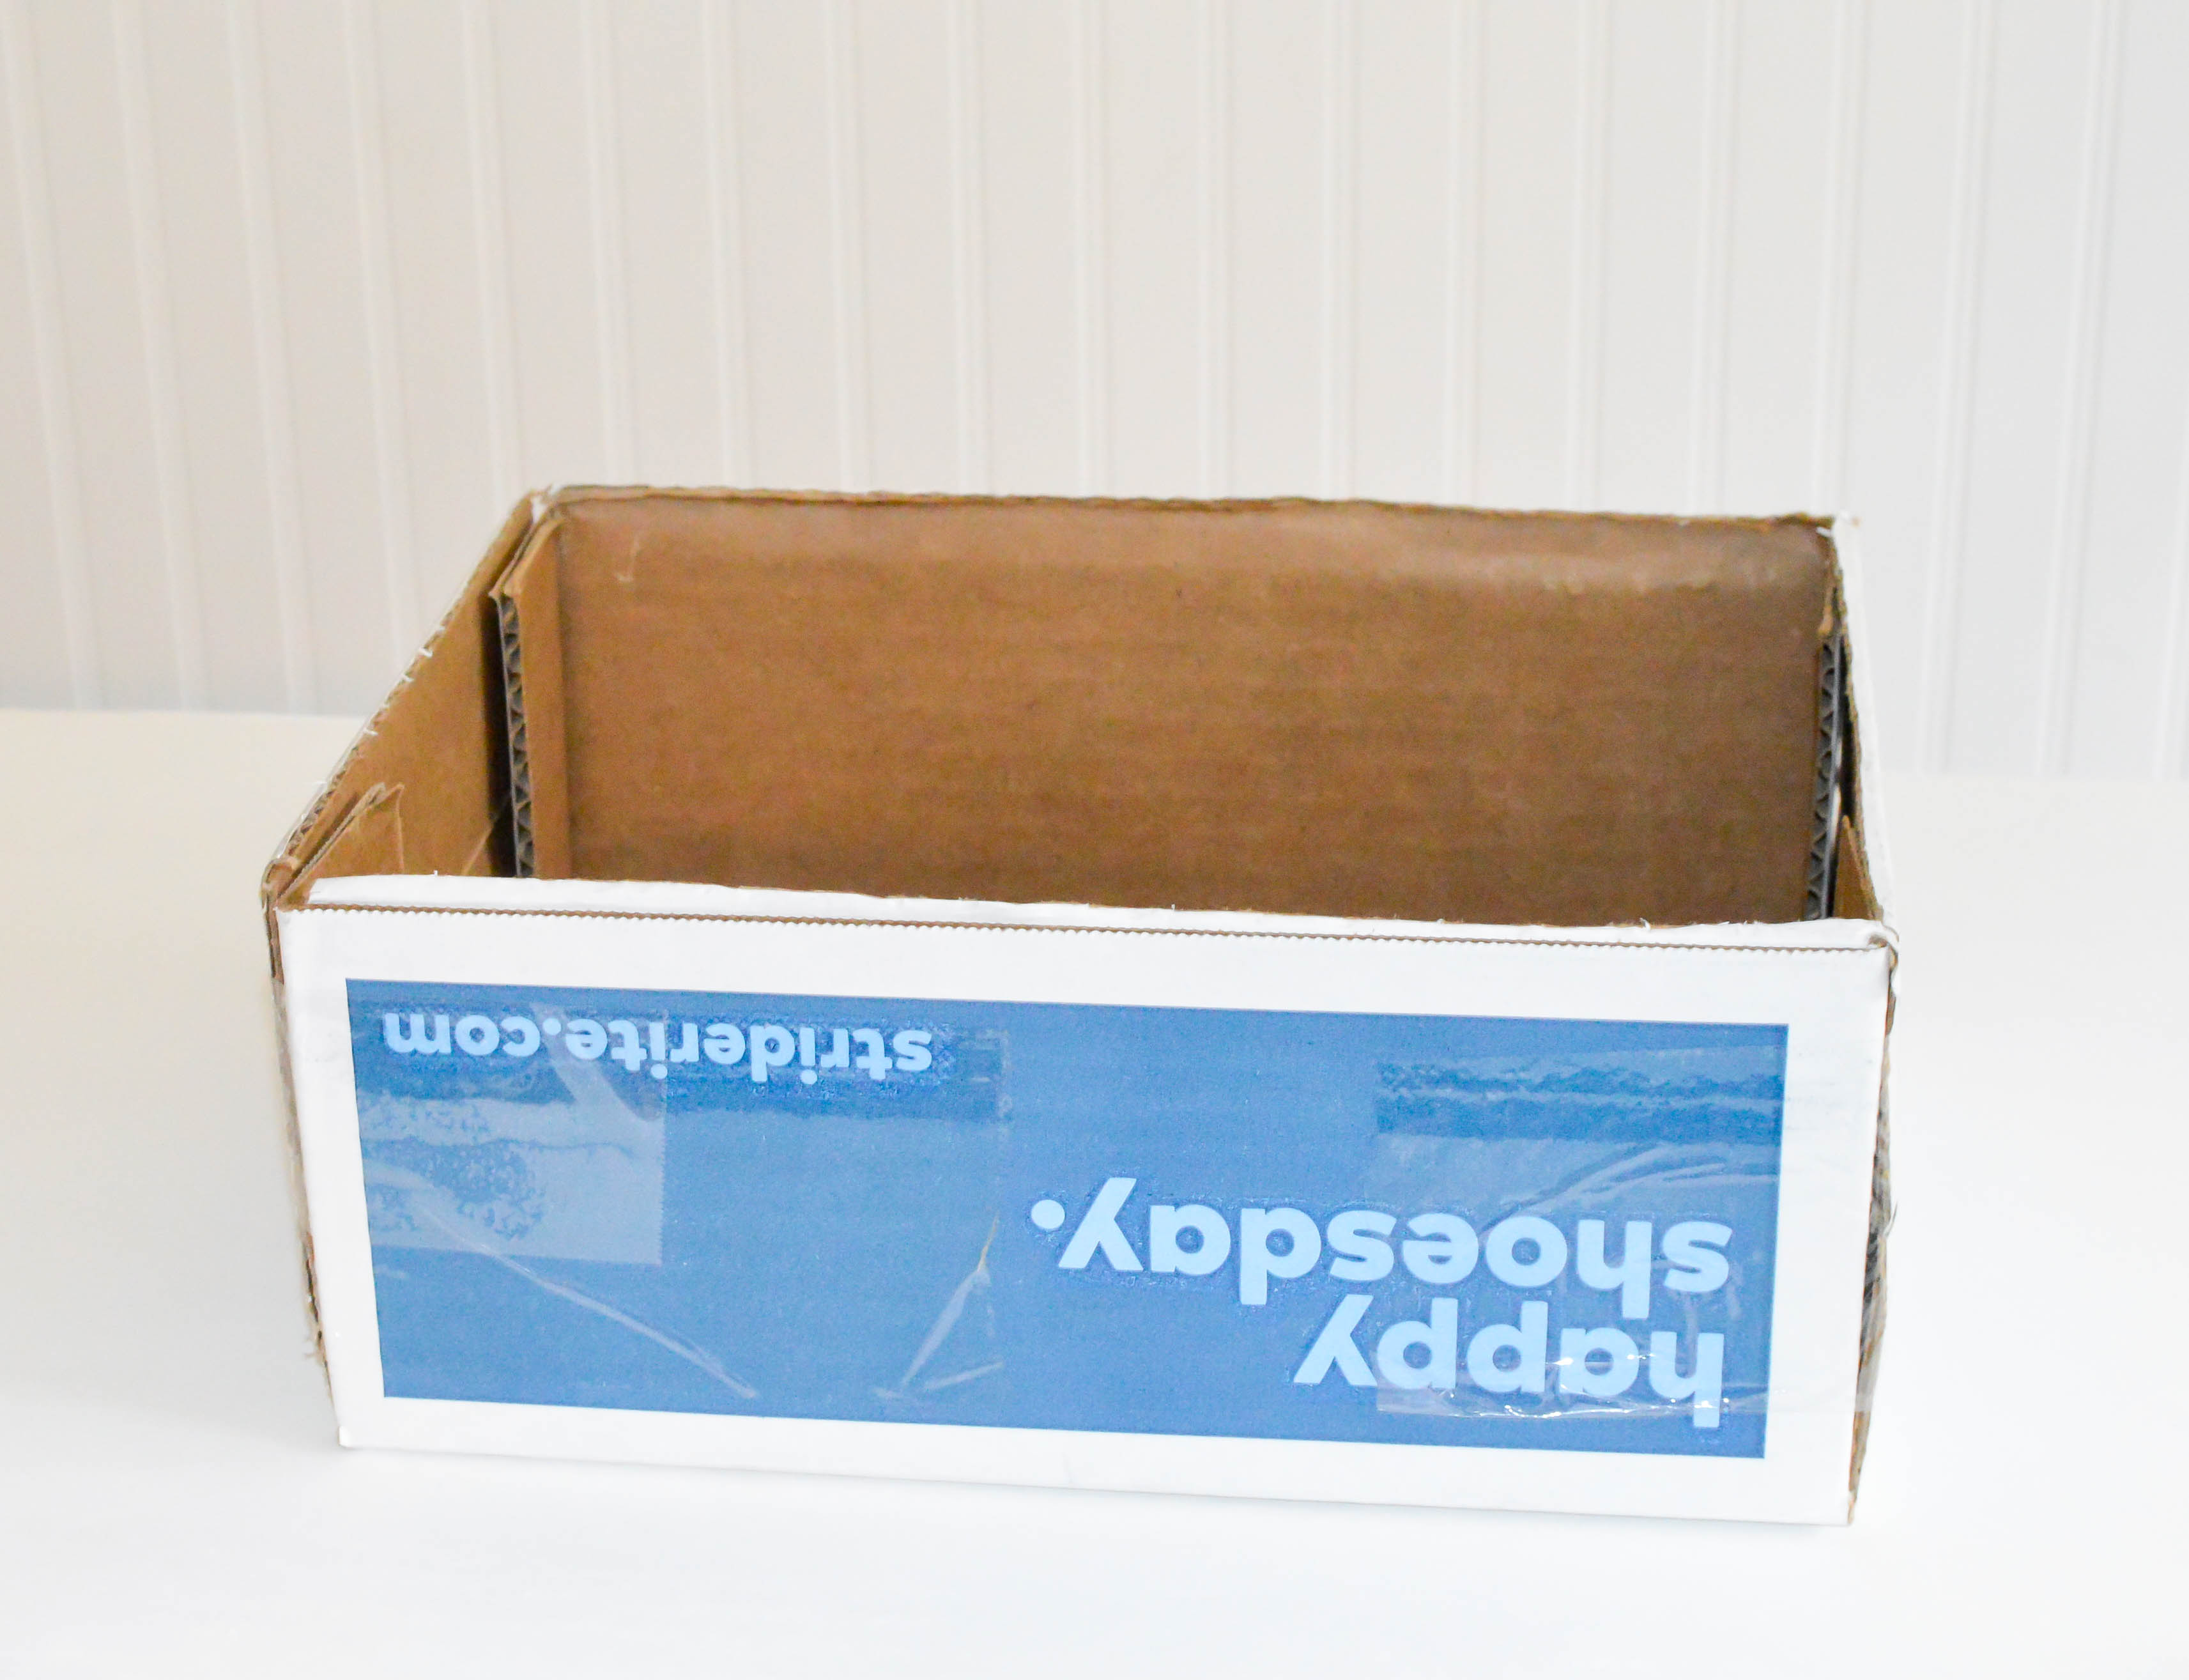
3. Your box should look something like this when you are finished preparing it. You want to have one large opening on the top like a basic basket.
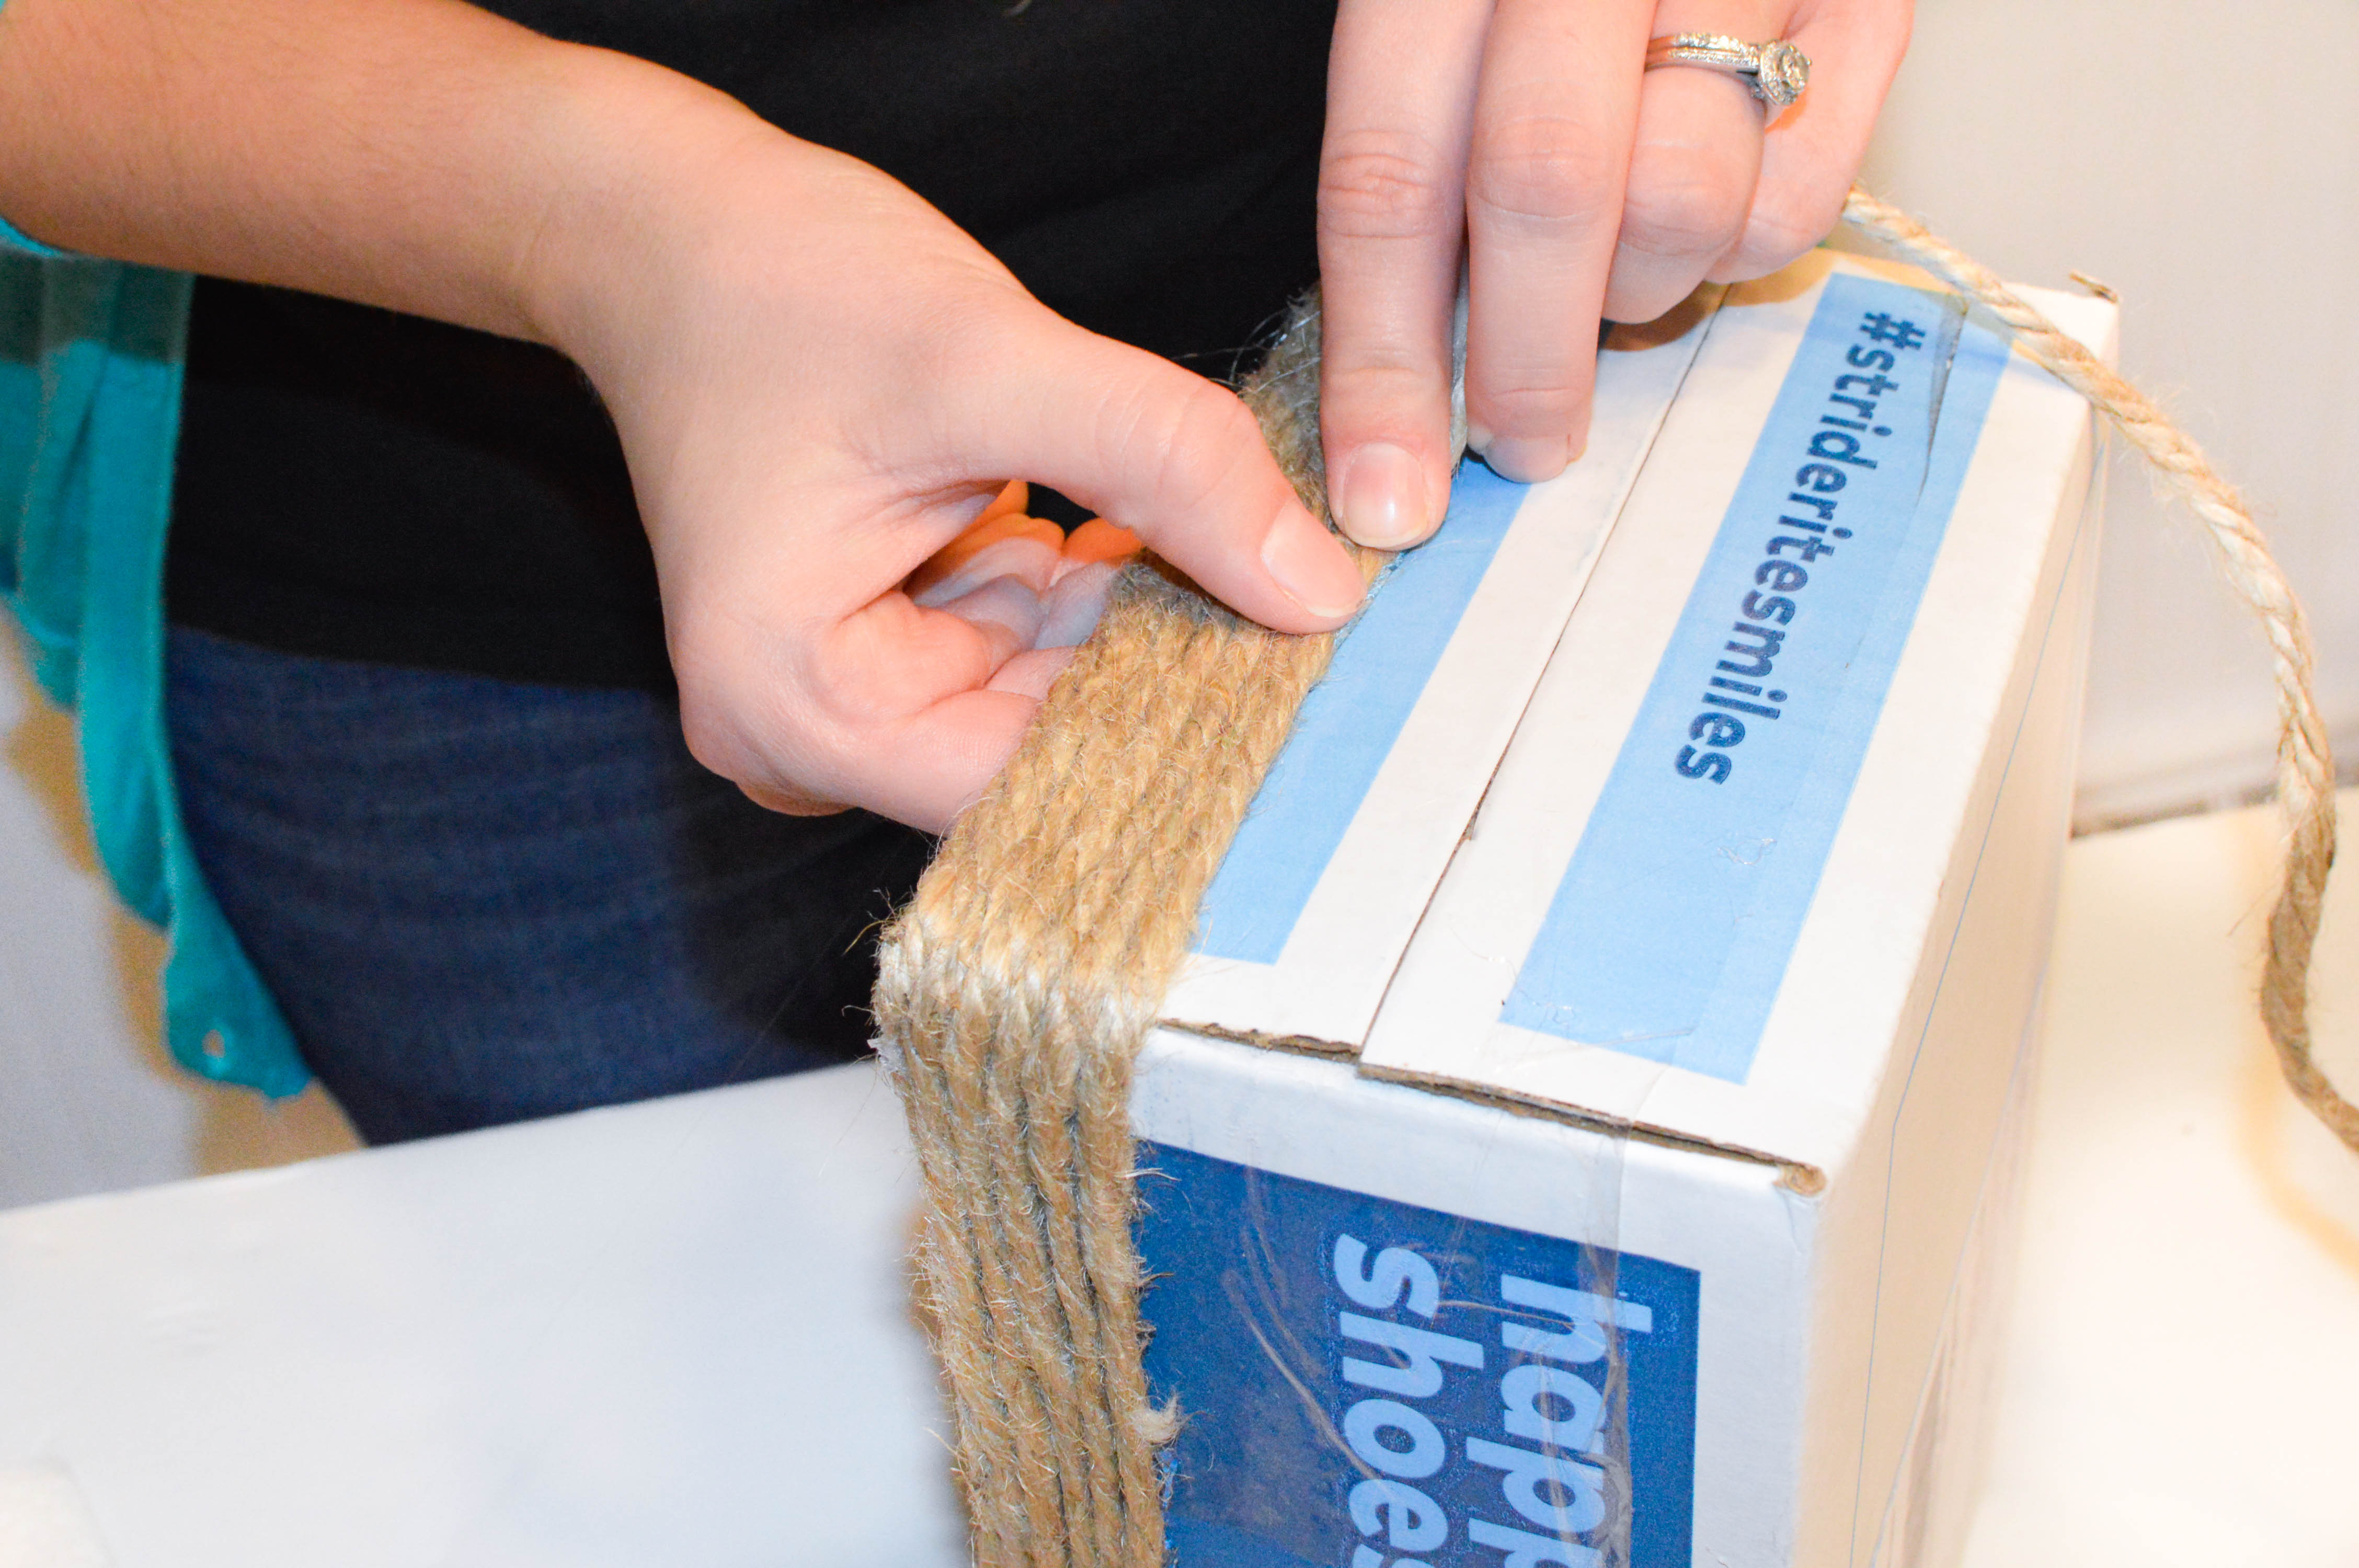
4. Plug in your hot glue gun and let it warm up. Starting along the top edge of the box, run a bead of glue. Then take the end of your jute and place it over the top of the glue line.
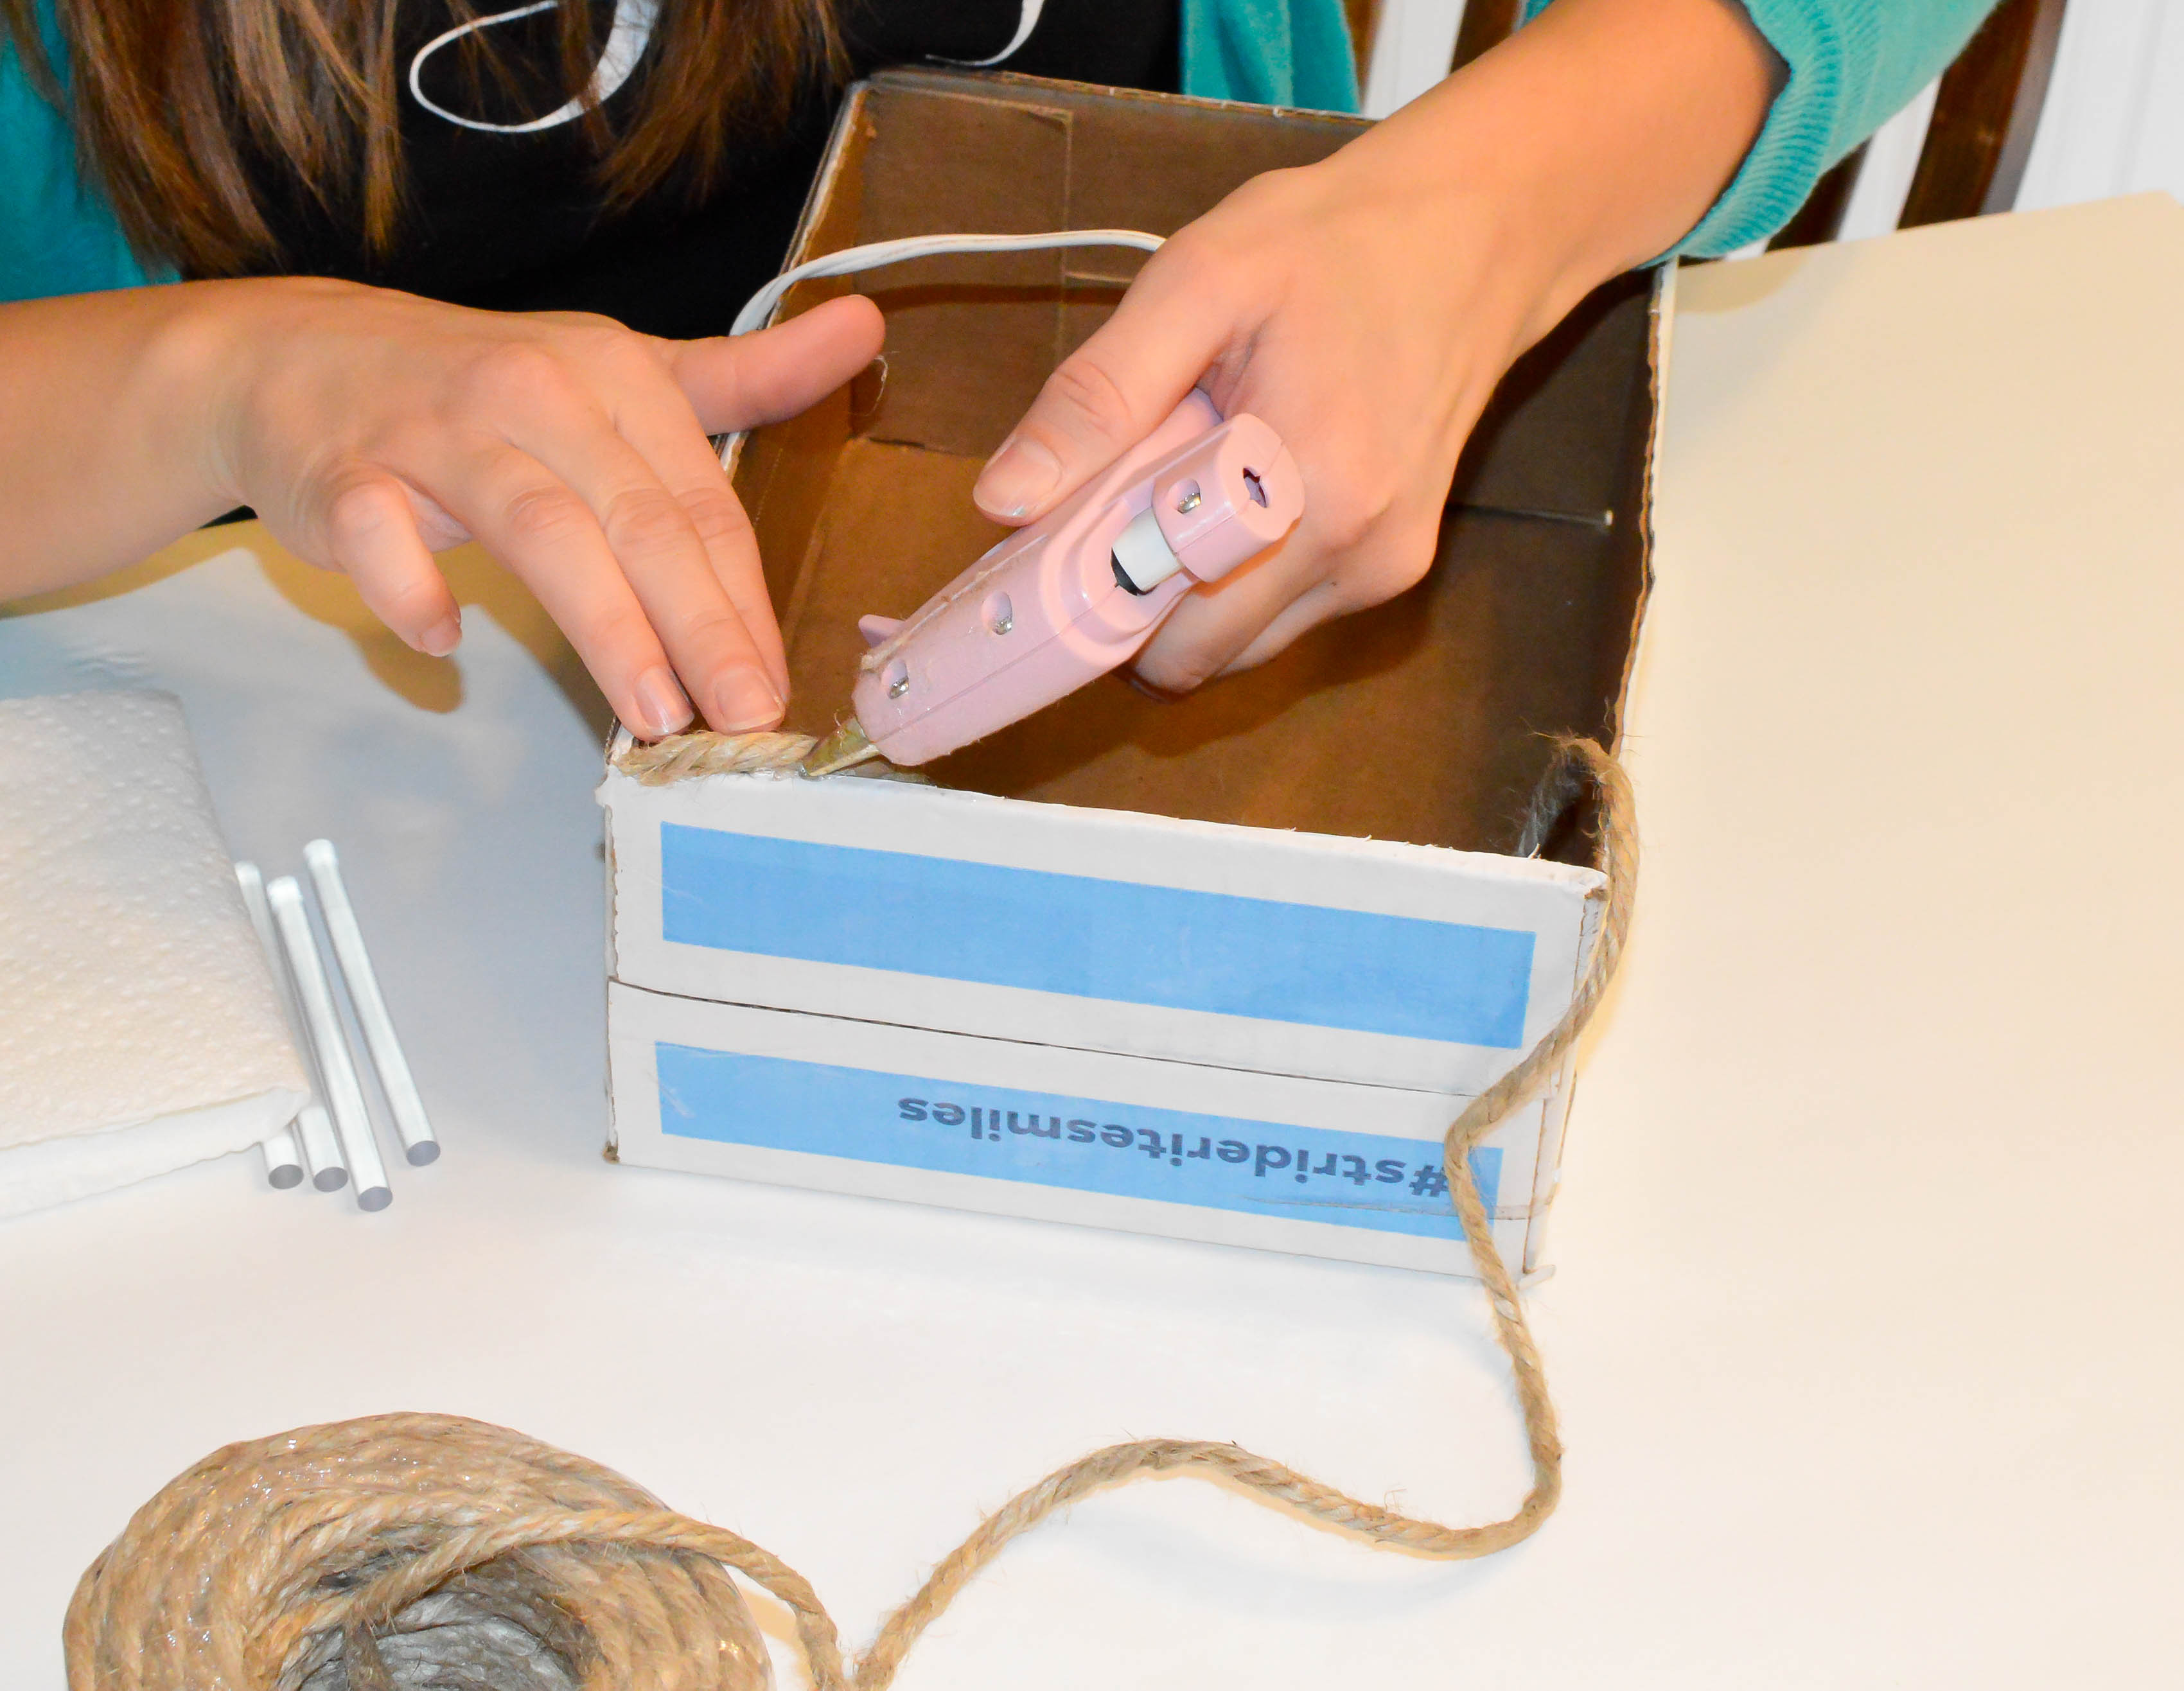
You will want to press firmly so that the jute stays in place well and doesn’t sag on either the inside or outside of the box. Work your way all the around the box’s top edge to get started.
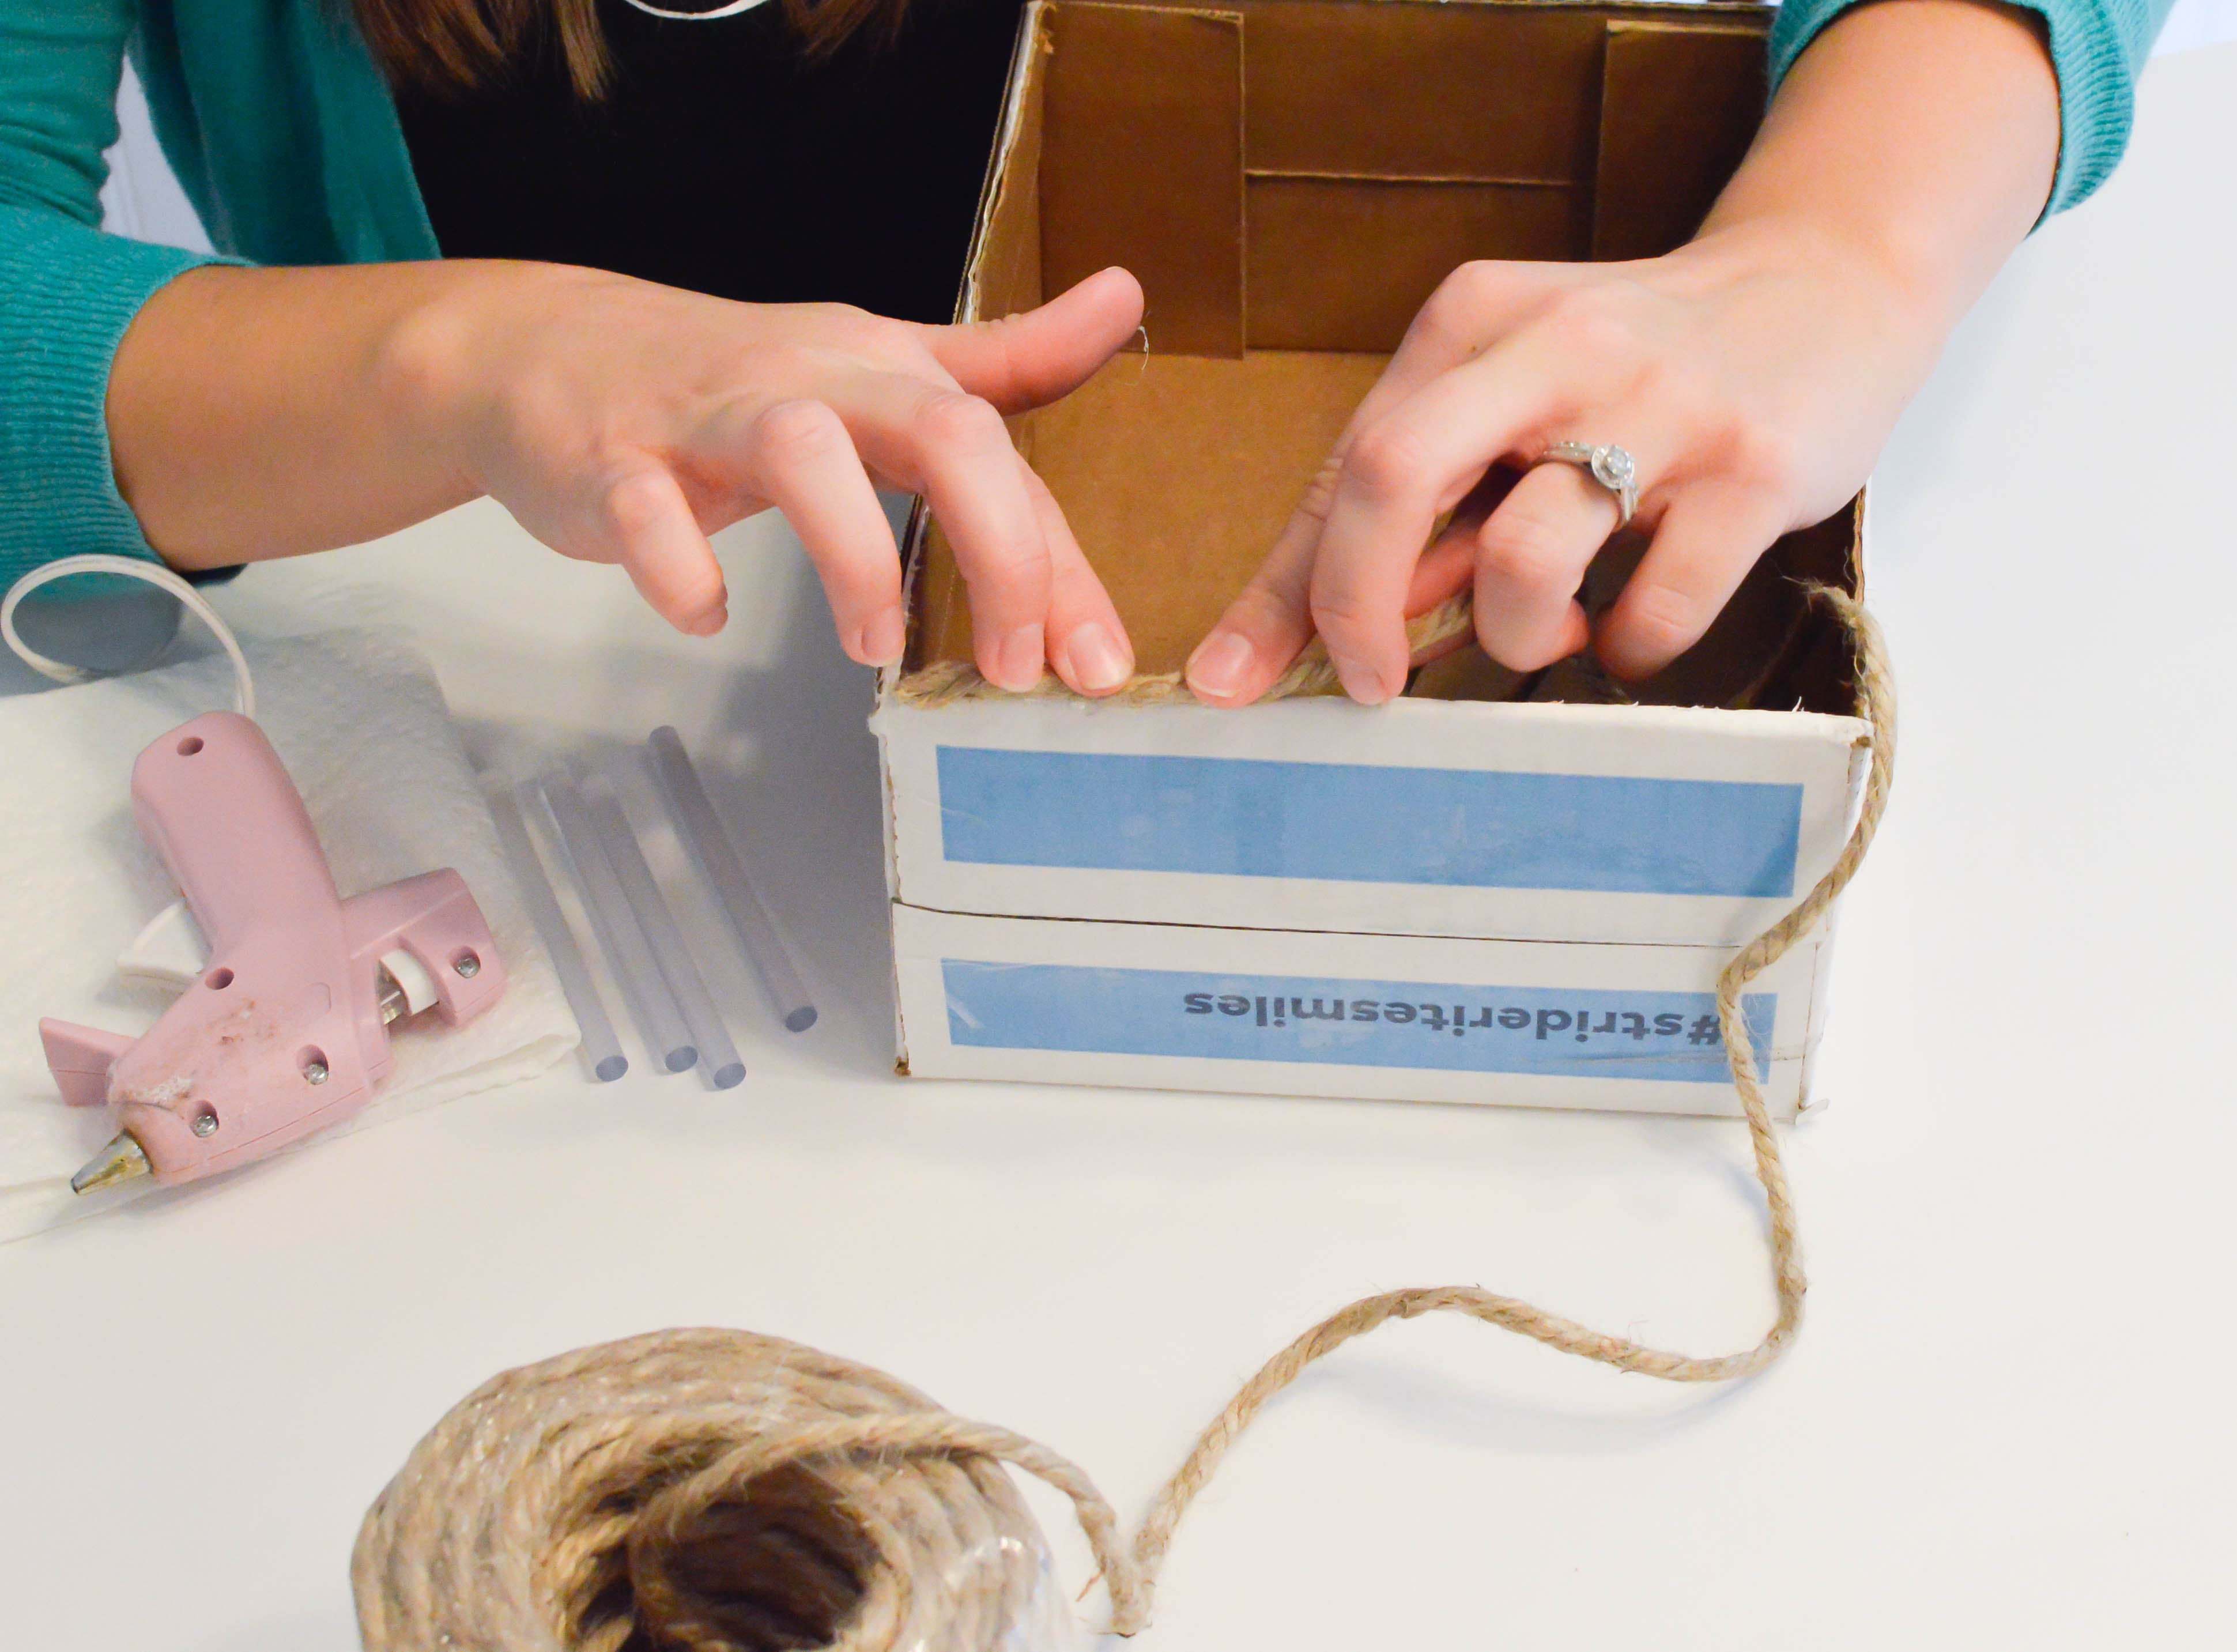
5. Once you get all the way around the box’s top edge, begin working your way down. You will want to make sure to press the jute up against the previous layer to ensure you don’t have any parts of the box peeking through! 🙂 Be very careful with the glue gun. I always tend to burn myself at least a couple times every time a do a project like this!
6. The run a bead of glue along the final edge and firmly press the last line of jute up against the previous layer.
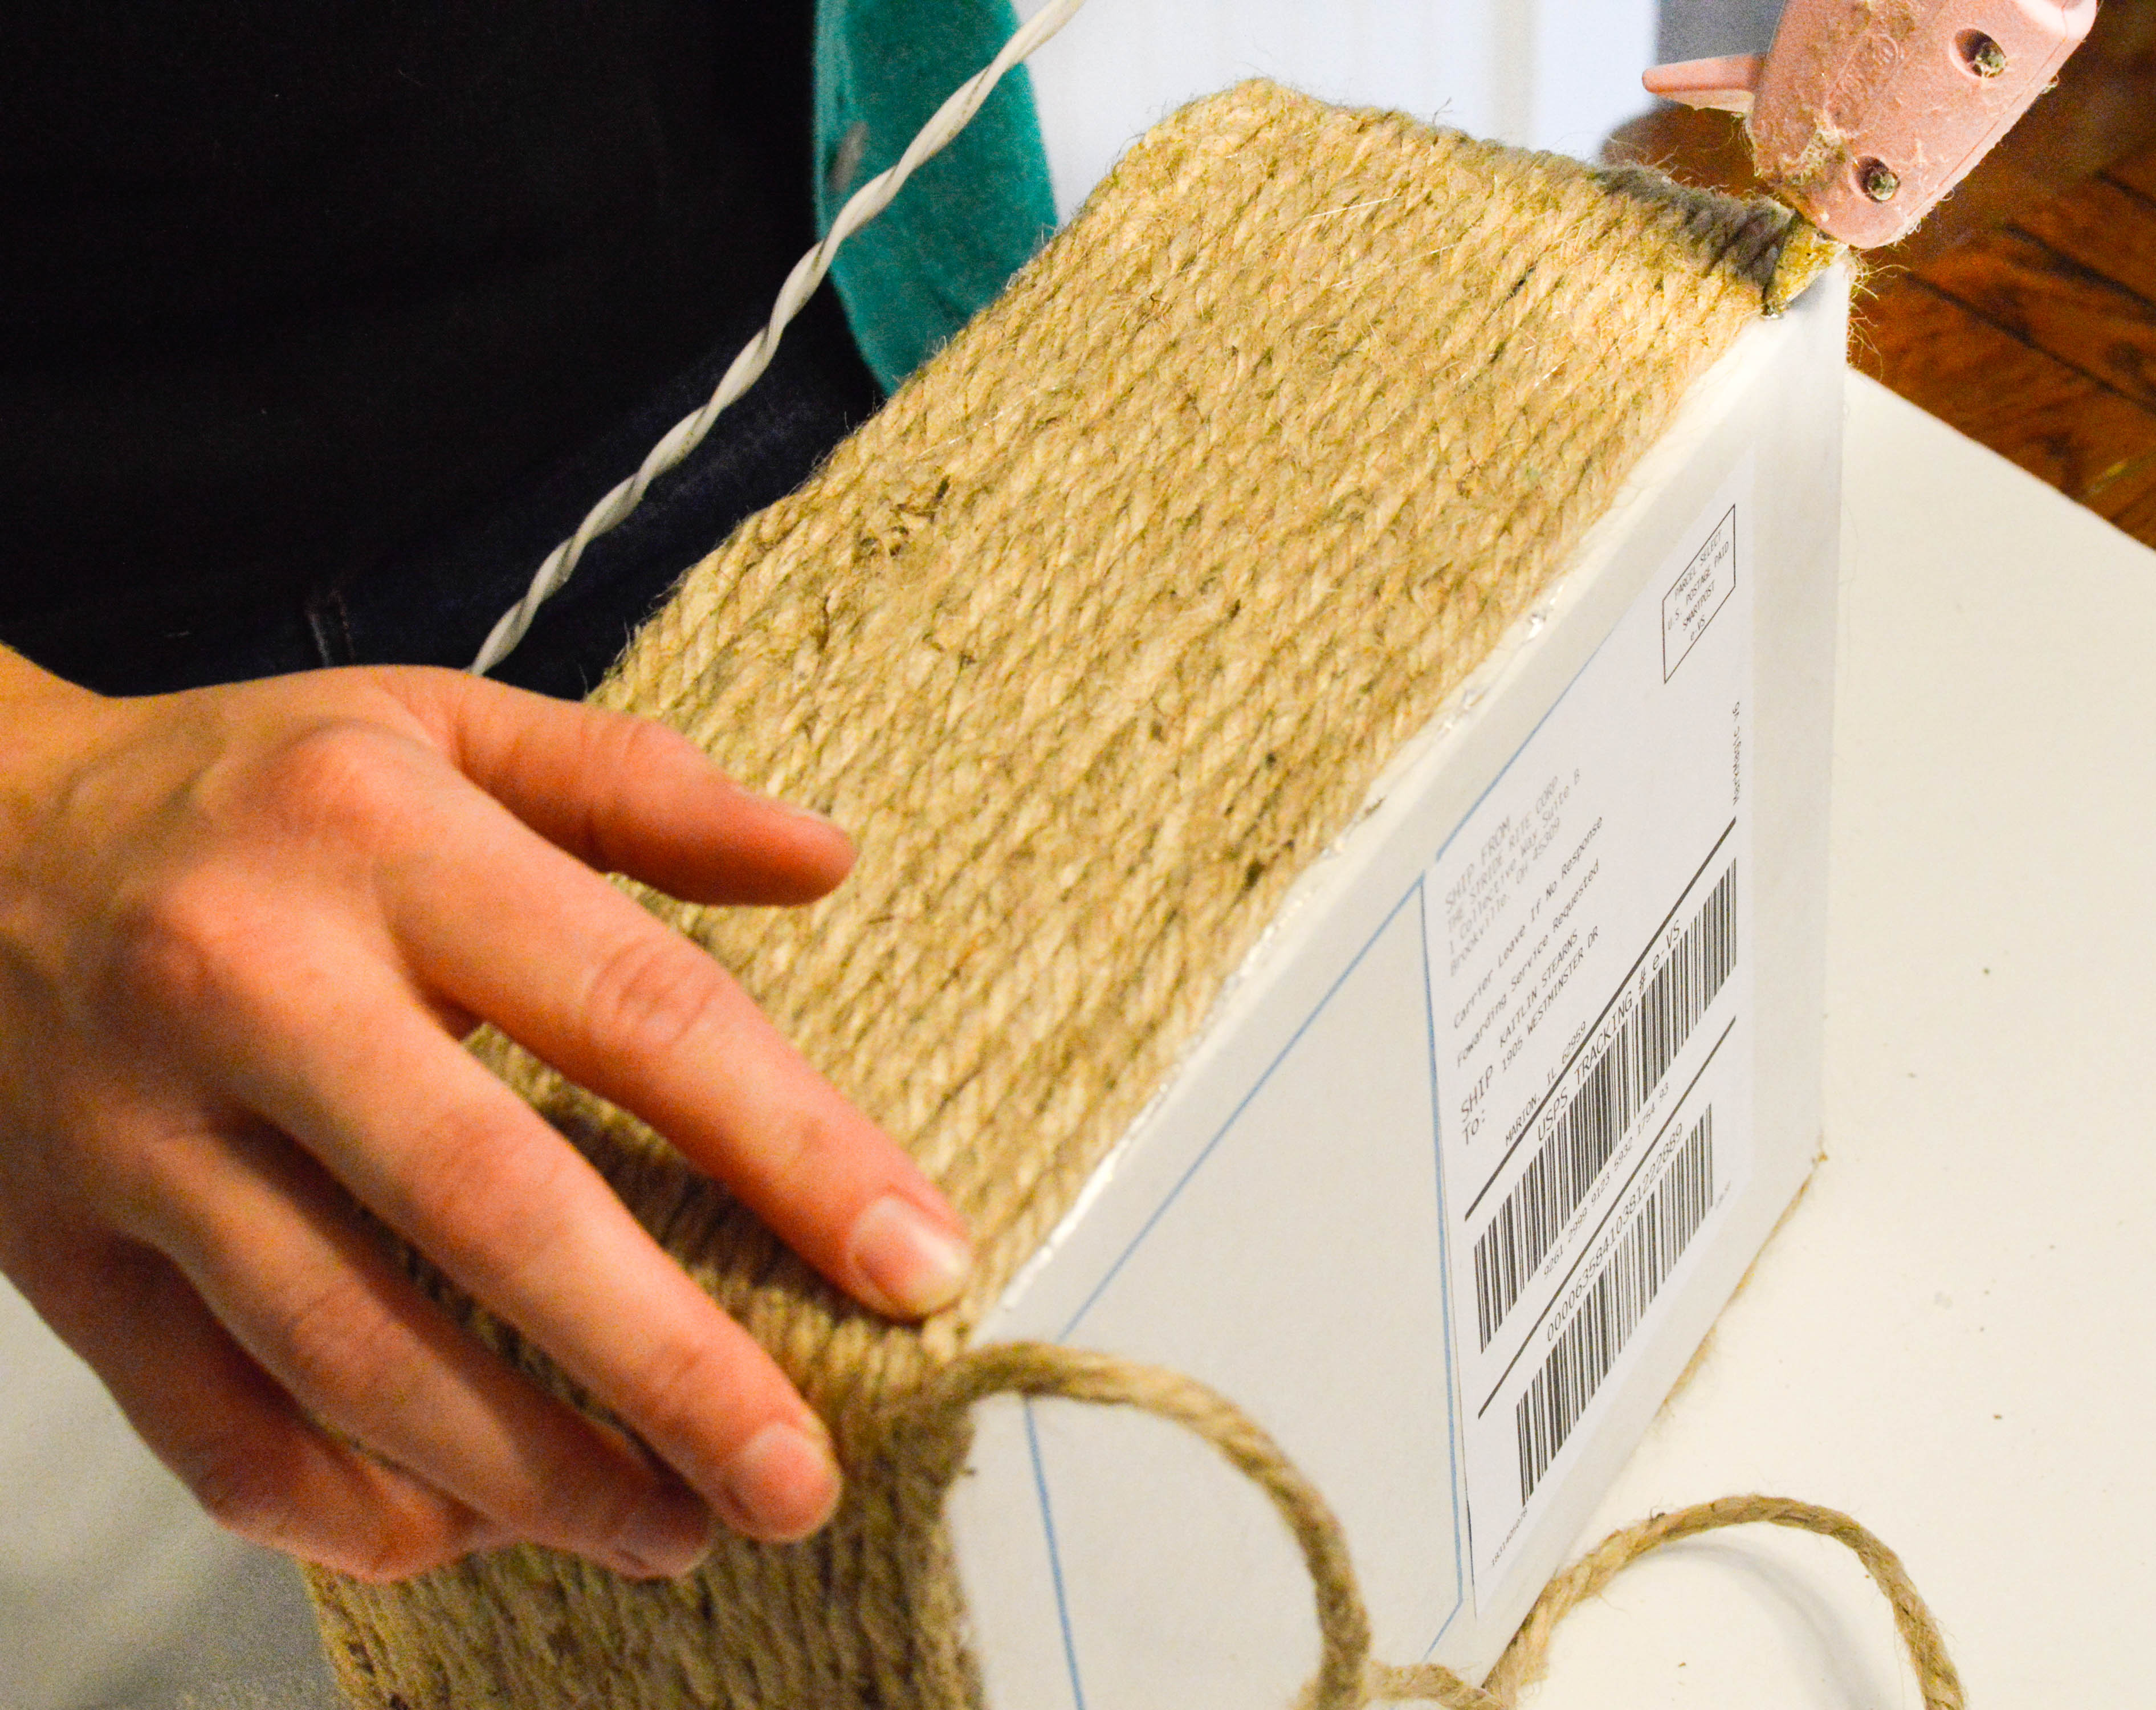
Finally, cut the jute at an angle to the correct length. Put a bit of glue on the very end of the jute and press it firmly against the box.
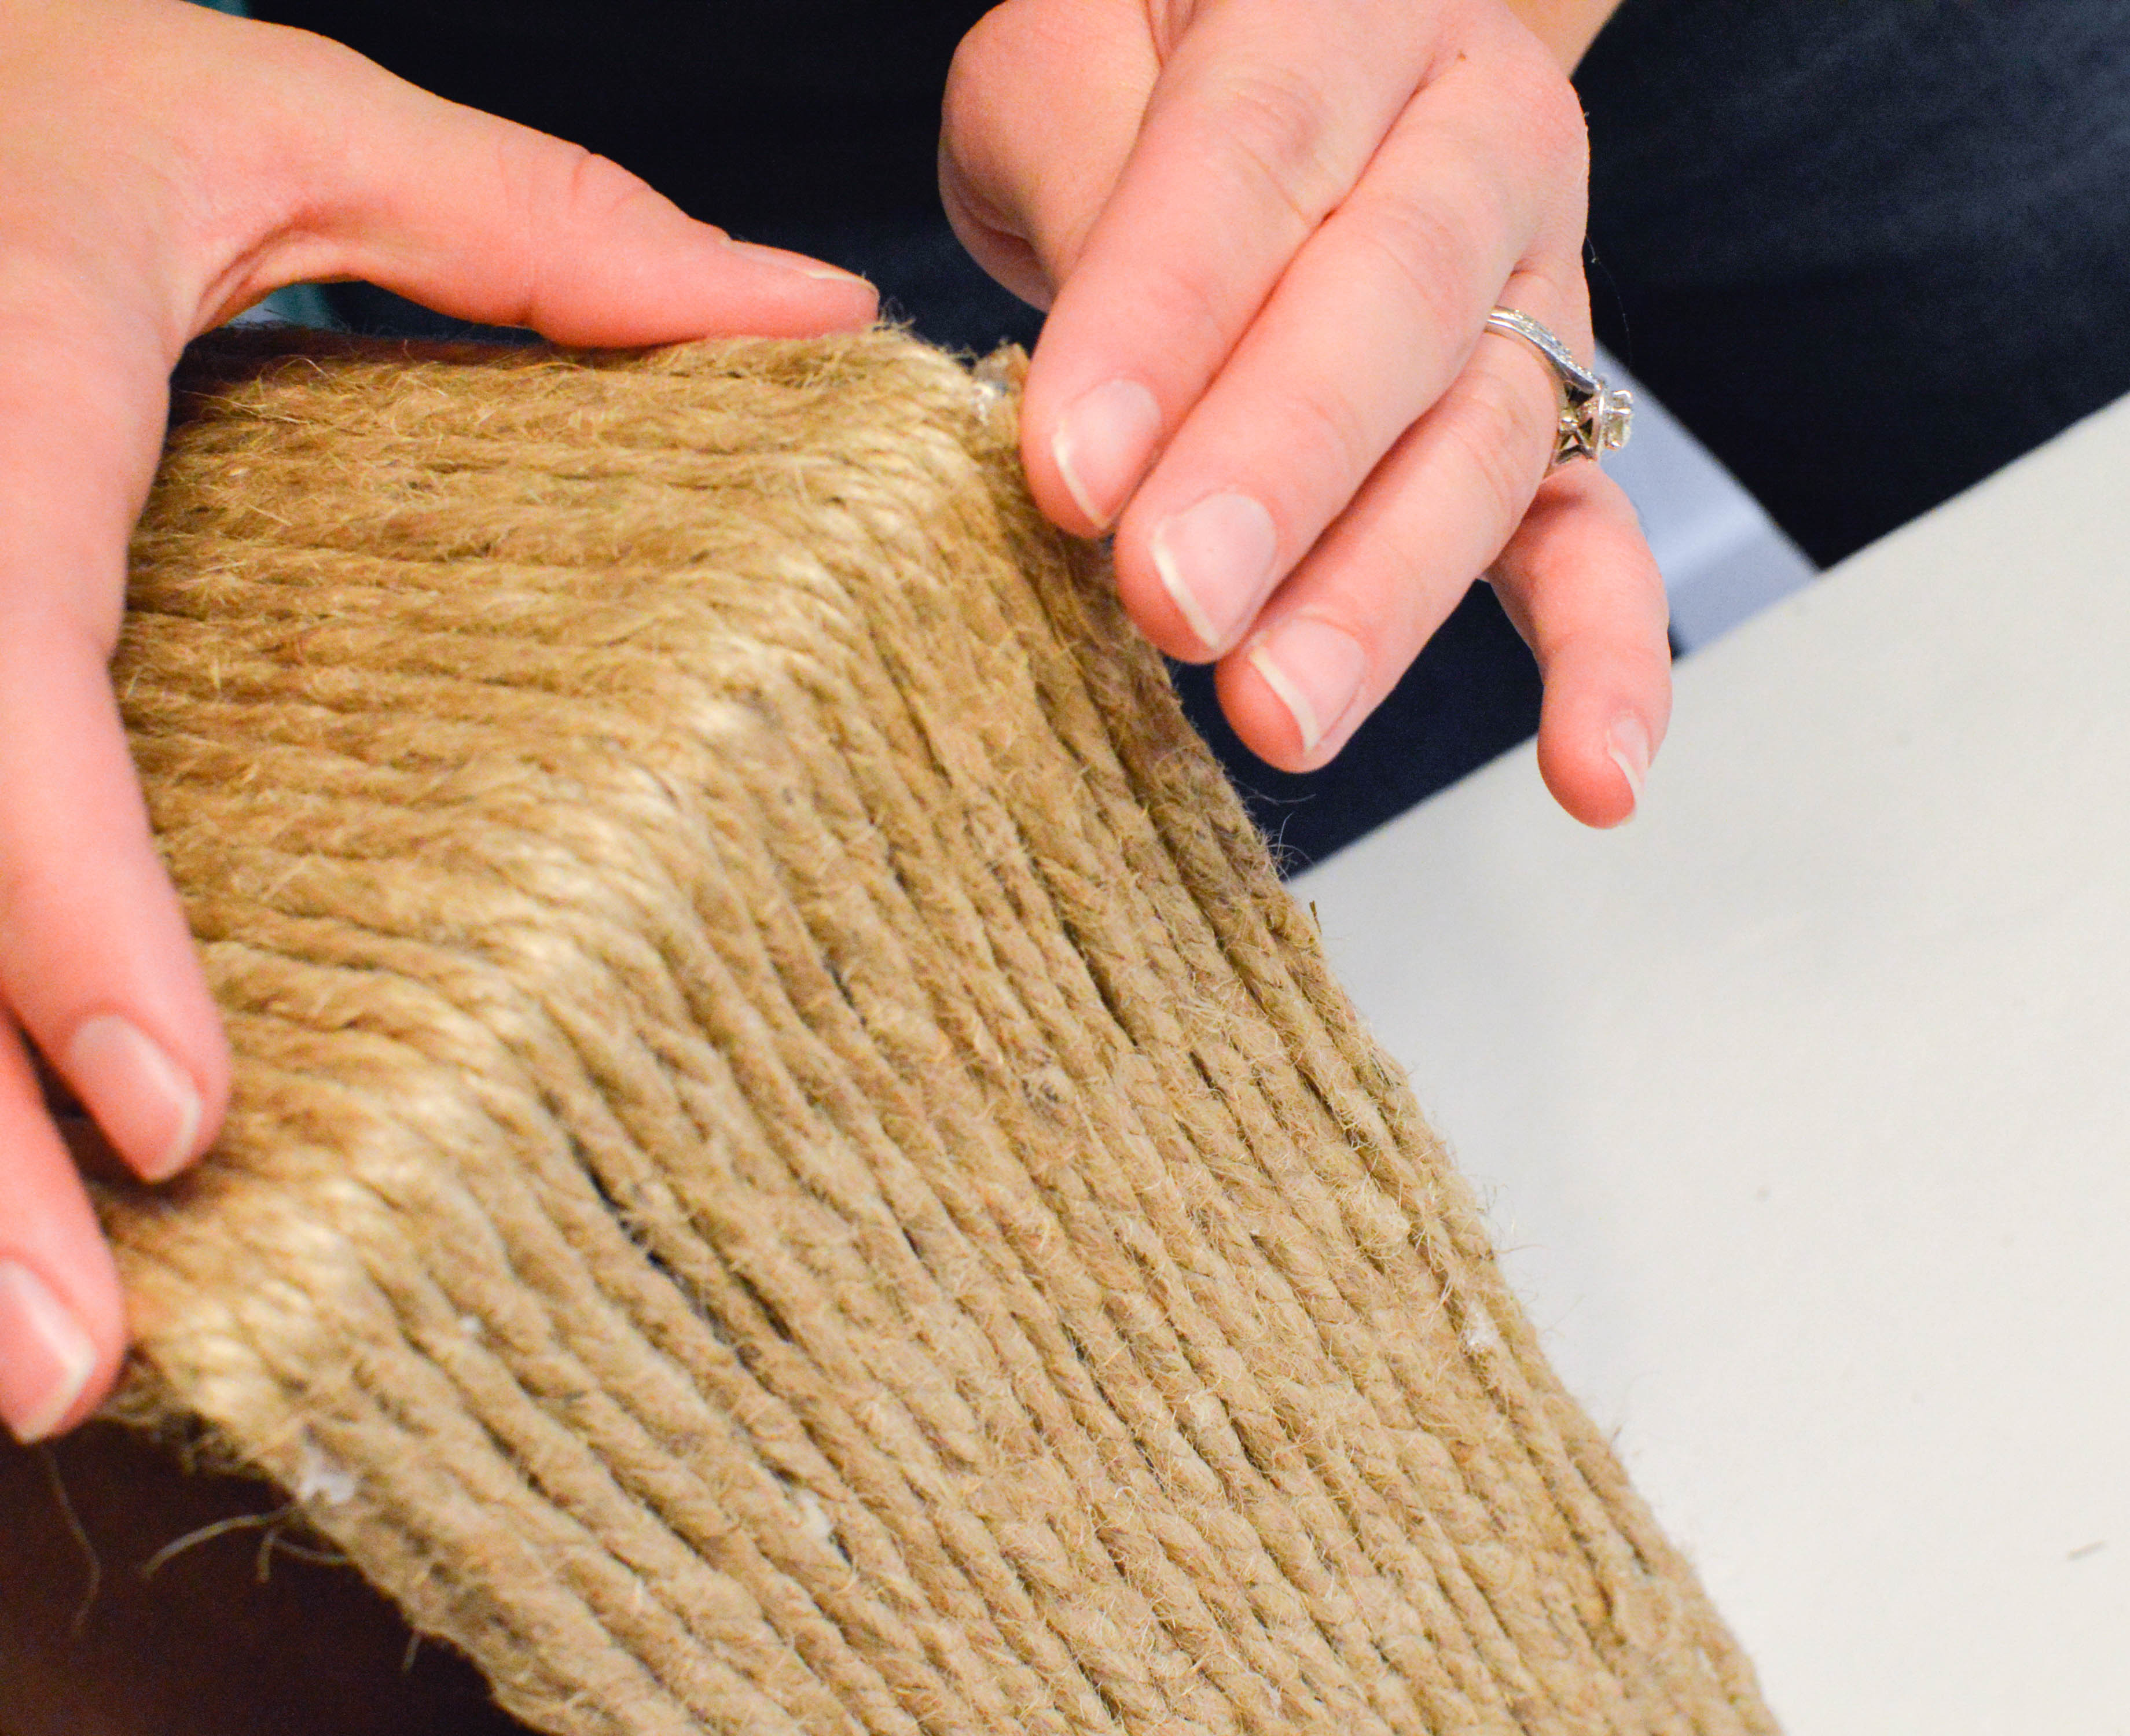
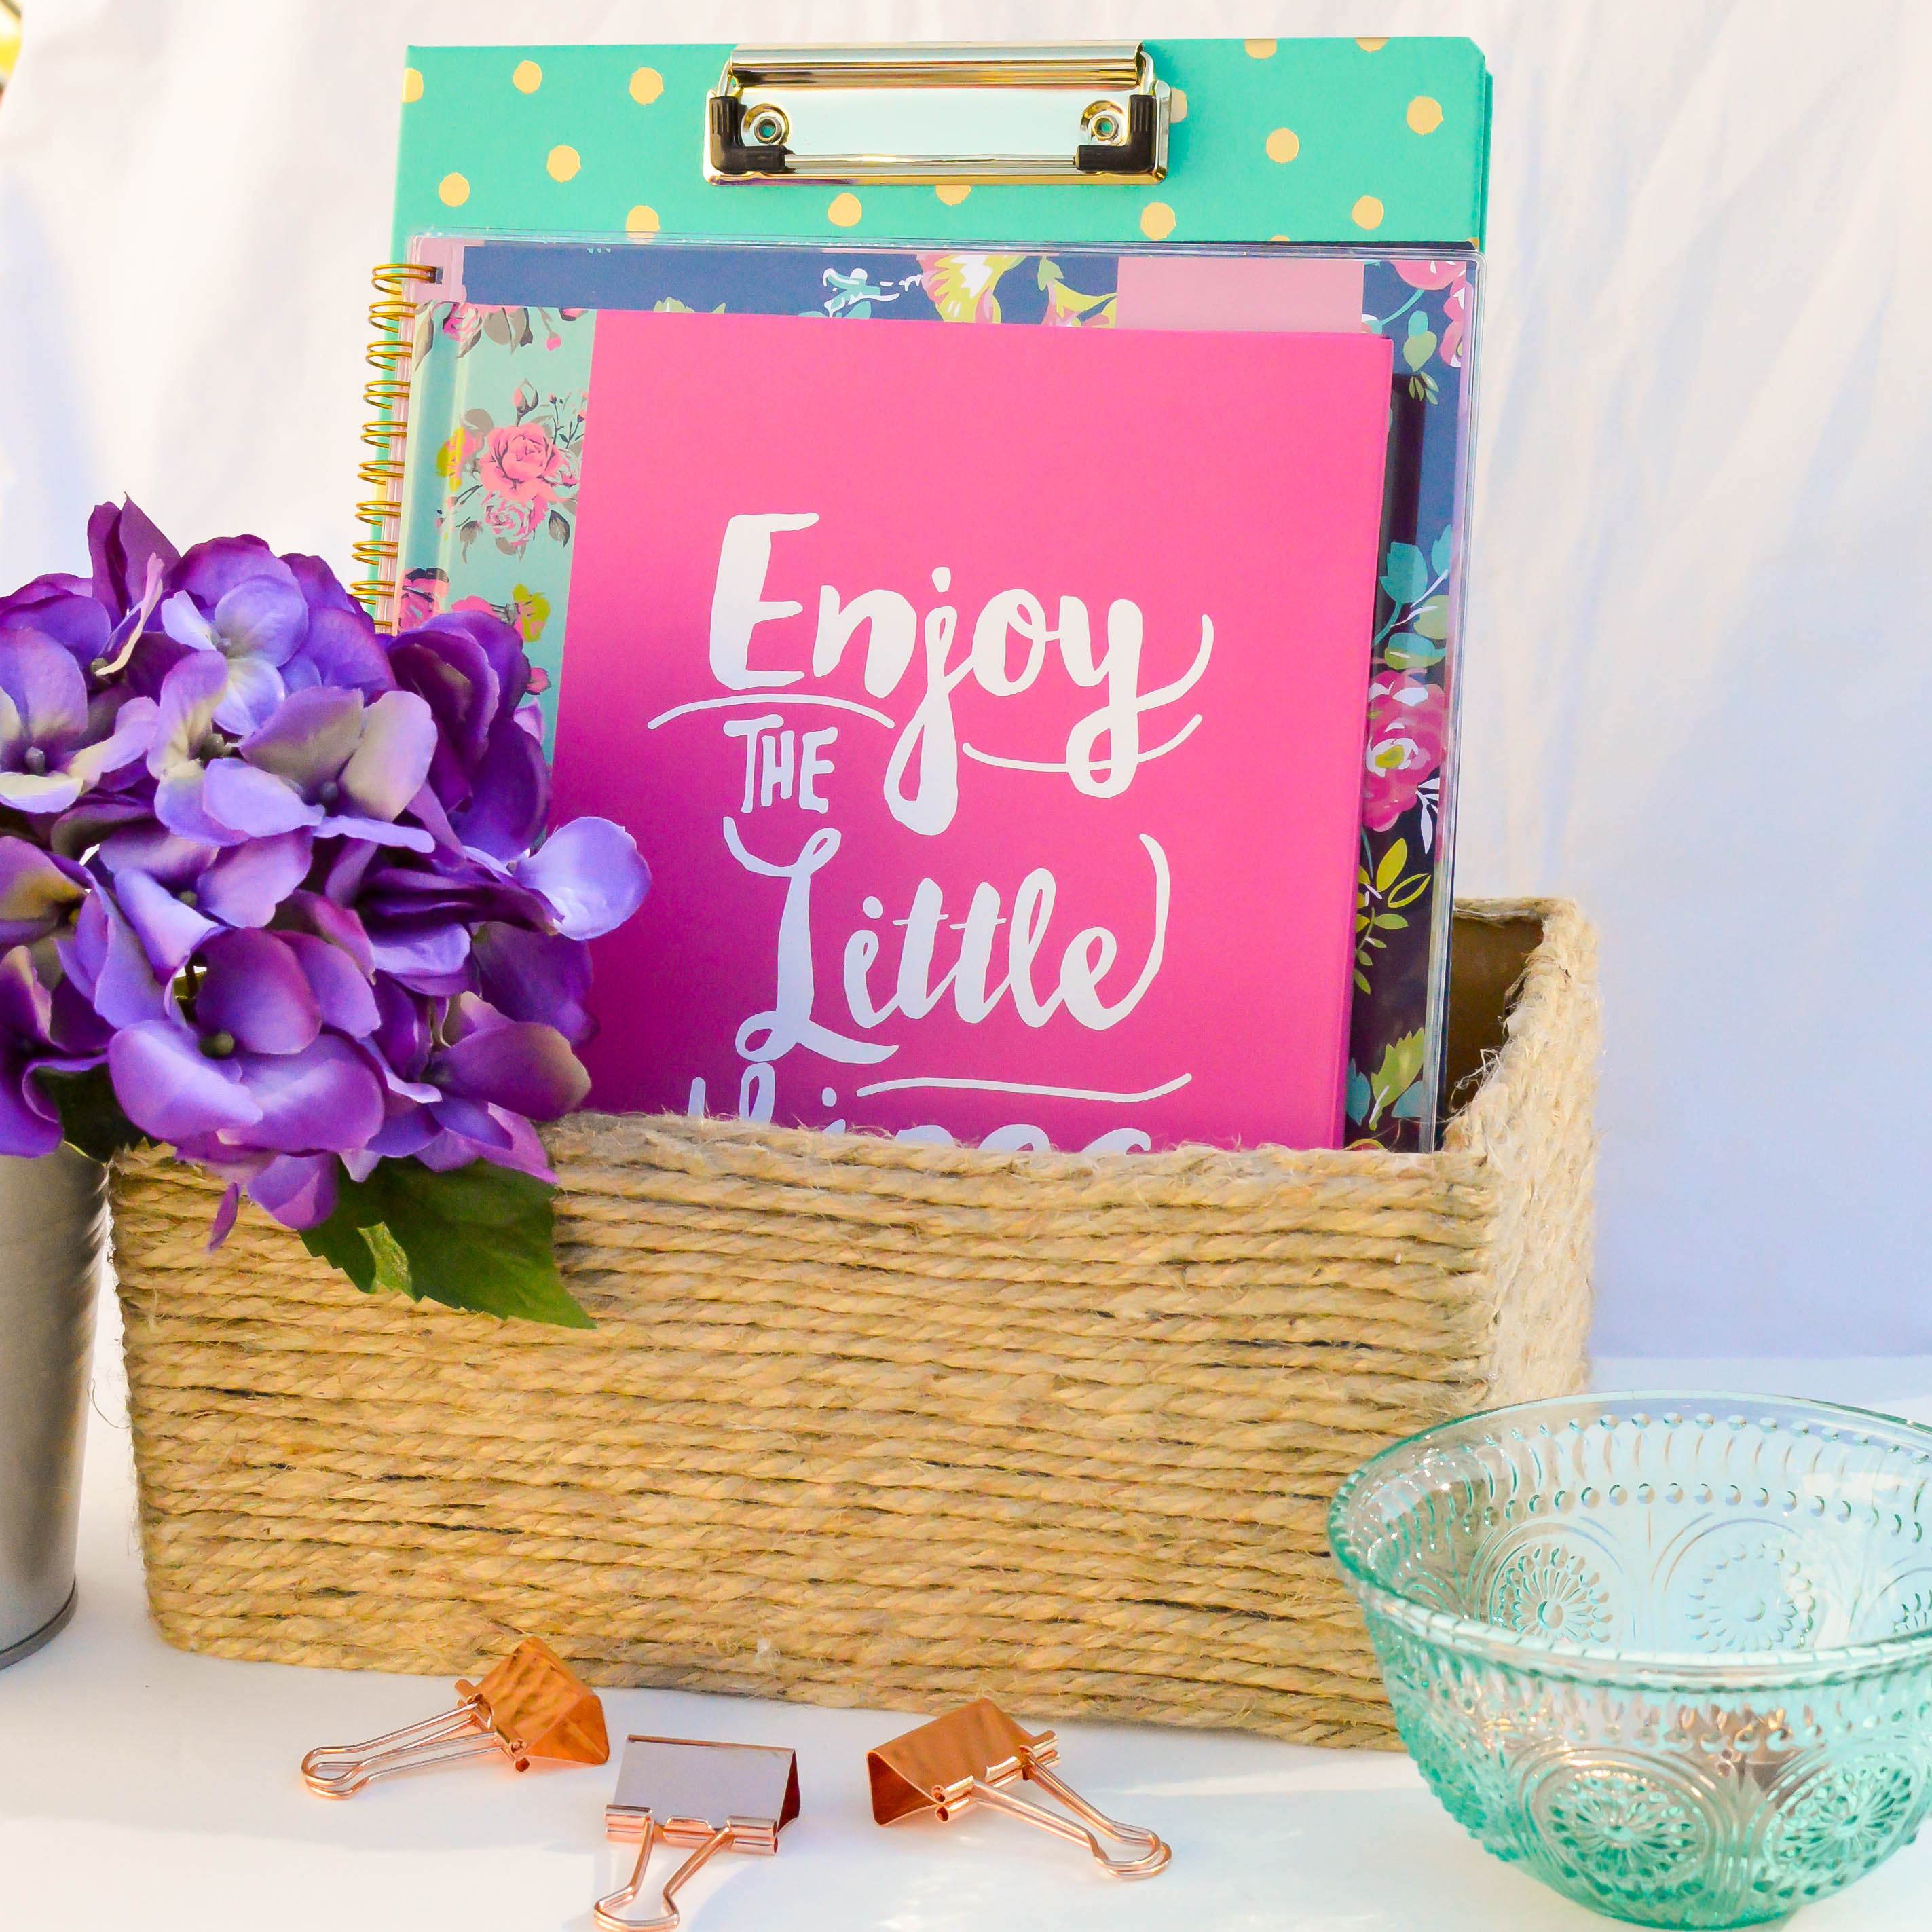
That’s it! It’s so easy and makes a very cute DIY woven basket look. It really spices up a simple box that you can use for organizing! This box is about 12″ wide, 8″ deep and 6″ tall and it took me about 30 minutes. It would be a perfect project to do while watching your favorite show! 🙂

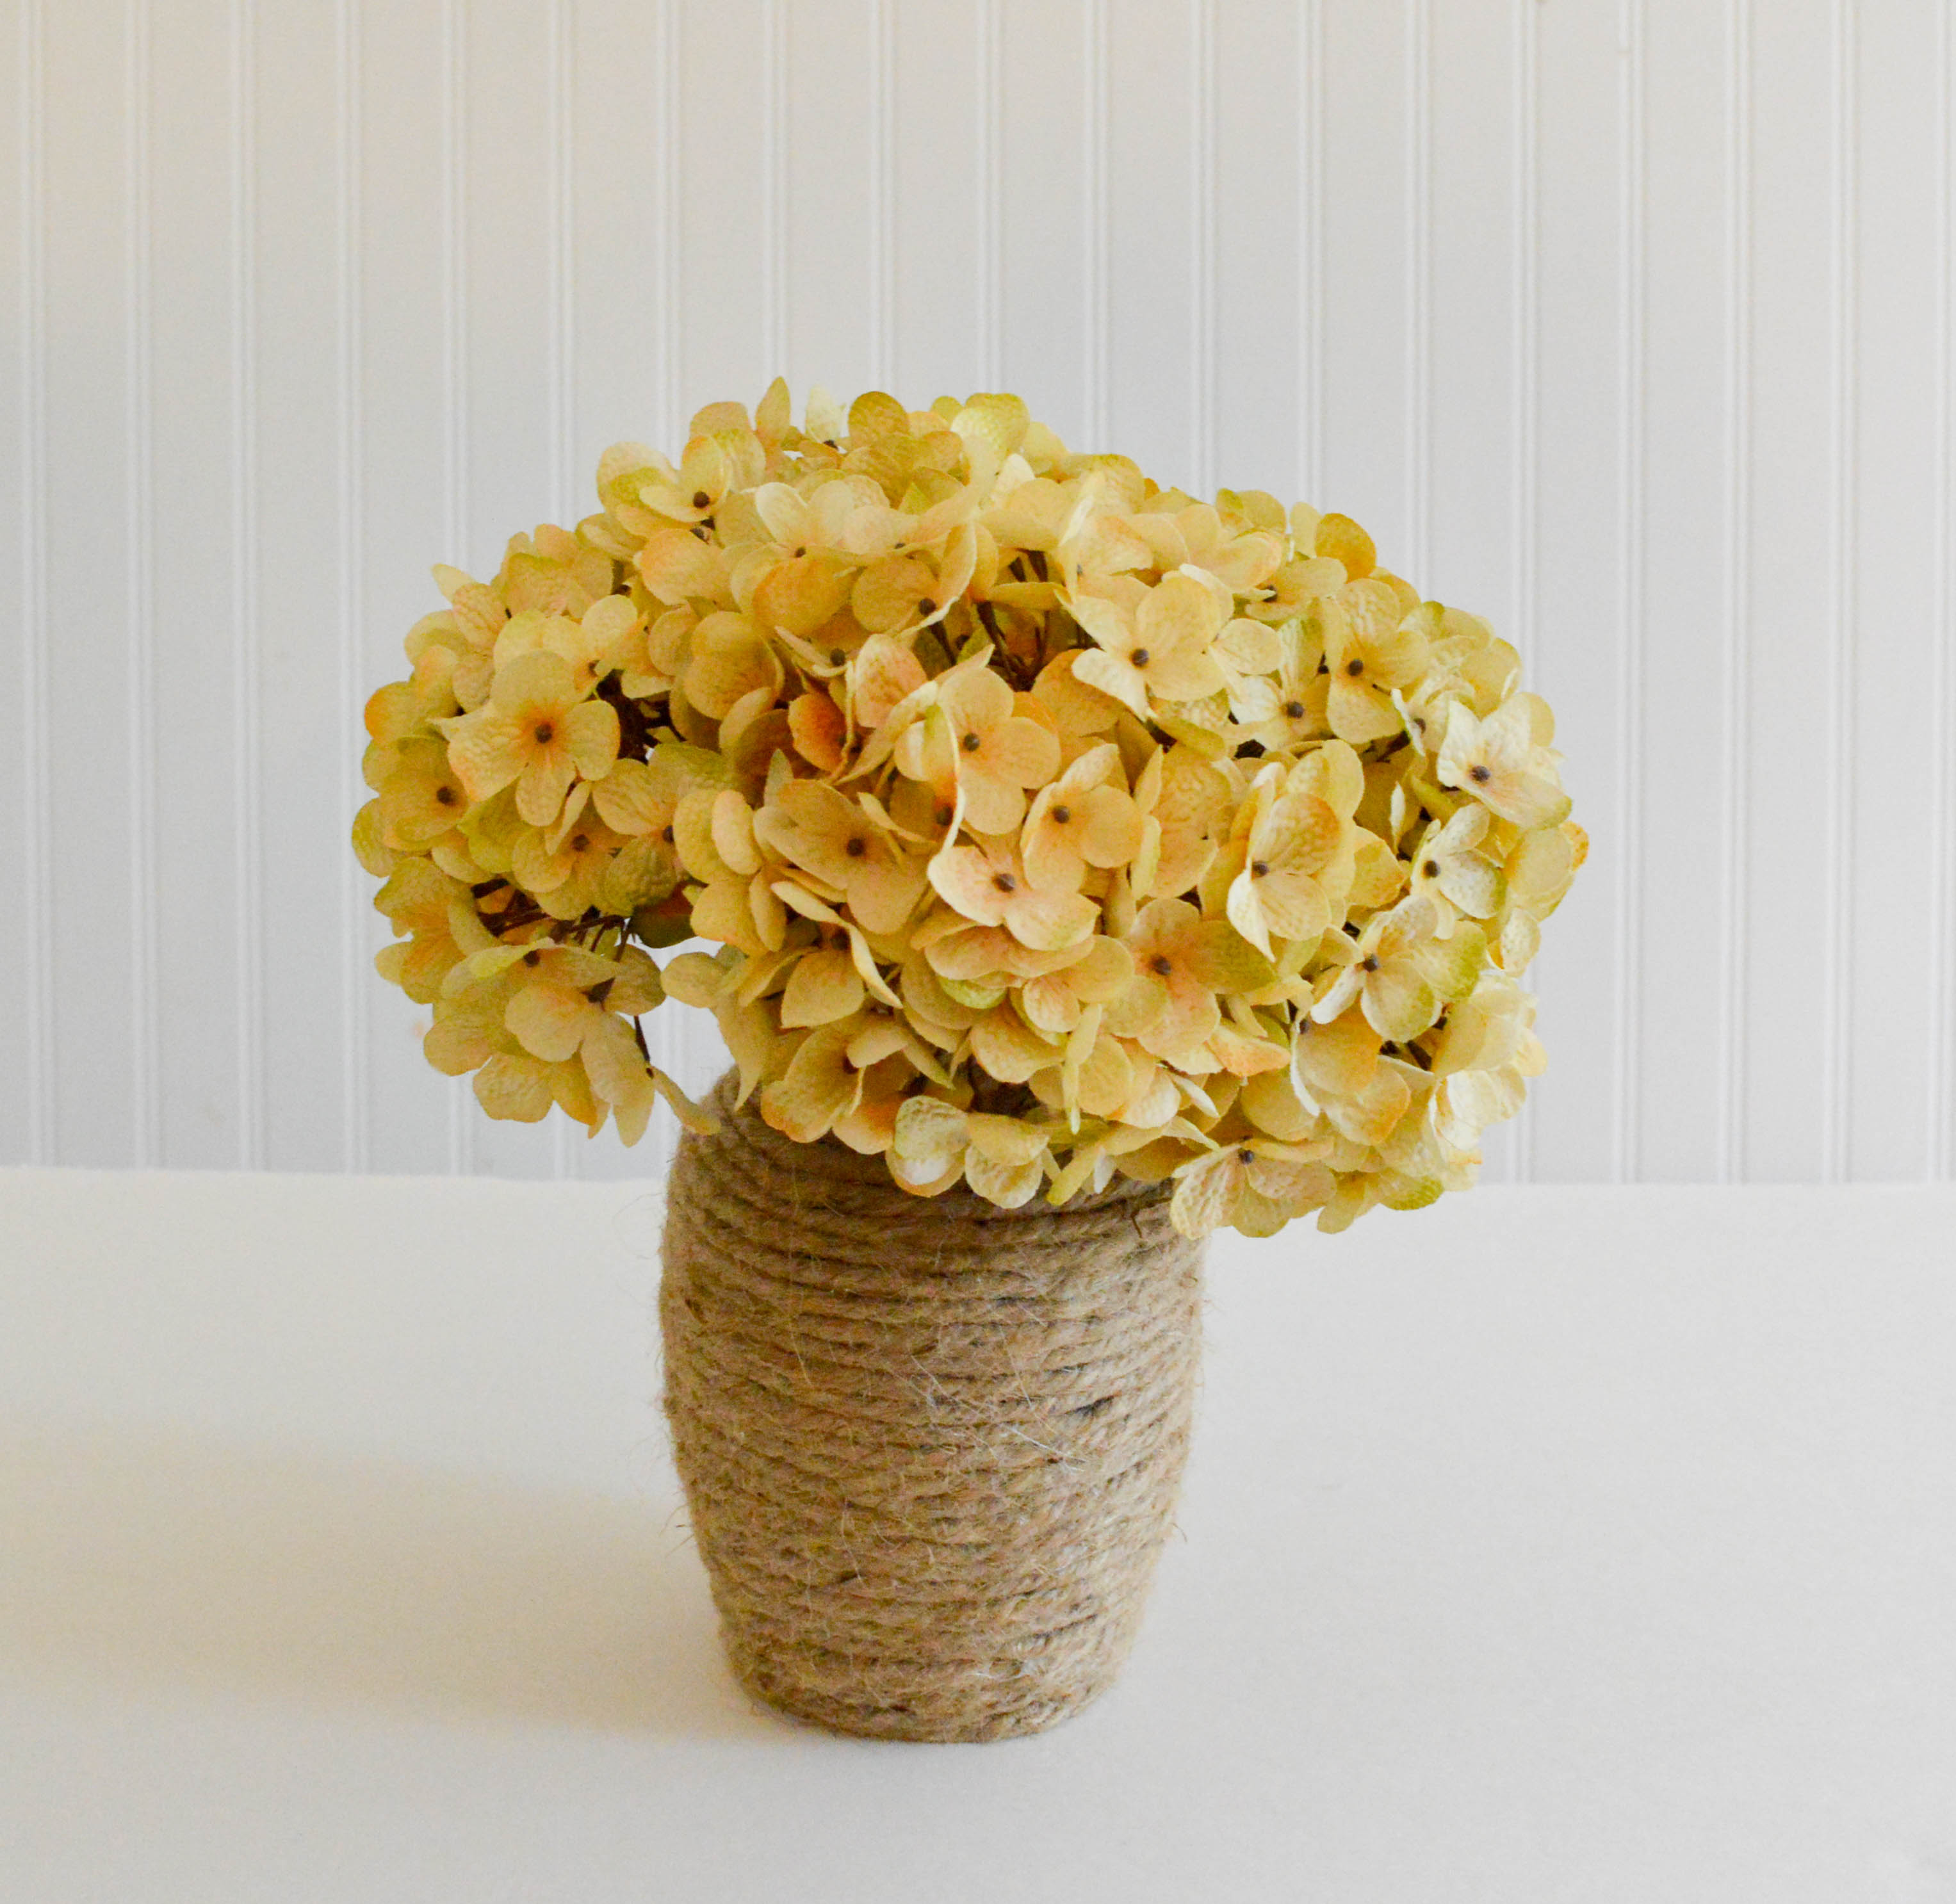
Use this method of wrapping for other objects around your house! I’ve also wrapped a basic glass vase I purchased from Dollar Tree with jute to give it a little more character!
Woven baskets are beautiful, but not always budget friendly. But with a few materials and a little bit of time, it’s so easy to create your own DIY woven baskets for pennies on the dollar!
What’s your favorite DIY project that uses jute?
FREE Organizational Printables!

Get FREE access to our entire library of organizational printables!