A few weeks ago I wrote a post about how to add farmhouse charm to your builder grade home. What I didn’t mention in that post is that we are on a mission to transform our builder grade home into a farmhouse style home on a serious budget! So, of course, I will be sharing all of our updates and transformations here on the blog!
We recently transformed two teeny, tiny closets into a small walk in pantry. There used to be a door on this wall, but we closed it in and were left with a very blank space that needed to be filled. I love the concept of open shelving in the kitchen, but it just wasn’t a practical decision for us to have open shelving everywhere. Sippy cups just aren’t as cute on display! 😉
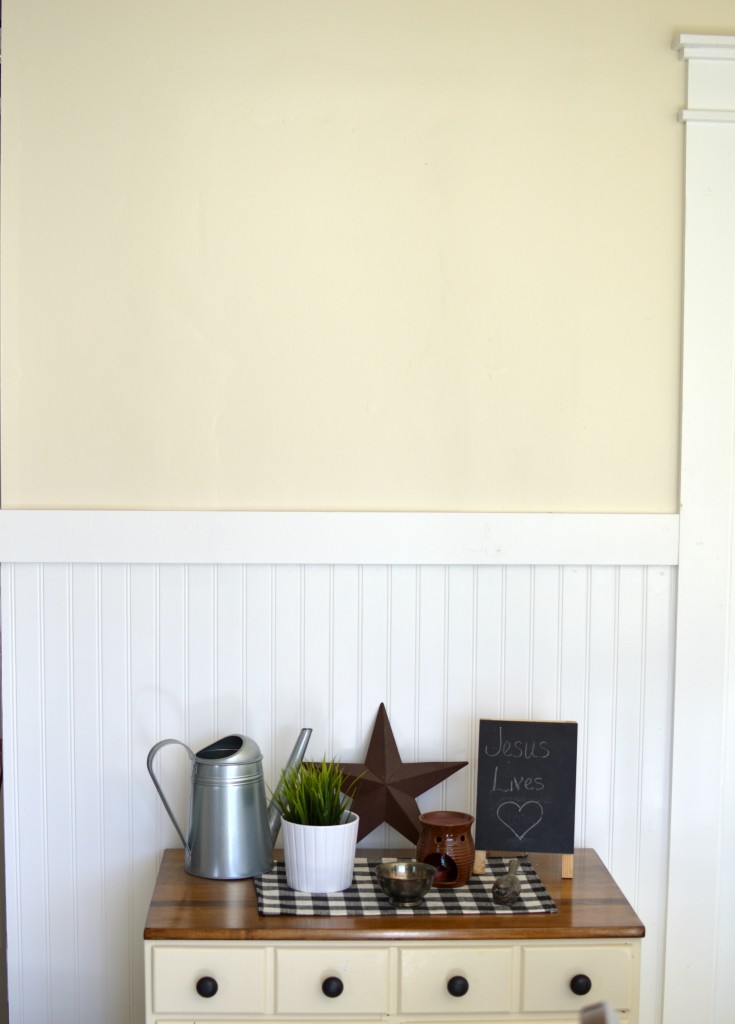
After we added the bead board, we realized we really needed to add some dimension to this blank wall. Since we love open shelving, we decided to bring in a small section in this space. However, we soon realized that the supplies we needed were a little pricey. So of course, we decided to do a serious DIY on a budget!
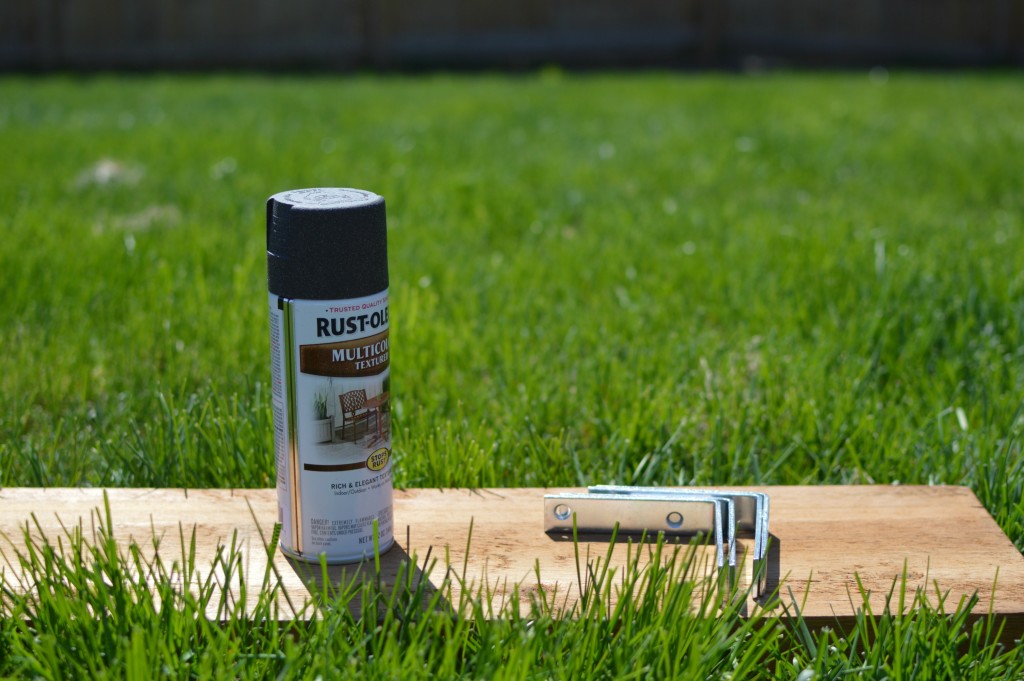
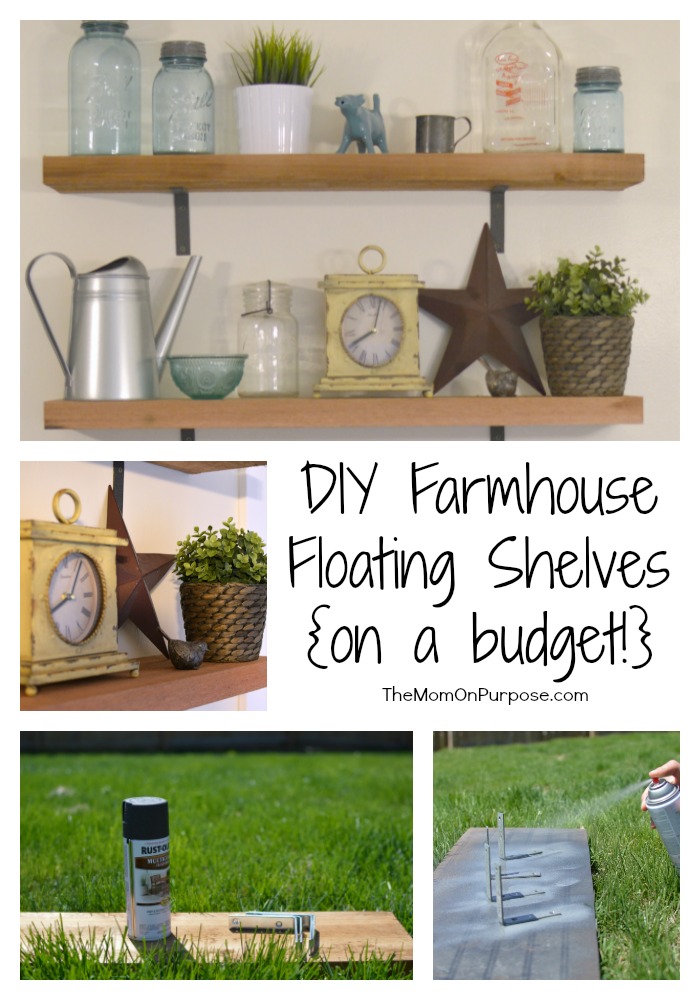
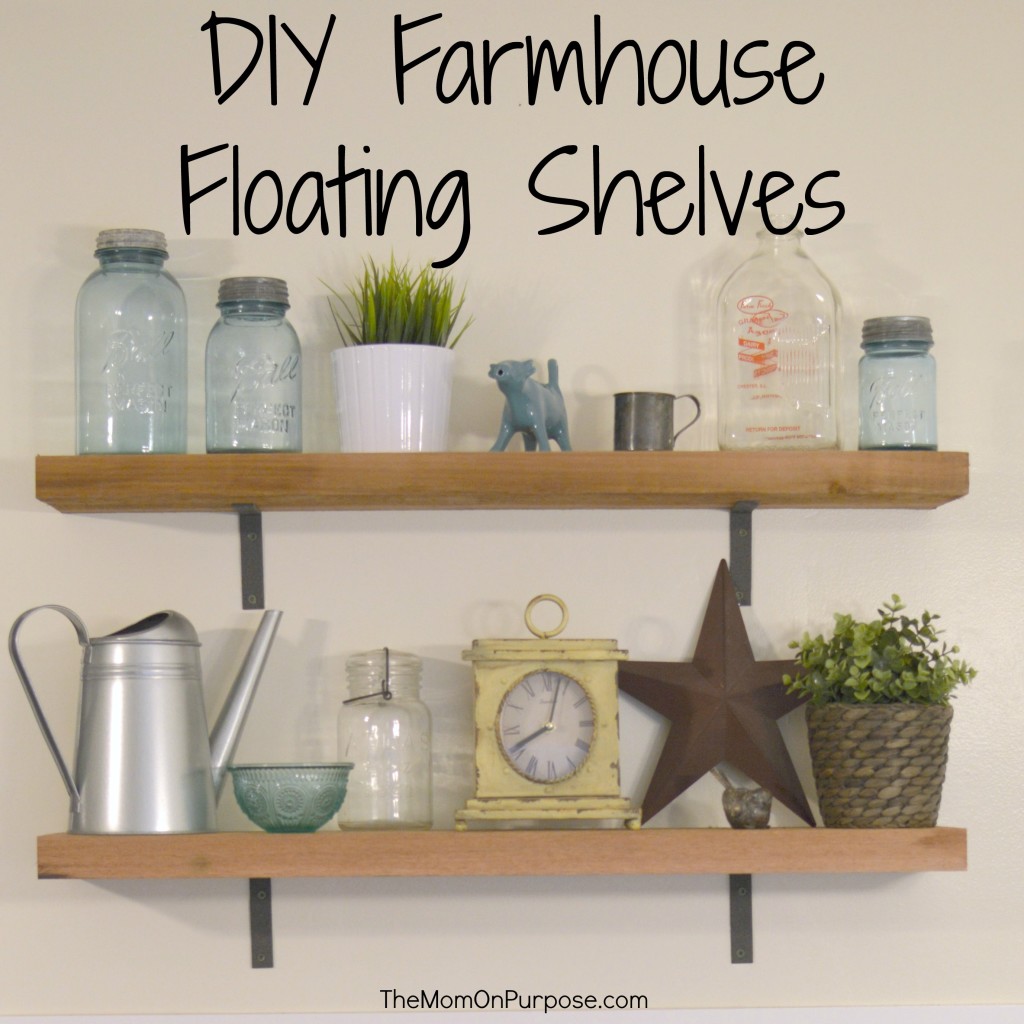
If you would like to make your own farmhouse floating shelves, you will need a rough piece of wood, textured spray paint, 4″ L-brackets, and screws. We purchased an 8′ piece of 2×8 rough sawn cedar at Menards for $22. This isn’t a smooth board. It’s going to literally be rough and worn. It looks very rustic and has that farmhouse feel.

While this board was a little pricey, we were able to use it for 3 shelves. We also purchased Rustoleum textured spray paint in Aged Iron and 4 – 4″ L-brackets for $.99 a piece. We checked out “rustic wall brackets” on Etsy and found them to cost $9-$15 a piece! We needed 4 brackets for this project and $40-$60 just wasn’t happening. However, for $9 with spray paint we were able to make 4 brackets. We did 3 coats of spray paint letting them dry completely between coats to make sure that they had full coverage.

We (and when I say we, I totally mean Tom) cut the boards to size. We decided to make our shelves 31″ wide. This filled our space nicely and allowed us to have a little bit leftover from the 8′ piece of wood we purchased to add another shelf on a different wall! YAY!
Tom found the studs in the wall using a stud finder and marked them with a pencil. He then attached the L-brackets to the studs, leveling them at the same time. This is best done by placing a level on top of the brackets before you screw them in.
Once the L-brackets were secured to the wall, he placed the boards on top of the brackets. He checked to make sure the shelf was level first. Then, as I made sure the shelf was flush against the wall, Tom screwed the brackets into the board.
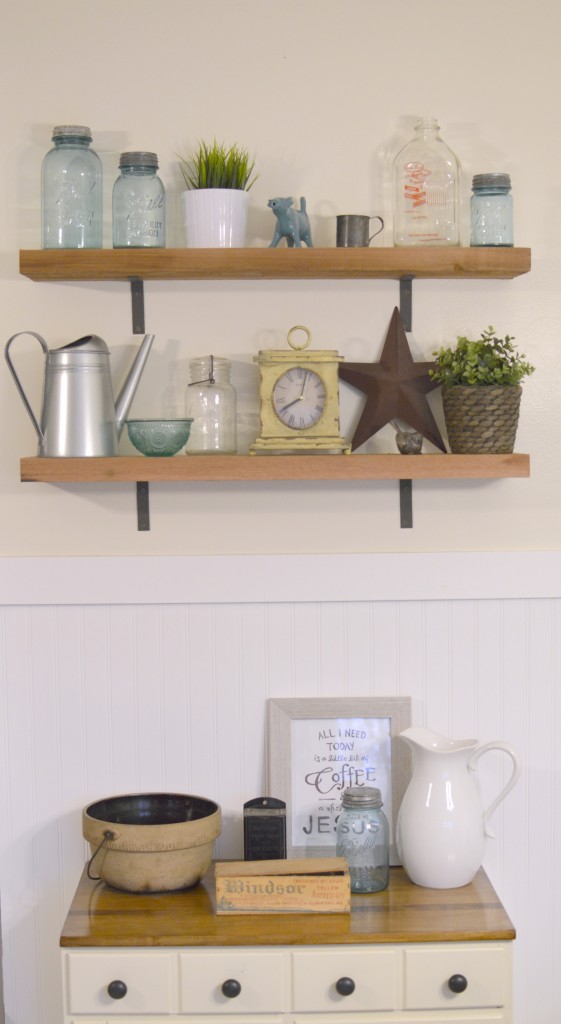
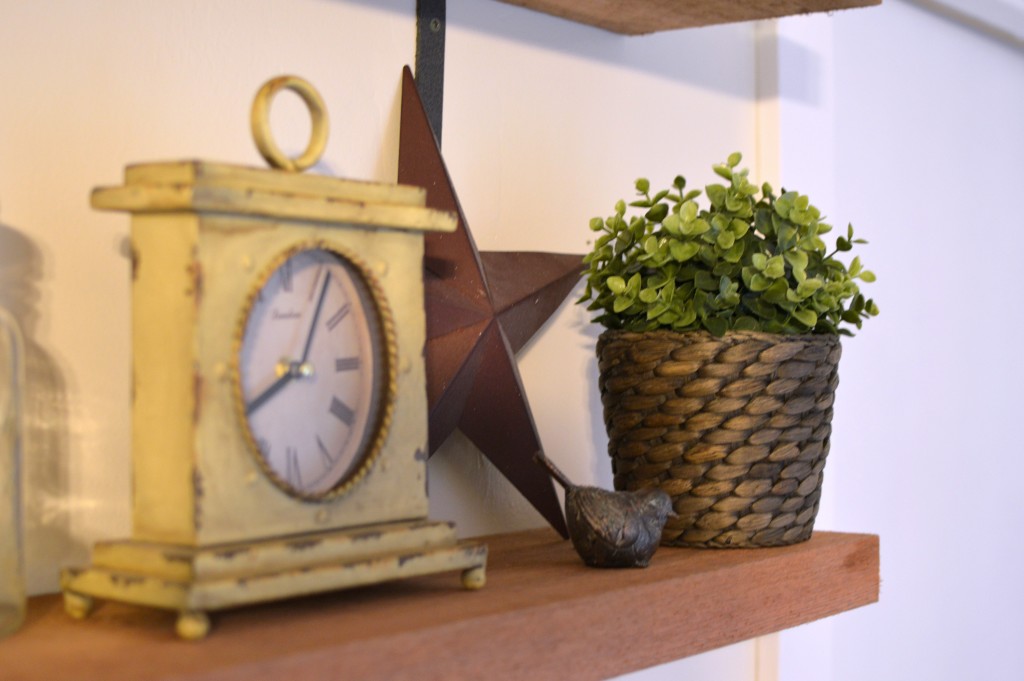
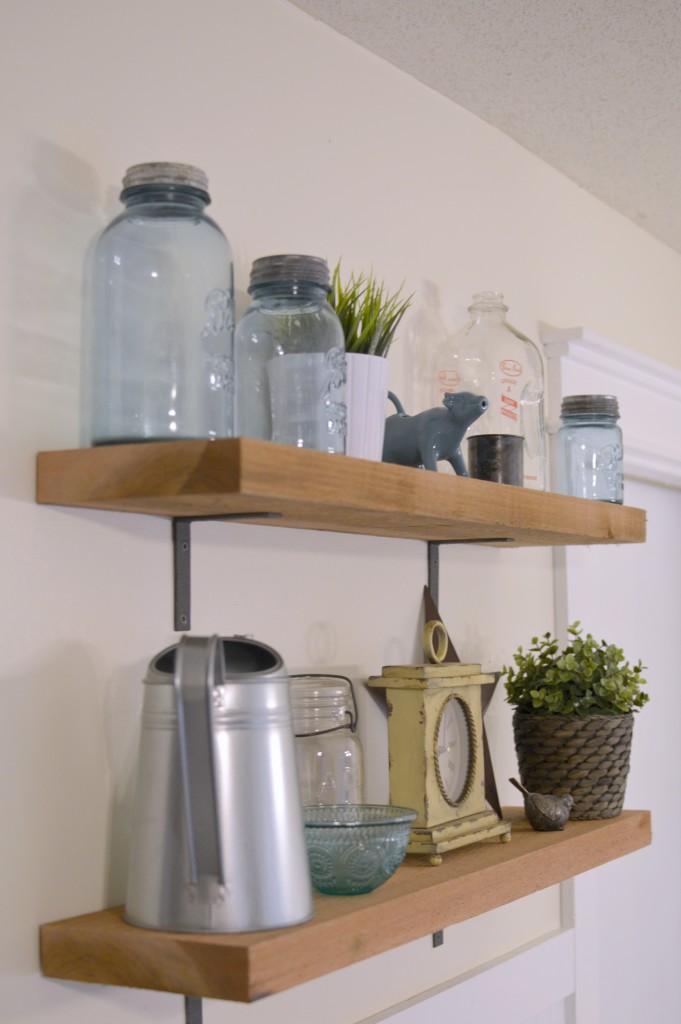
Finally, I added some farmhouse style decor that I had, we purchased, and we inherited from my mother-in-law. The real antiques from her are definitely my favorite part!
The entire project cost us just over $30 and took us less than an hour to complete! I’m totally in love with these shelves! They added so much charm to our kitchen and were really budget friendly! Here are a few more close up pictures of the shelves! 🙂
So that’s it! These shelves are so simple and affordable to make and add a ton of character and charm to our home!
Have you added any floating shelves to your home lately? Do you love the farmhouse style as much as I do?
They look great!! We use rustoleum all the time for hardware and we love it!! Great job!!