Whew! With two little boys running around our small home, things can get out of order fast! It becomes very obvious when the organizational systems that are in place, or lack thereof, aren’t working. This means that it’s time for me to bust out my baskets, bins, and trusty label maker and get to work!
However, sometimes it’s not an easy process. Organizing can be stressful and overwhelming. It can make you want to crawl in a corner and never think about the horrible mess again. How many of you have been there?! I know I have! Luckily, I’m always up for a challenge!
Well, today I’m going to be sharing with you my simple 5 step process that I use to organize every area of my home. It’s nothing new and I’m sure a lot of these tips you’ve heard before. However, this is the process I take every single time I organize a space in my home. If you are struggling with where to begin in your organizing journey, I hope this helps you find a starting place. 🙂
If you have several spaces in your home that need a good organizational overhaul, I recommend starting with the high-traffic zones first. This might include places like the kitchen or bathroom. Think of the spaces you use the most often. These are probably also the spaces that cause you the most frustration. Work on those first, follow this 5 step process, and continue throughout your entire home. You will have a clutter-free and organized home in no time!
1. Purge
We just talked last week about how to declutter your home, but it’s most definitely part of the organizing process so I have to mention it again. There is no point in organizing any space in your home without first purging!
My rules for purging are very simple. It leaves my home if:
- We no longer love it.
- It hasn’t been used in 6 months or more.
- It’s broken or damaged beyond repair.
- It’s no longer serving it’s intended purpose.
There is no reason to keep things and try to organize them into our systems if we don’t love it, use it, or need it. At that point it becomes clutter and needs to go.
2. Empty
Next, the fun part begins! I like to empty out everything onto the floor so that I can assess the space I have to work with. I do this for two reasons:
- It allows me to see how much space I have in comparison to how much I have to organize into the space.
- It allows me to get a better sense of just how much “stuff” I have.
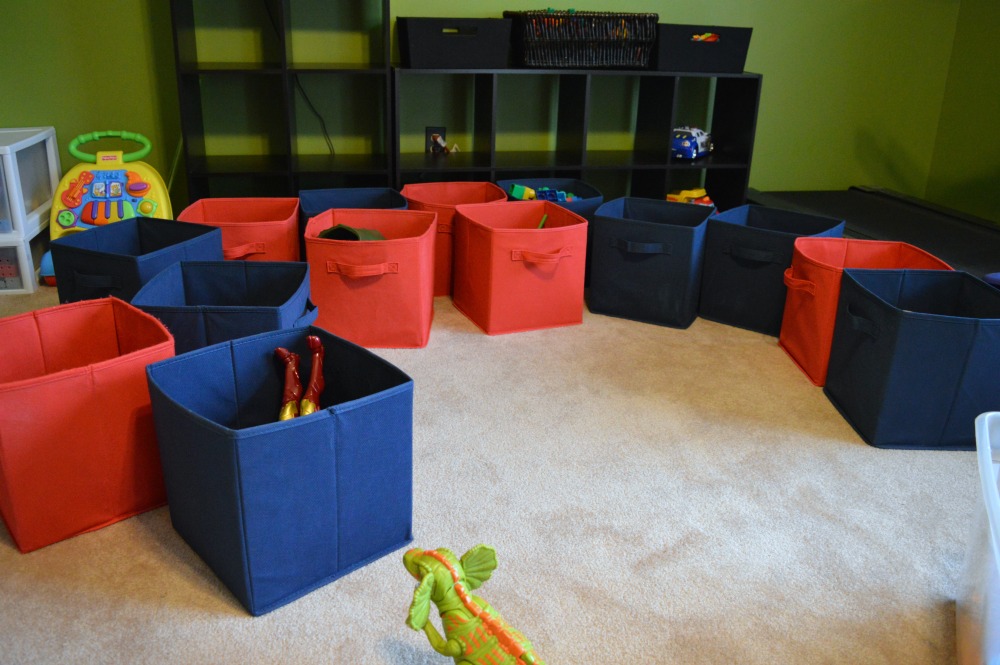
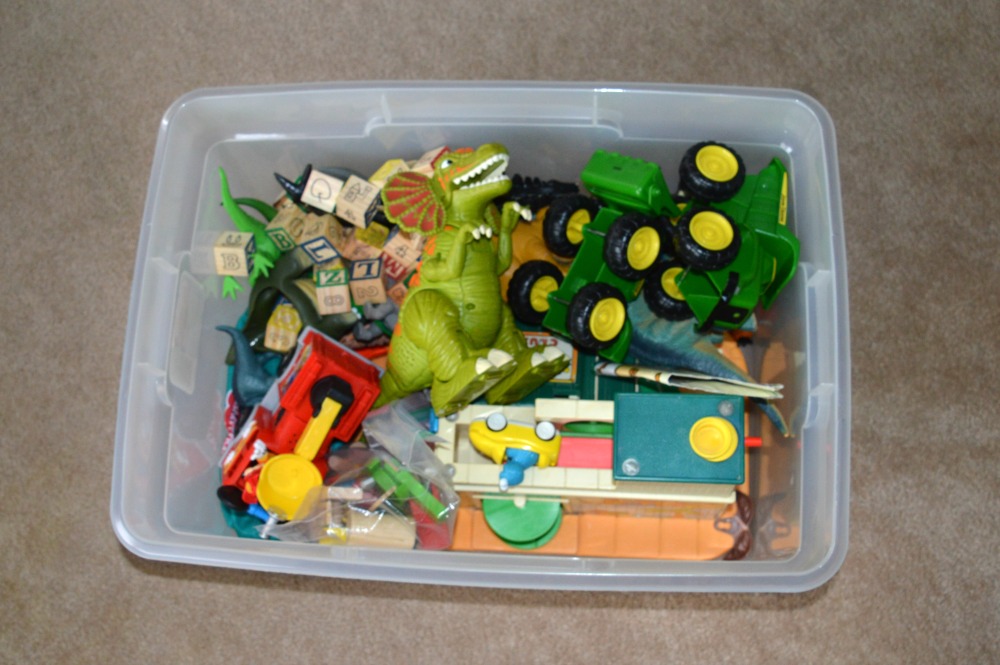
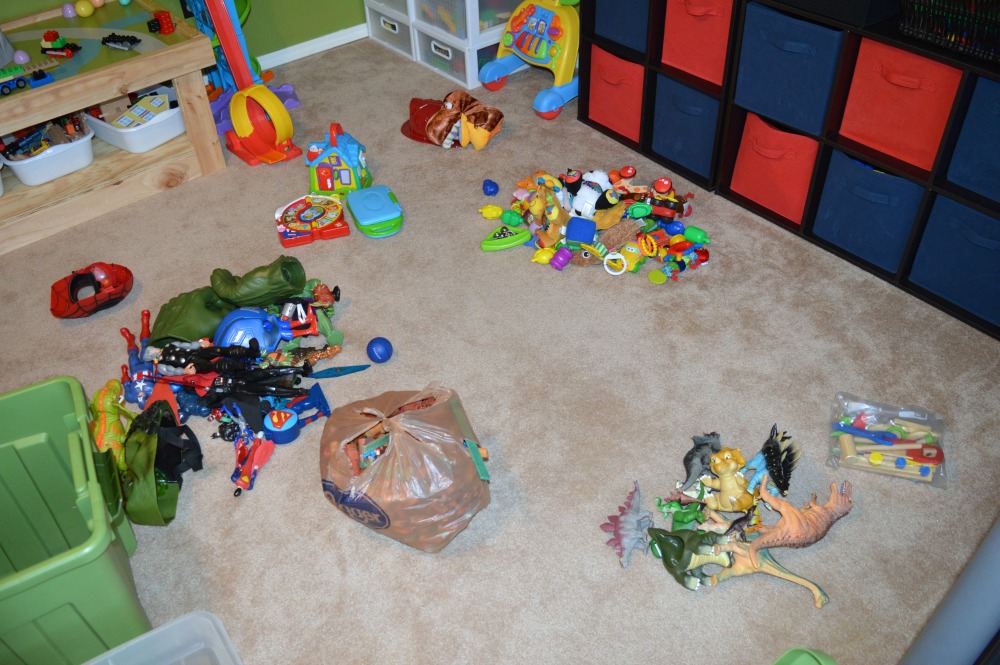
Here you can see that I have emptied all of the bins of toys onto the playroom floor. It’s not pretty just yet. I was also able to see that there was just too much stuff to fit into the space I had available! I knew that I needed to do two things: purge some more and rotate some toys out.
Emptying the space also is a really good excuse to give everything a thorough cleaning! Something I hadn’t done in a while that was very apparent by the very thick pile of dust on my baseboards! 🙂
3. Sort
I then head into sorting mode. I categorize like items together into piles usually while I’m sitting somewhere in the middle. This is a good way for me to see how many storage containers I will need for the space.
In this example, I had a limited amount of storage space so I knew that if there were more piles than storage bins, some of the piles would be rotated out. However, if you are working on a project from scratch, this would be the step in which you decide on the containers you want to use! This is the fun part for me! 🙂
4. Contain
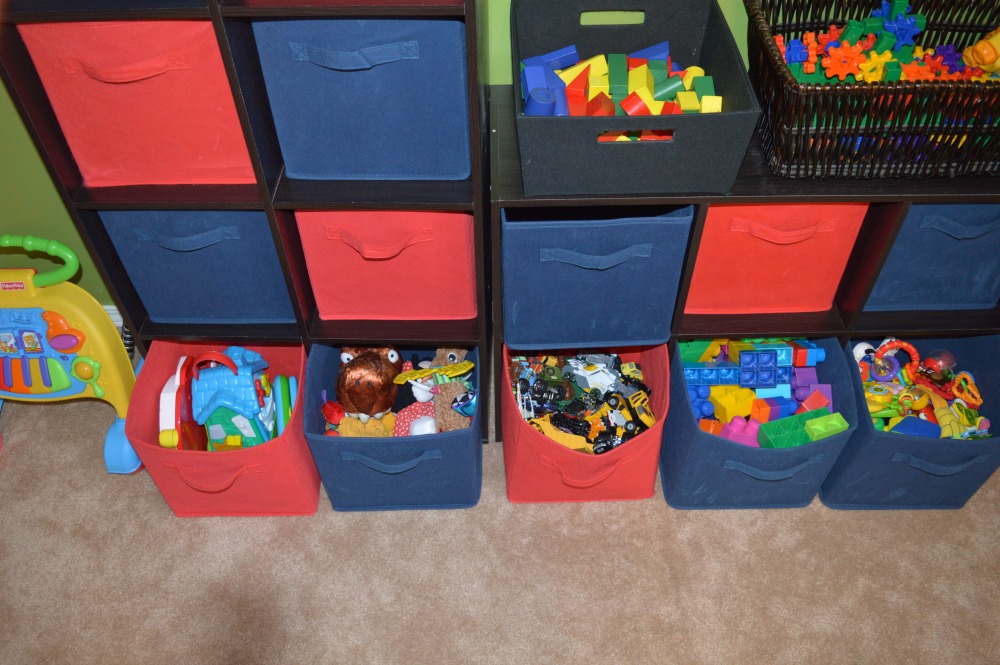
I always shop my house to see what baskets, bins, or organizers I have available first. This way I’m not buying things I don’t really need that will in turn become clutter later on! However, on the very rare occasion, I may need to purchase a few bins. I will head to the Dollar Tree if I want something plastic or Goodwill if I’m looking for more of a wicker basket. Both of these stores are super affordable…perfect for this mama on a budget!

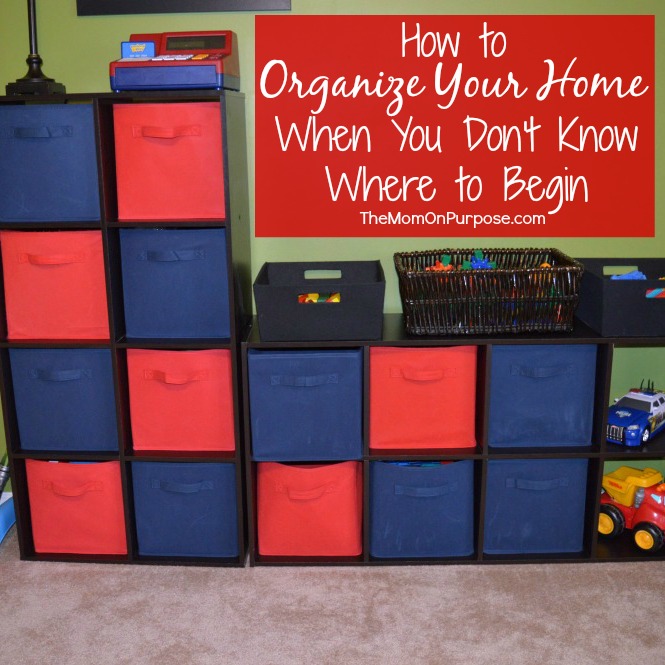
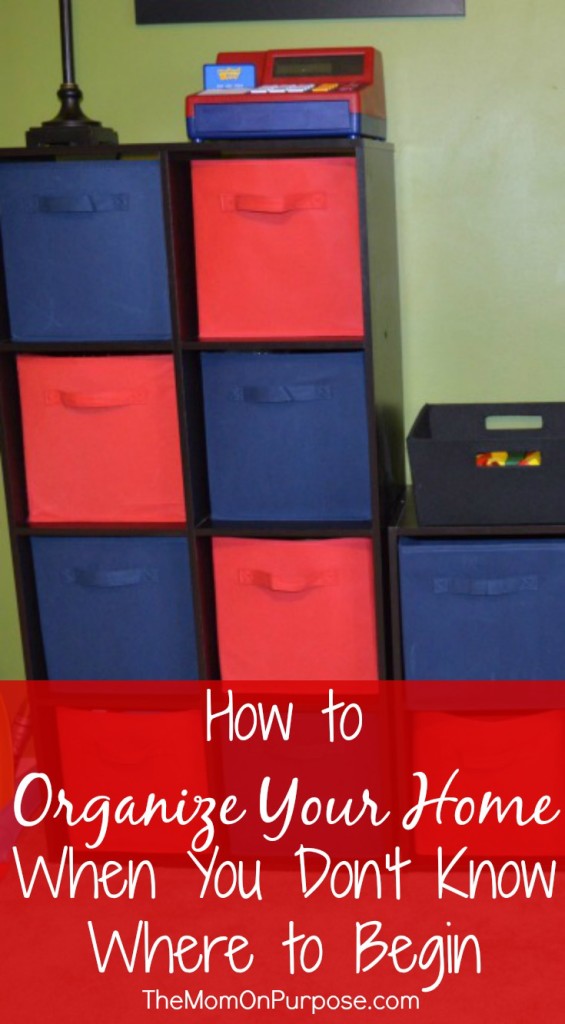
I like to keep my containers all the same material and color if possible. Here, I just used what I had on hand and mixed the navy and red. I would much prefer to have all navy totes, but not enough to go splurge on new ones right now! 😉 I try to live by the motto “use it up, wear it out, make it do, or do without” as much as I can.
5. Label
This is one of the most fun parts for me! Once everything is contained into the pretty bins or baskets, it’s time to label them so that you can always find exactly what you need!
However, with this project I chose not to label the bins in the playroom. My boys are really good at picking up their toys, but I think the labels would overwhelm them. Also, I tend to rotate toys in and out fairly frequently. It just wouldn’t make sense for me to constantly be changing out the labels.
I like to make a lot of my labels using Microsoft World or my trusty label maker, depending on the size of container I’m using and where it’s going to be displayed.
If you are like me, then you may not struggle with the actual task of organizing, but rather the upkeep of the systems you put into place. That’s one of the biggest reasons people can’t stay organized. Once you have your system in place, make sure to do regular maintenance. You will find that your life will be simplified, your home will be clutter-free, and you will be able to find what you are looking for with ease!
What space in your home needs organized?