What is one of the things that discourages you from wanting to cook a meal each night? For me, it’s definitely a messy and cluttered kitchen. When my kitchen is full of stuff that doesn’t belong or doesn’t get used, I instantly shut down. Things are hard to find, ingredients are hard to reach, and I feel the weight of the clutter on my shoulders. However, I really do enjoy cooking. It’s healthier for me and and my family and it is definitely much better on the budget. That’s why I like to maintain organized kitchen cabinets on a regular basis.
This is the 3rd post in a 4 part series all about simplifying, decluttering, and organizing your kitchen. The 4 part series, called Your Simply Organized Kitchen, will discuss how to maintain clutter-free countertops, the steps to maintaining a simple and organized pantry, how to simplify your kitchen cabinets, and how to setup an organized refrigerator and freezer.
During the early stages of adulthood, I felt the need to acquire as many kitchen tools and gadgets as possible. If someone was purging it, I was sure it was something I would need one day. I enjoy cooking and baking so why not fill a kitchen with all the necessities?
But I soon realized that all those so-called “necessities” weren’t necessities at all. They were actually hindering my cooking and causing me more frustration than they were worth.
Over the past 4+ years, I’ve slowly been purging items in my kitchen down to just the necessities. Keeping only the items I use on a regular basis has made cooking so much easier and enjoyable. I love opening my cupboards and knowing exactly where to find each item in a second’s time. I’m not constantly knocking things over to get to other items. My space is clutter-free and I intend to keep it that way!
There are a few tricks I use to keep my kitchen cabinets organized and decluttered on a regular basis.
6 Tips for Organizing Your Kitchen Cabinets
1. Aim for 20% Free Space
Don’t fill your cabinets to 100% full. This will cause instant frustration for you. Give yourself about 20% free space. This allows your items to breathe a bit giving you the space to reach for things without knocking them over or falling out on your countertops constantly.
2. Store Things Where You Use Them
This is a simple tip, but a very important one. Store your coffee and cups near your coffee pot. Keep all of your baking supplies corralled in one central location. Place your stovetop utensils near your stove. Simply keep items in the location where they are used so you aren’t constantly walking back and forth across your kitchen as you try to prepare a meal.
3. Utilize Baskets as Drawers
If you are short on drawer space, you can easily utilize baskets in your cupboards as drawers. We store our knives in a basket in our cupboard because we want them out of reach of our three year old. You can also utilize caddies or even mason jars to store things like small utensils or cutlery.
4. Section off Your Drawers
Don’t just throw everything in a drawer. Divide your drawers with drawer dividers like these or use drawer bins like these or these. You can even DIY some drawer dividers like we did using this tutorial.
5. Use Lazy Susans
Lazy susans are my best friend! I use them all over my house, but I especially love them in my kitchen. I love them for small items that can tend to get lost in the back of cabinets like spices, oils, or baking supplies.
6. Create Stations
Set up stations in your kitchen where you store like items together to make food prep quick and easy. In our kitchen, we have a “coffee” station, a “baking” station, a “snack” station, and a “pantry” station. Simply use a specific cabinet or even just a shelf or drawer to store all items you use for different tasks.
BONUS TIP: Don’t add anything to your kitchen without sleeping on it. If the item costs under $25, give yourself 24 hours before making the purchase. If the item costs over $25, wait at least 1-2 weeks. This will give you time to consider if you already have something that performs the same function or if you really need that item in the first place!
Now, onto the good stuff! Our kitchen isn’t extravagantly large, but it’s just perfect for us. So let’s take a little tour of our organized kitchen cabinets!
Kitchen Cabinet Organization Tour

We have an L-shaped kitchen with an island in the middle. We added the pantry on the right after we moved in to expand our food storage.

The pantry on the far right and the cabinet direction next to it is where most of the food in our kitchen is stored. You can see how these two spaces are organized in this post.

Directly below our food cabinet and sandwiched between our pantry and dishwasher is our junk drawer. Yes, we have a junk drawer! I think every home needs a small junk drawer somewhere. The key is to add drawer dividers and only use those for their intended purpose. Junk drawers are perfect for pens/pencils, homework supplies for kids, stamps, notepads, batteries, tape, and even spare coins.
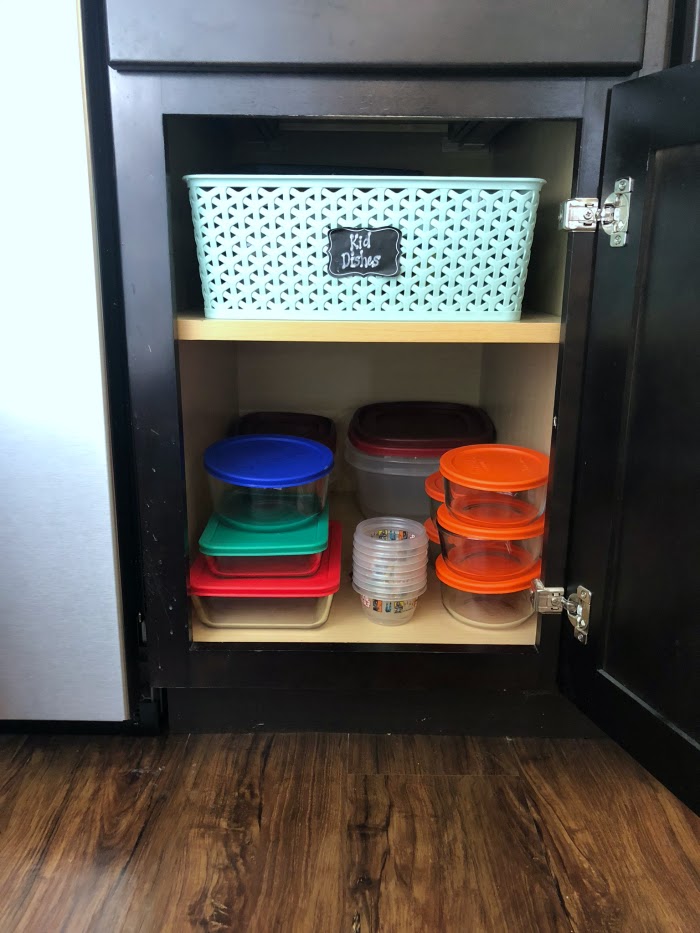
Below our junk drawer is home to all of our food storage containers. We also have a blue basket that holds all of the kid dishes we own.
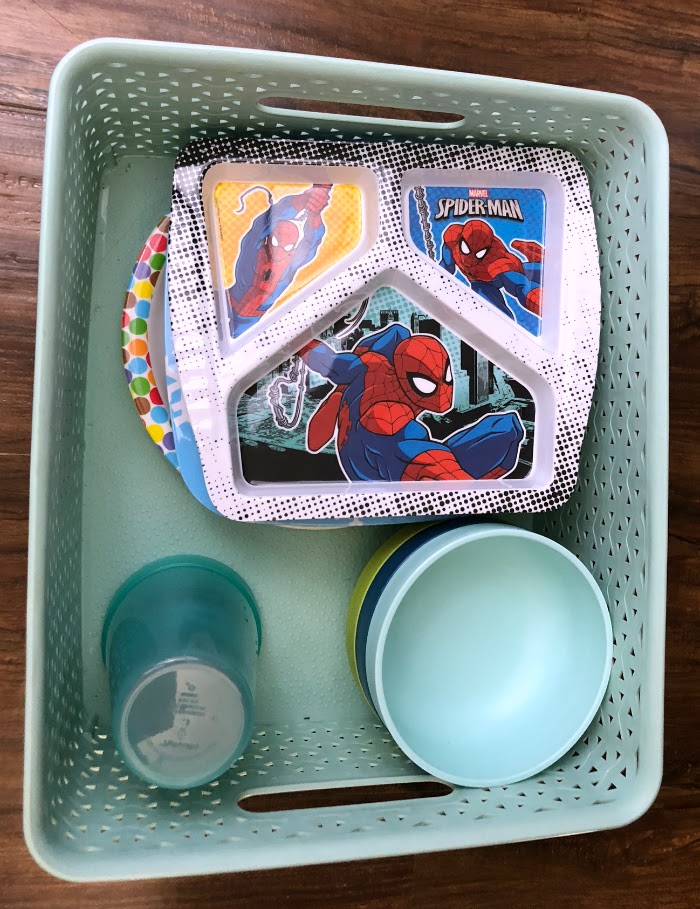
We keep this simple with just 4-5 each of plates, bowls, and cups.
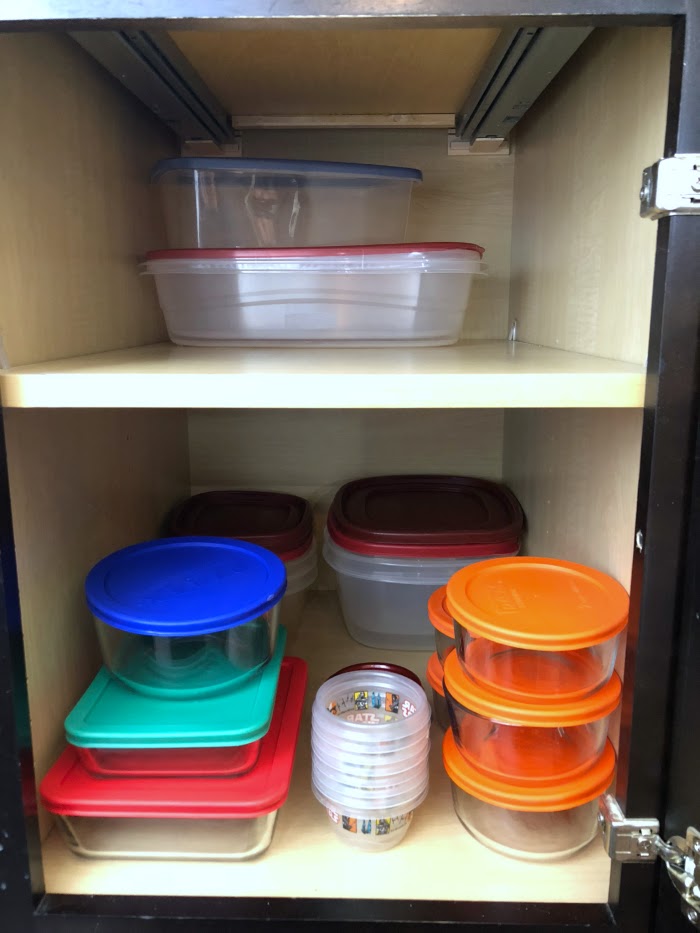
Food storage containers can be one of the hardest things to organize. I’ve found that really simplifying in this area is essential. We mainly use glass. But I do keep a couple of large plastic containers for things like homemade Chex Mix. The smaller plastic containers are for sending home food with family or friends and the circle containers in the middle are perfect for school lunches. On the top shelf behind the kid dishes basket is where I store food storage containers for baked goods like cookies, muffins, or sweet breads.
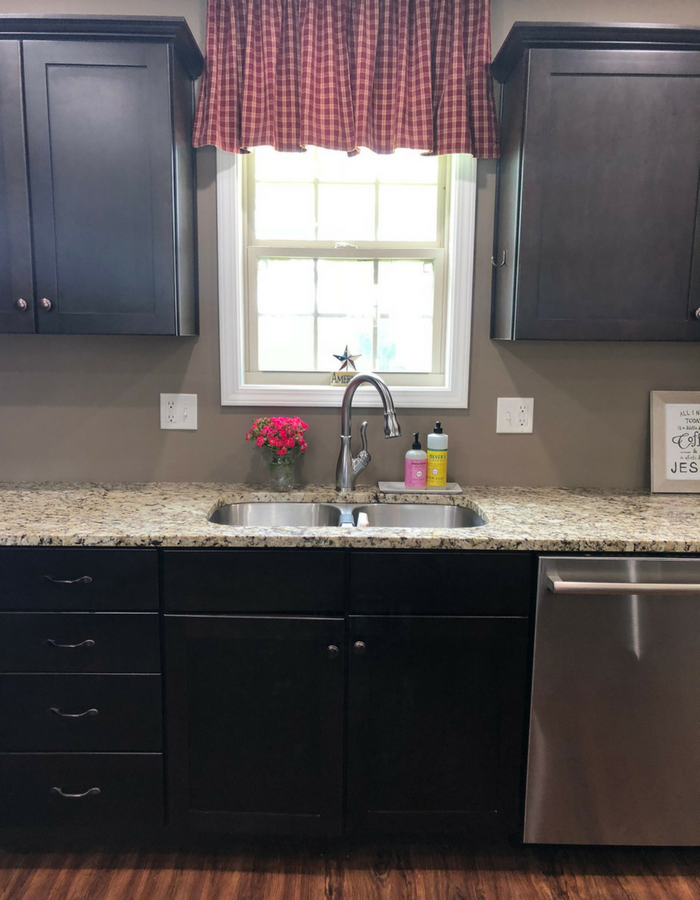
Under our sink is where we store all of our essential kitchen cleaning supplies.
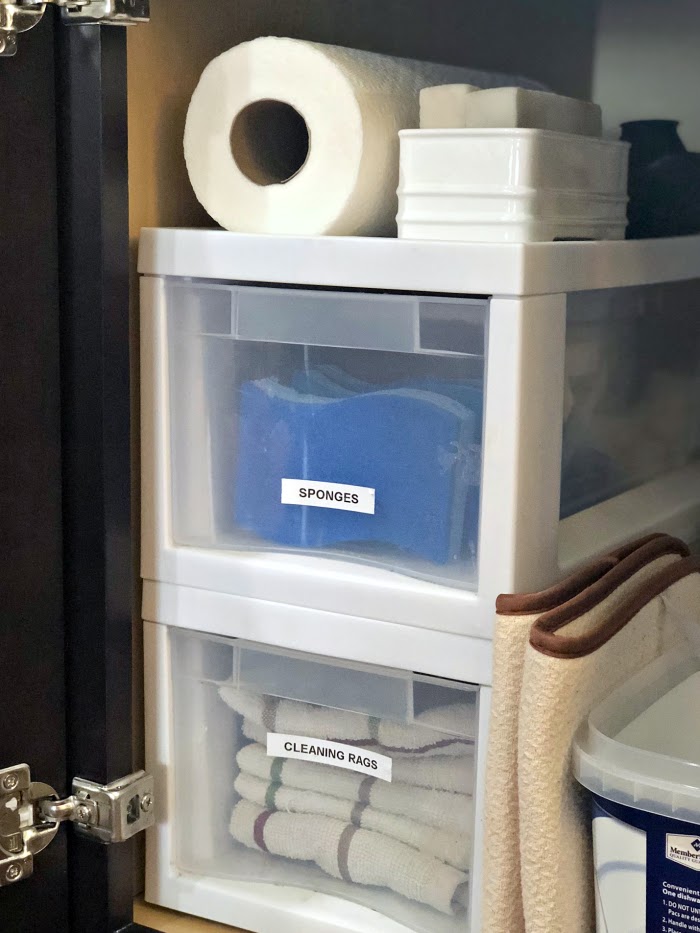
On the left I use two Sterilite drawers to hold extra sponges, magic erasers, and kitchen cleaning rags. We keep our paper towels on top of these drawers. I keep a large container of dishwasher pods next to the drawers with a drying mat tucked between them.
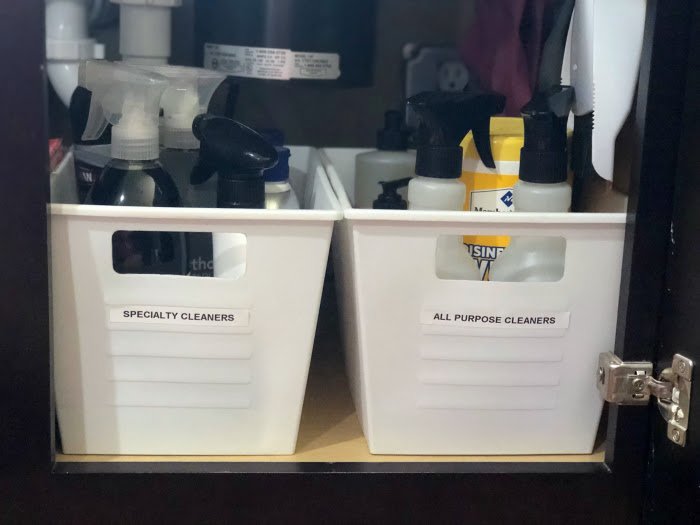
On the right side I have two bins purchased from The Dollar Tree. The left holds specialty cleaners for things like our granite countertops, glass top stove, and stainless steel appliances. On the right I keep all-purpose cleaners and Clorox wipes as well as extra hand soap.

The above picture should orient you in the corner of our kitchen. This space between our stove and sink is where I spend most of my time when cooking so I try to make items in this space super accessible.
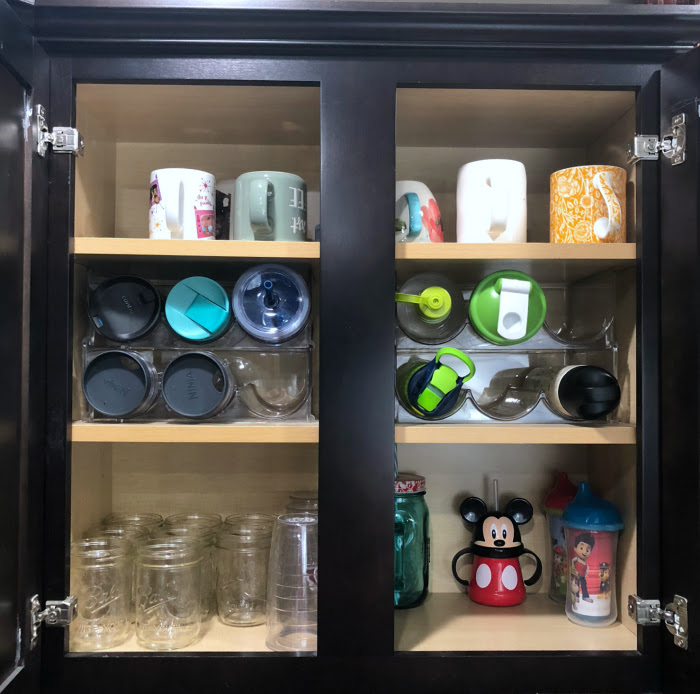
The cabinet next to the window stores all of the cups. The top shelf stores coffee mugs. We use these organizers on the middle shelf to store all of our water bottles and travel coffee mugs. The bottom shelf is where we store our glasses (mason jars) and sippy cups.
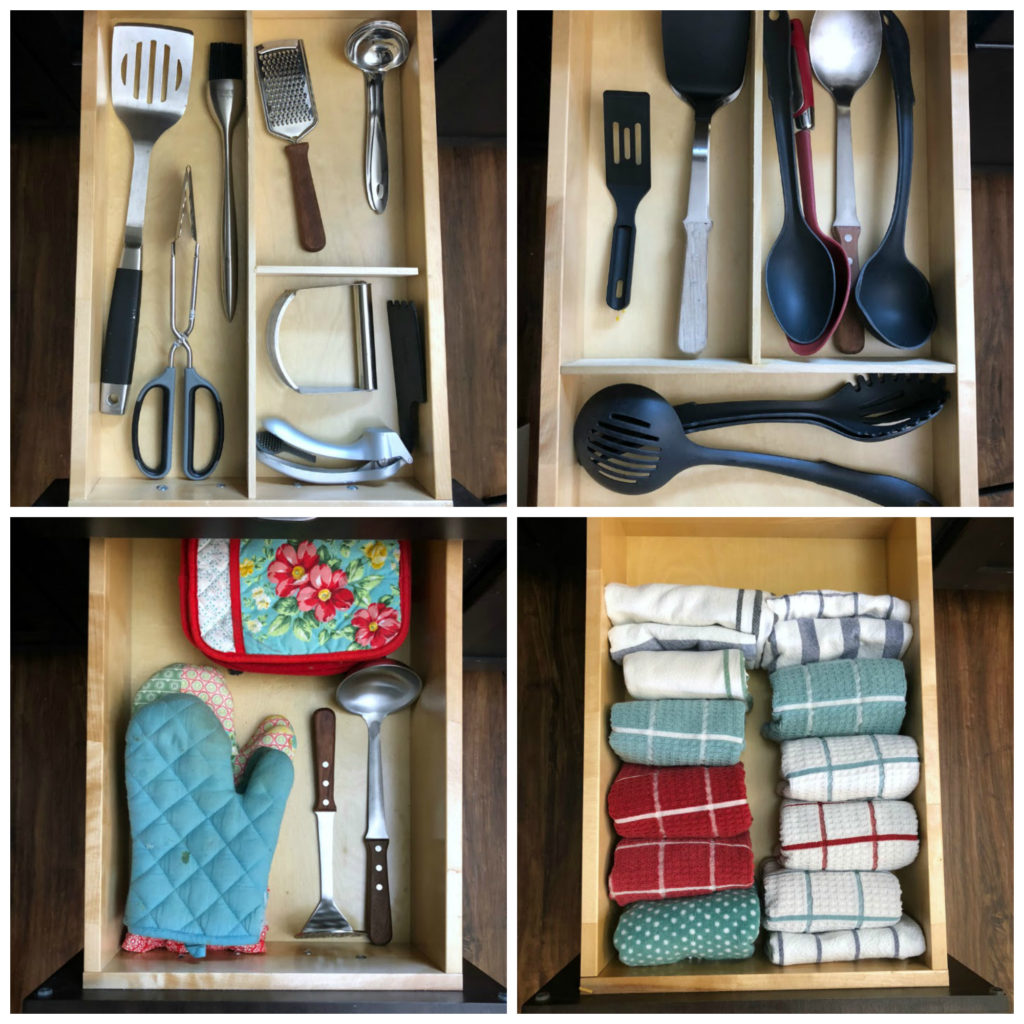
We have four drawers directly below the cup cabinet. The top drawer is for ladles and pancake turners which are used most often. The second holds grilling utensils and other misc. gadgets. We used this tutorial to create our own drawer dividers for these spaces. The third drawer holds our pot holders, over mitts, and two larger utensils. The bottom drawer is where we store all of our dish towels.
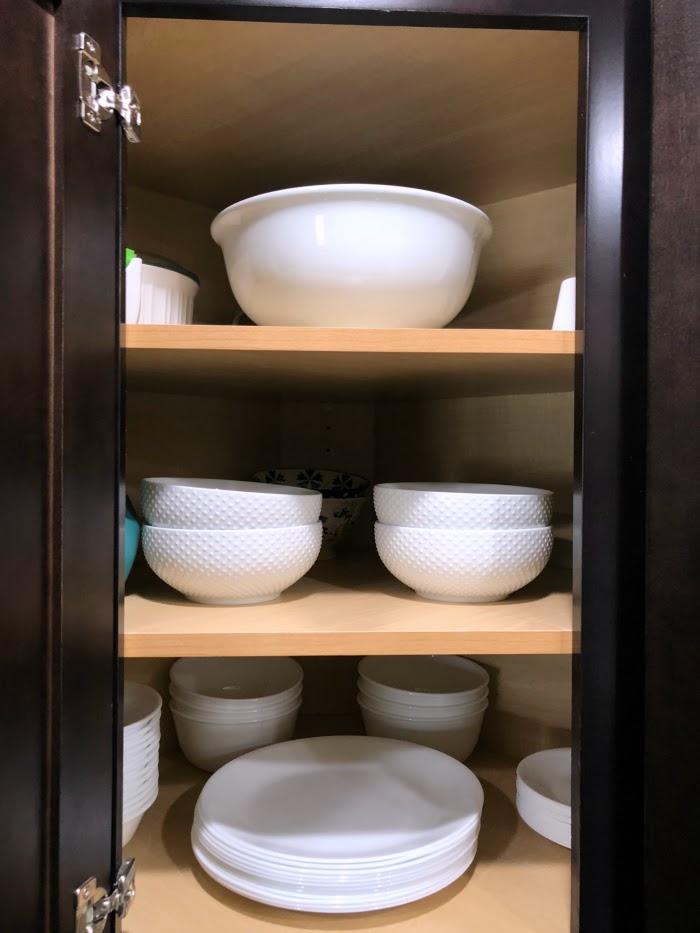
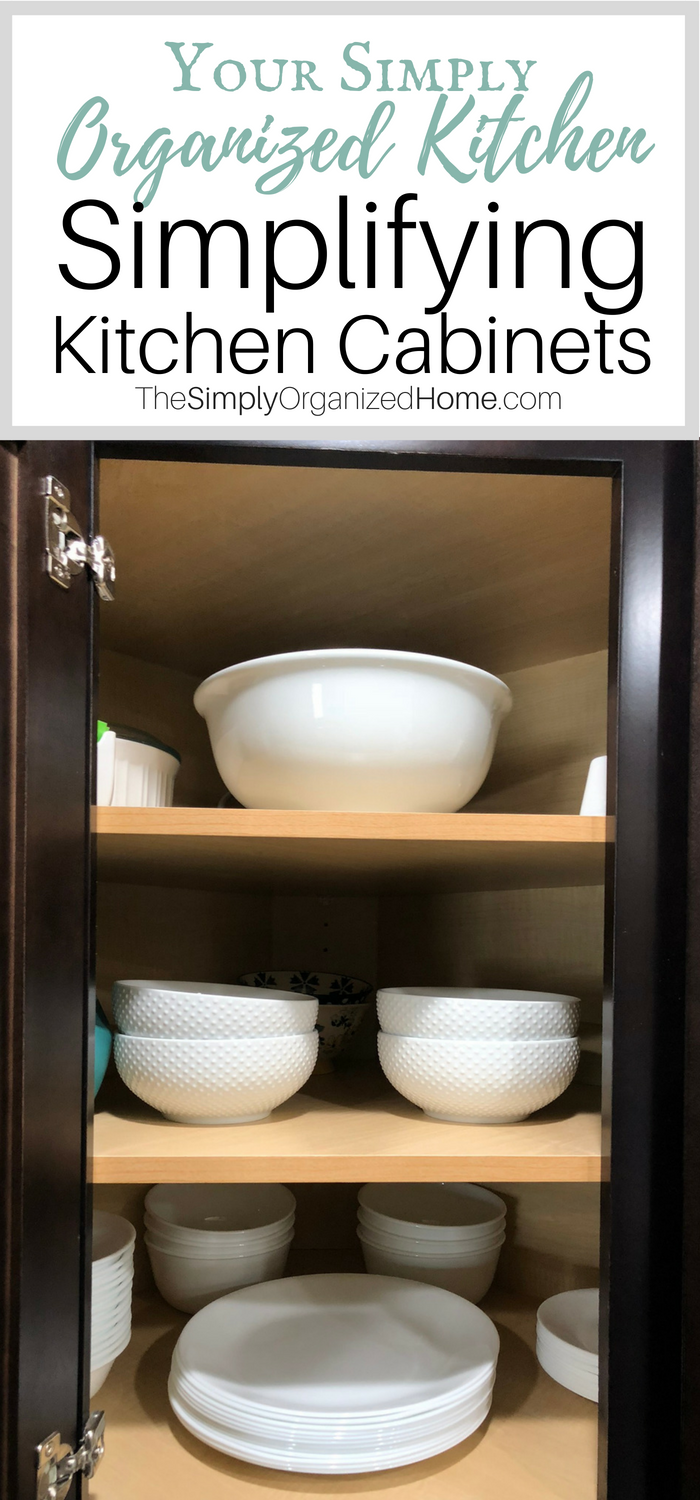
The upper corner cabinet holds all of our dishes. We use simple white Corelle dishes. The second and third shelves hold bowls and platters I use for serving.
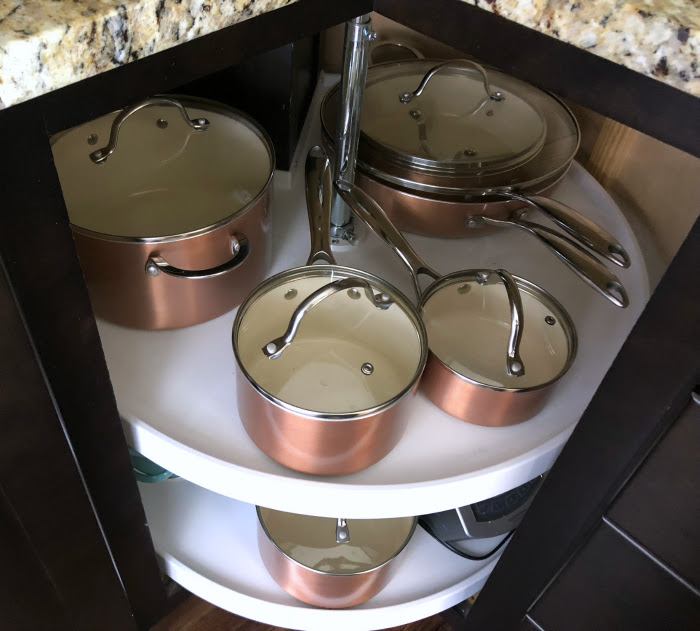
The lazy susan cabinet in the corner holds all of our pots with lids on the top shelf.
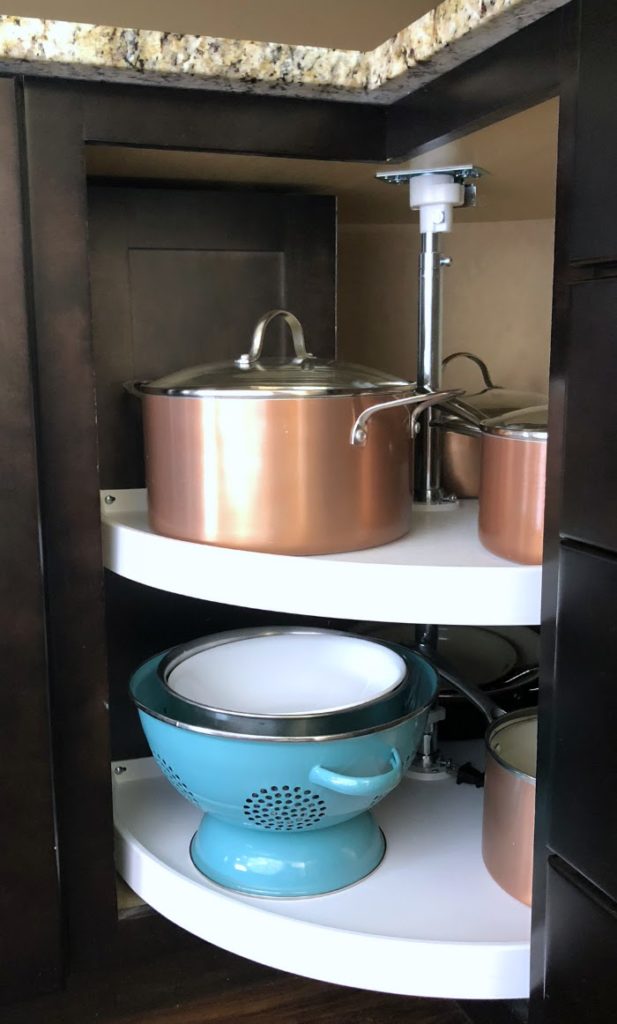
The bottom shelf stores our skillets, strainers, a stainless steel mixing bowl, and the base of our blender.
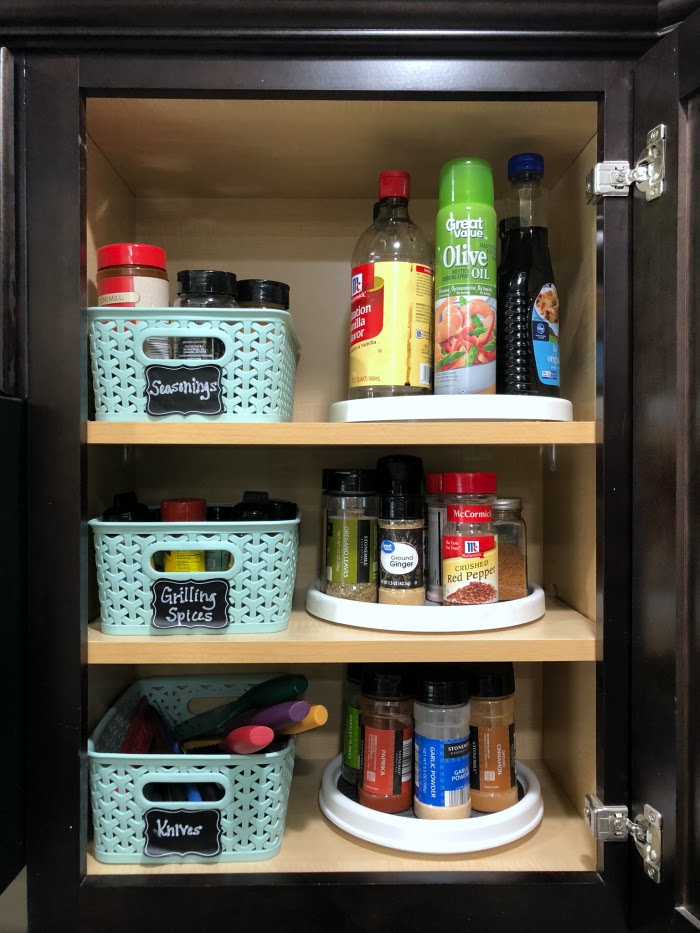
The upper cabinet to the right of our stove is our spice cabinet. I store our most used spices on the bottom two shelves on these lazy susans. I use baskets for our knives, grilling spices, and back-up spices. The top shelf holds items like cooking spray, syrup, bulk vanilla, oil, and vinegars.
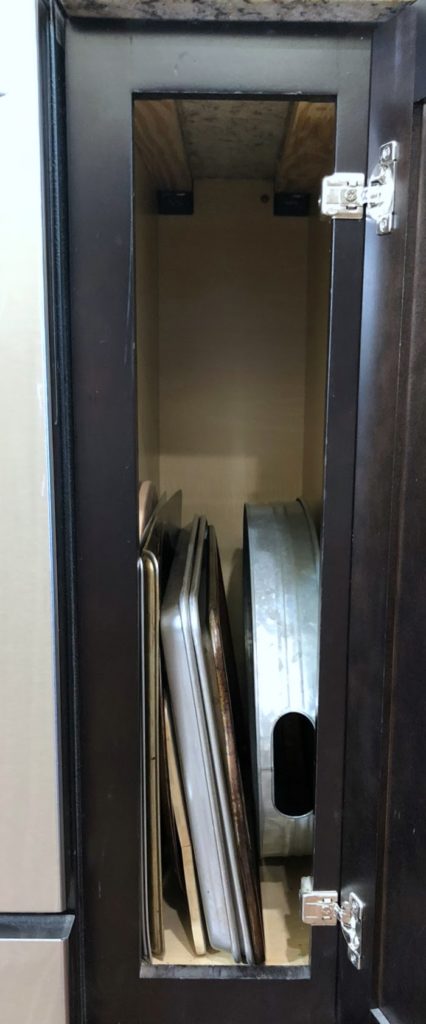
The cabinet between our stove and pots and pans cabinet is tall and skinny. It’s perfect for all of our baking sheets and a large serving tray.
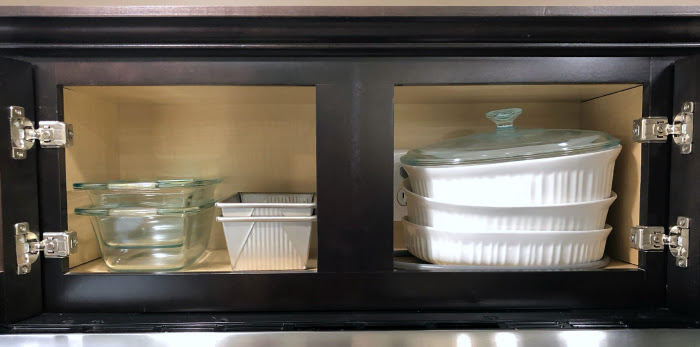
I use the small cabinet above our microwave for all of my bread pans and casserole dishes.
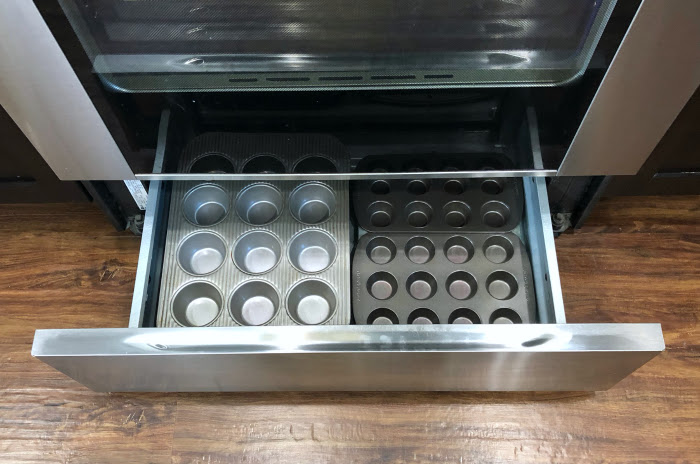
In the drawer below the stove I store cupcake pans.
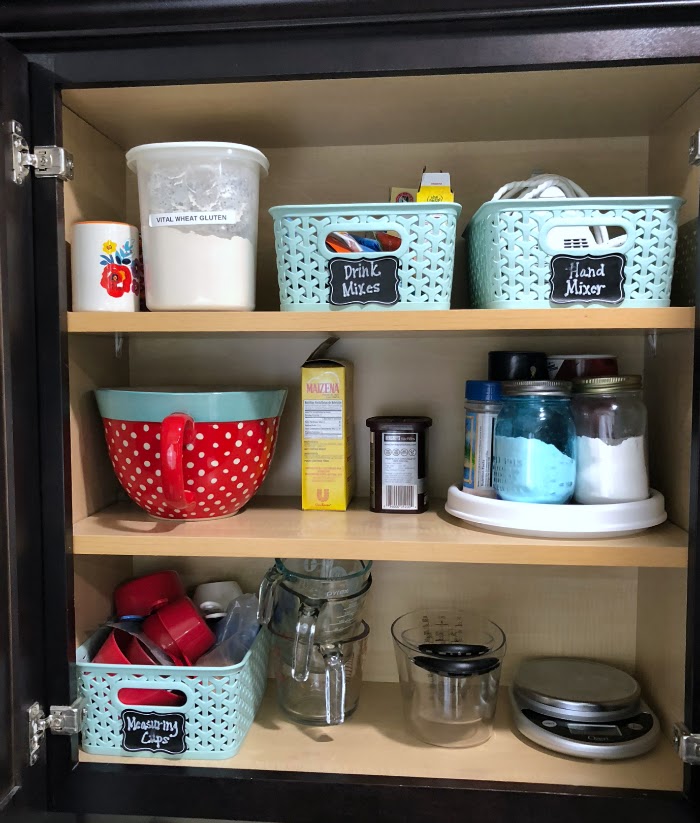
The upper cabinet to the left of our stove is my baking cabinet. I store my hand mixer, batter bowl, baking supplies, and measuring cups in here.
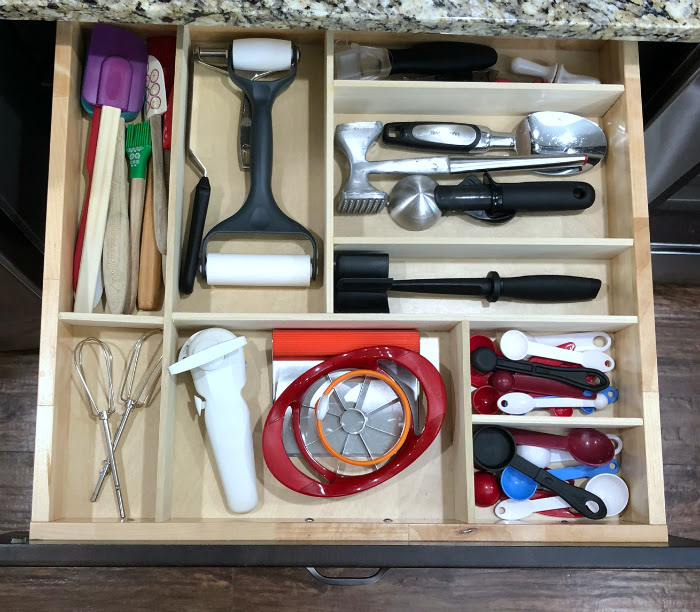
The drawer directly below this cabinet is a mixture of baking utensils and cooking gadgets. I use all of these items on a regular basis in my kitchen. If it’s not used regularly, it gets purged. 🙂
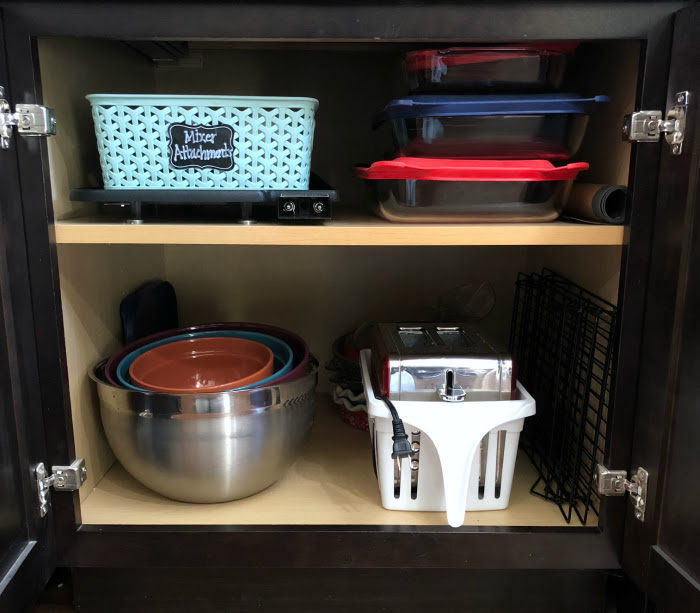
Directly below that drawer is a large cabinet which holds a pancake griddle, Pyrex pans, mixing bowls, pie pans, cooling racks, baking mats, and our toaster.
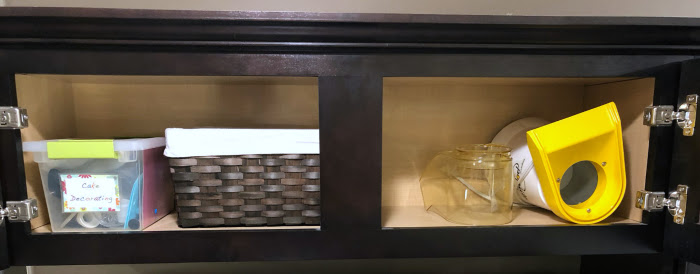
Above our fridge we have a very short cabinet that’s hard to get to. Here we store items that aren’t frequently used, but we still want to keep them because they are used occasionally. You will find all of our cake and cookie decorating supplies as well as our air pop popcorn machine.
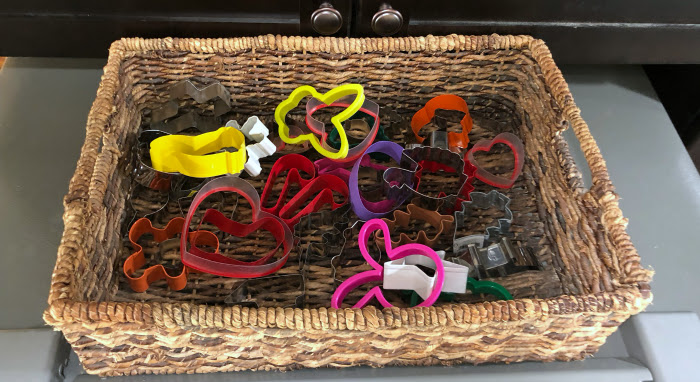
We store cookie cutters in a basket on top of the refrigerator. These are used quite frequently either for Play-Doh or making “shaped” sandwiches for our kiddos! 🙂
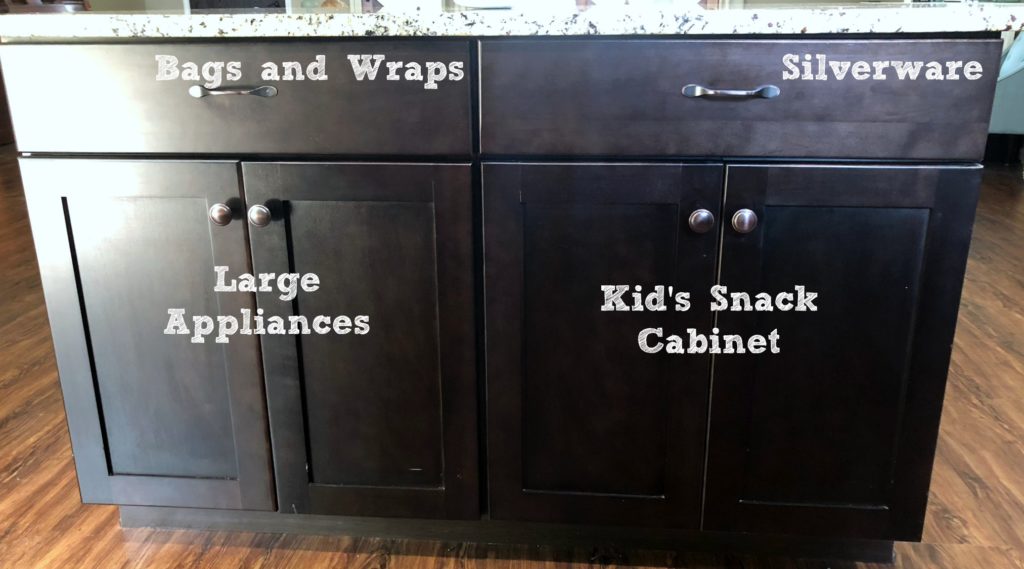
Our island has two large drawers with cabinets below as shown above.
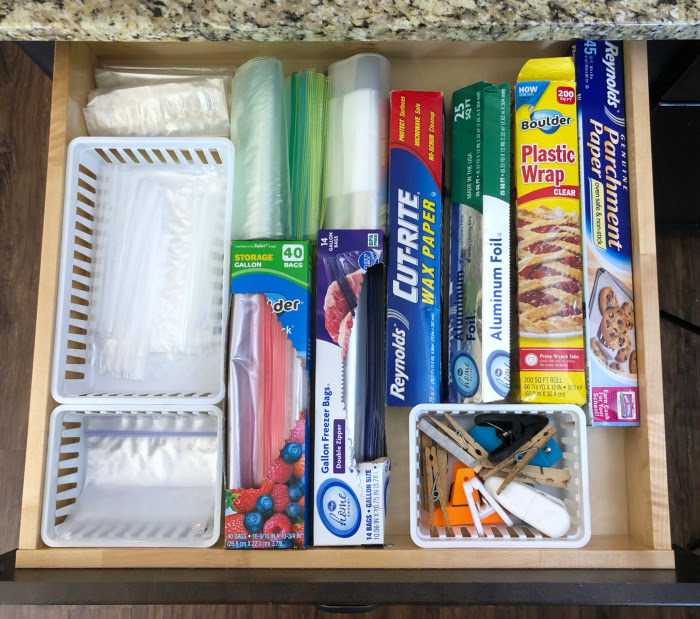
The left drawer holds all of our bags and food wrapping supplies as well as our chip clips.

Below that is a cabinet that’s perfect for our large appliances. Here you will find our food processor, waffle maker, small crock pot, indoor grill, grain mill, and stand mixer.
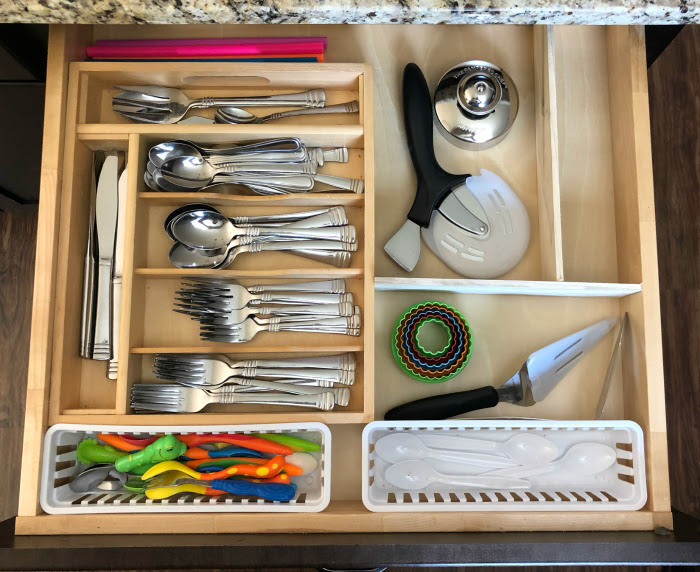
The right drawer holds our silverware as well as a few miscellaneous kitchen gadgets.

The lower right cabinet is our snack cabinet. This is where we store items for school lunches like crackers, granola bars, nuts, fruit leathers or snacks, etc. We also store lunch boxes behind the cereal. I keep my bundt cake pan and my cake tray with lid behind the bins on the top shelf.
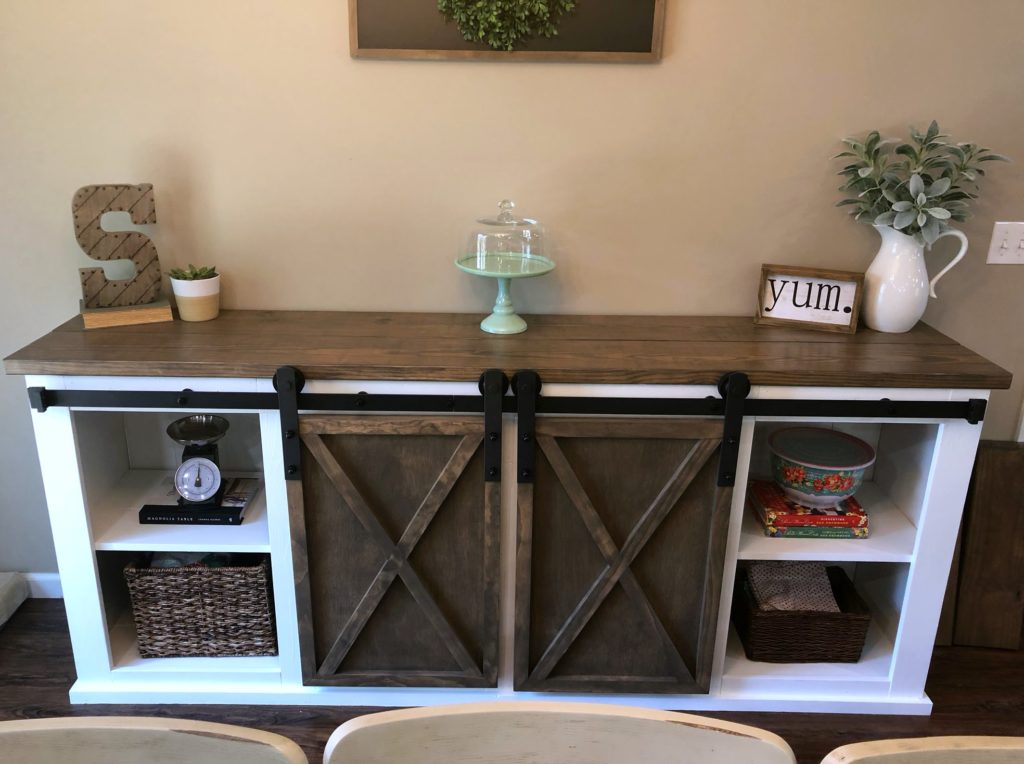
In our dining room, we recently added this sideboard that my husband and I DIYed from these plans. We use this as a little bit of additional kitchen storage.
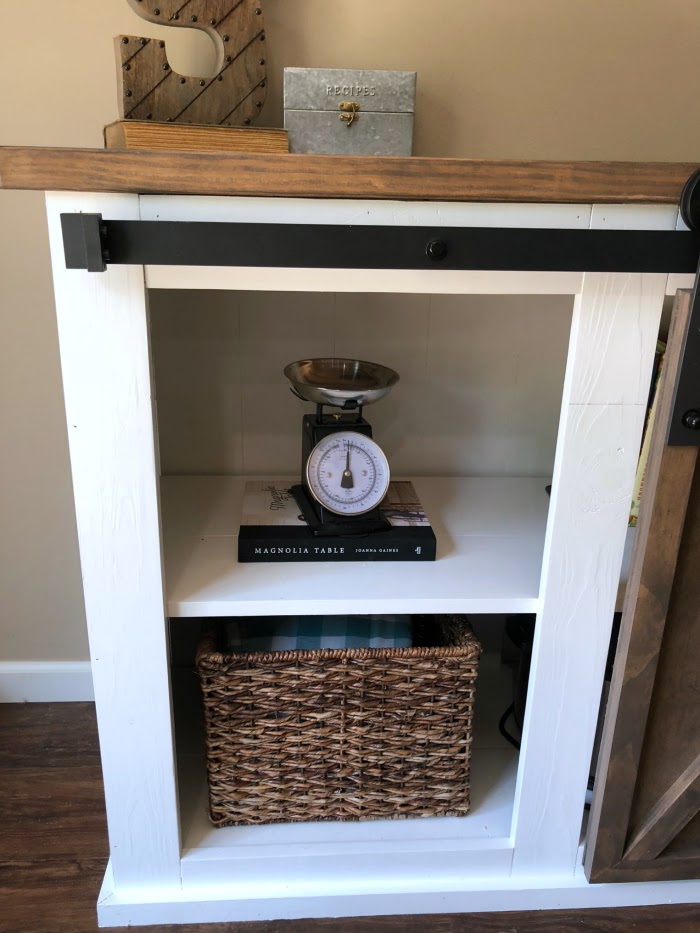
The far left side is mainly decorative. The top shelf holds a cookbook with scale, but the bottom basket is where I store my tablecloths and aprons.
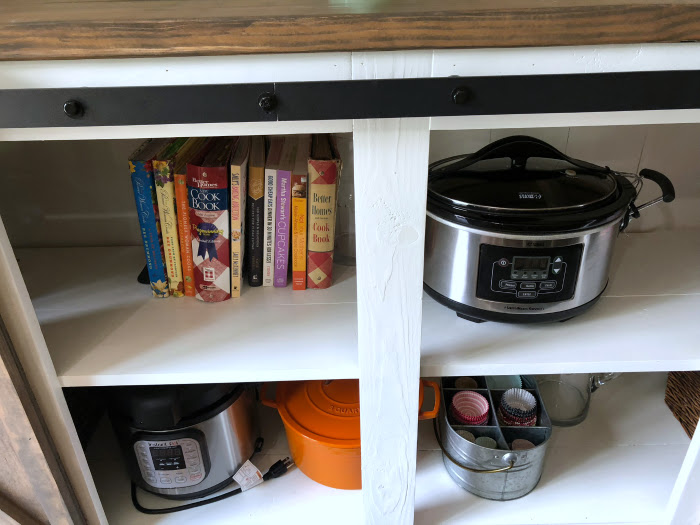
The middle is hidden behind the barn doors. This is where I store our cookbooks, crockpot, Instant pot, dutch oven, cupcake liners, and glass pitchers.
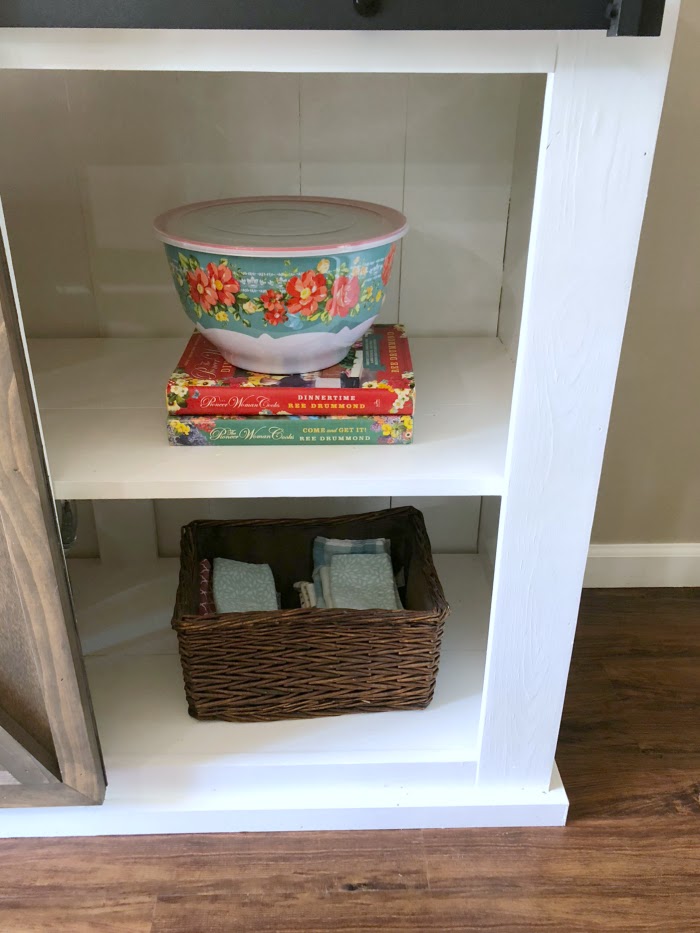
On the far right I store 2 of my favorite cookbooks (this one and this one both from The Pioneer Woman), a set of mixing bowls, and a basket on the bottom shelf that holds our cloth napkins.
Now that you’ve had a chance to peek inside all of my cabinets I hope you are encouraged to purge through your cabinets! Remember, you don’t need every gadget sold in Bed, Bath, and Beyond, you can survive with much less than you think, and just because it’s on sale doesn’t mean you need to bring it home with you!
My kitchen is too small for the organization you have, but I did pick up some ideas here – one is for storing wraps and plastic bags. I am an organization freak and we moved from a large home to a small patio home. Over the nearly 50 years we’ve been married, I have collected a lot of anything kitchen related. My big purge came when we moved here, but of course, I’m not happy if I’m not constantly organizing some area of the house. Needless to say, when my sons were young, the sight of Mom approaching their rooms with trash bags for junk and trash and for donations, was something they dreaded. They all got into the sorting, pitching and, organizing and still like to keep things organized today. Though my youngest is having trouble getting his 4yr old daughter on the plan. But every now and then, she will go in and clean and sort, but on her terms. 🤣
I am desperately in need for organization in my kitchen. I just glanced at your article, but what stands out is how you store your water bottles! While I do need to get rid of some of them, I could be utilizing more space by laying them on their side. Can’t wait to catch up on the articles in your series.
The water bottle organizer is one of our favorites! It definitely saves on space, but it also makes getting water bottles and in and out of the cabinet so much easier.